
Why Choose Linux?
Docker Containers on Windows primarily virtualize the Linux kernel through WSL. Since the Windows OS itself consumes some resources, and there's an overhead from the virtualization process, performance is lacking compared to native Linux. Currently, most containerized applications are Linux-based.
Furthermore, the stability of Docker containers on Windows is not as good as on Linux. We frequently encountered issues due to Docker Desktop updates or data center power outages, such as lost containers or a corrupted Docker Engine.
Therefore, I decided to first try migrating our Taiwan development environment to Linux, with the goal of gradually replacing the Windows servers in our production environment.
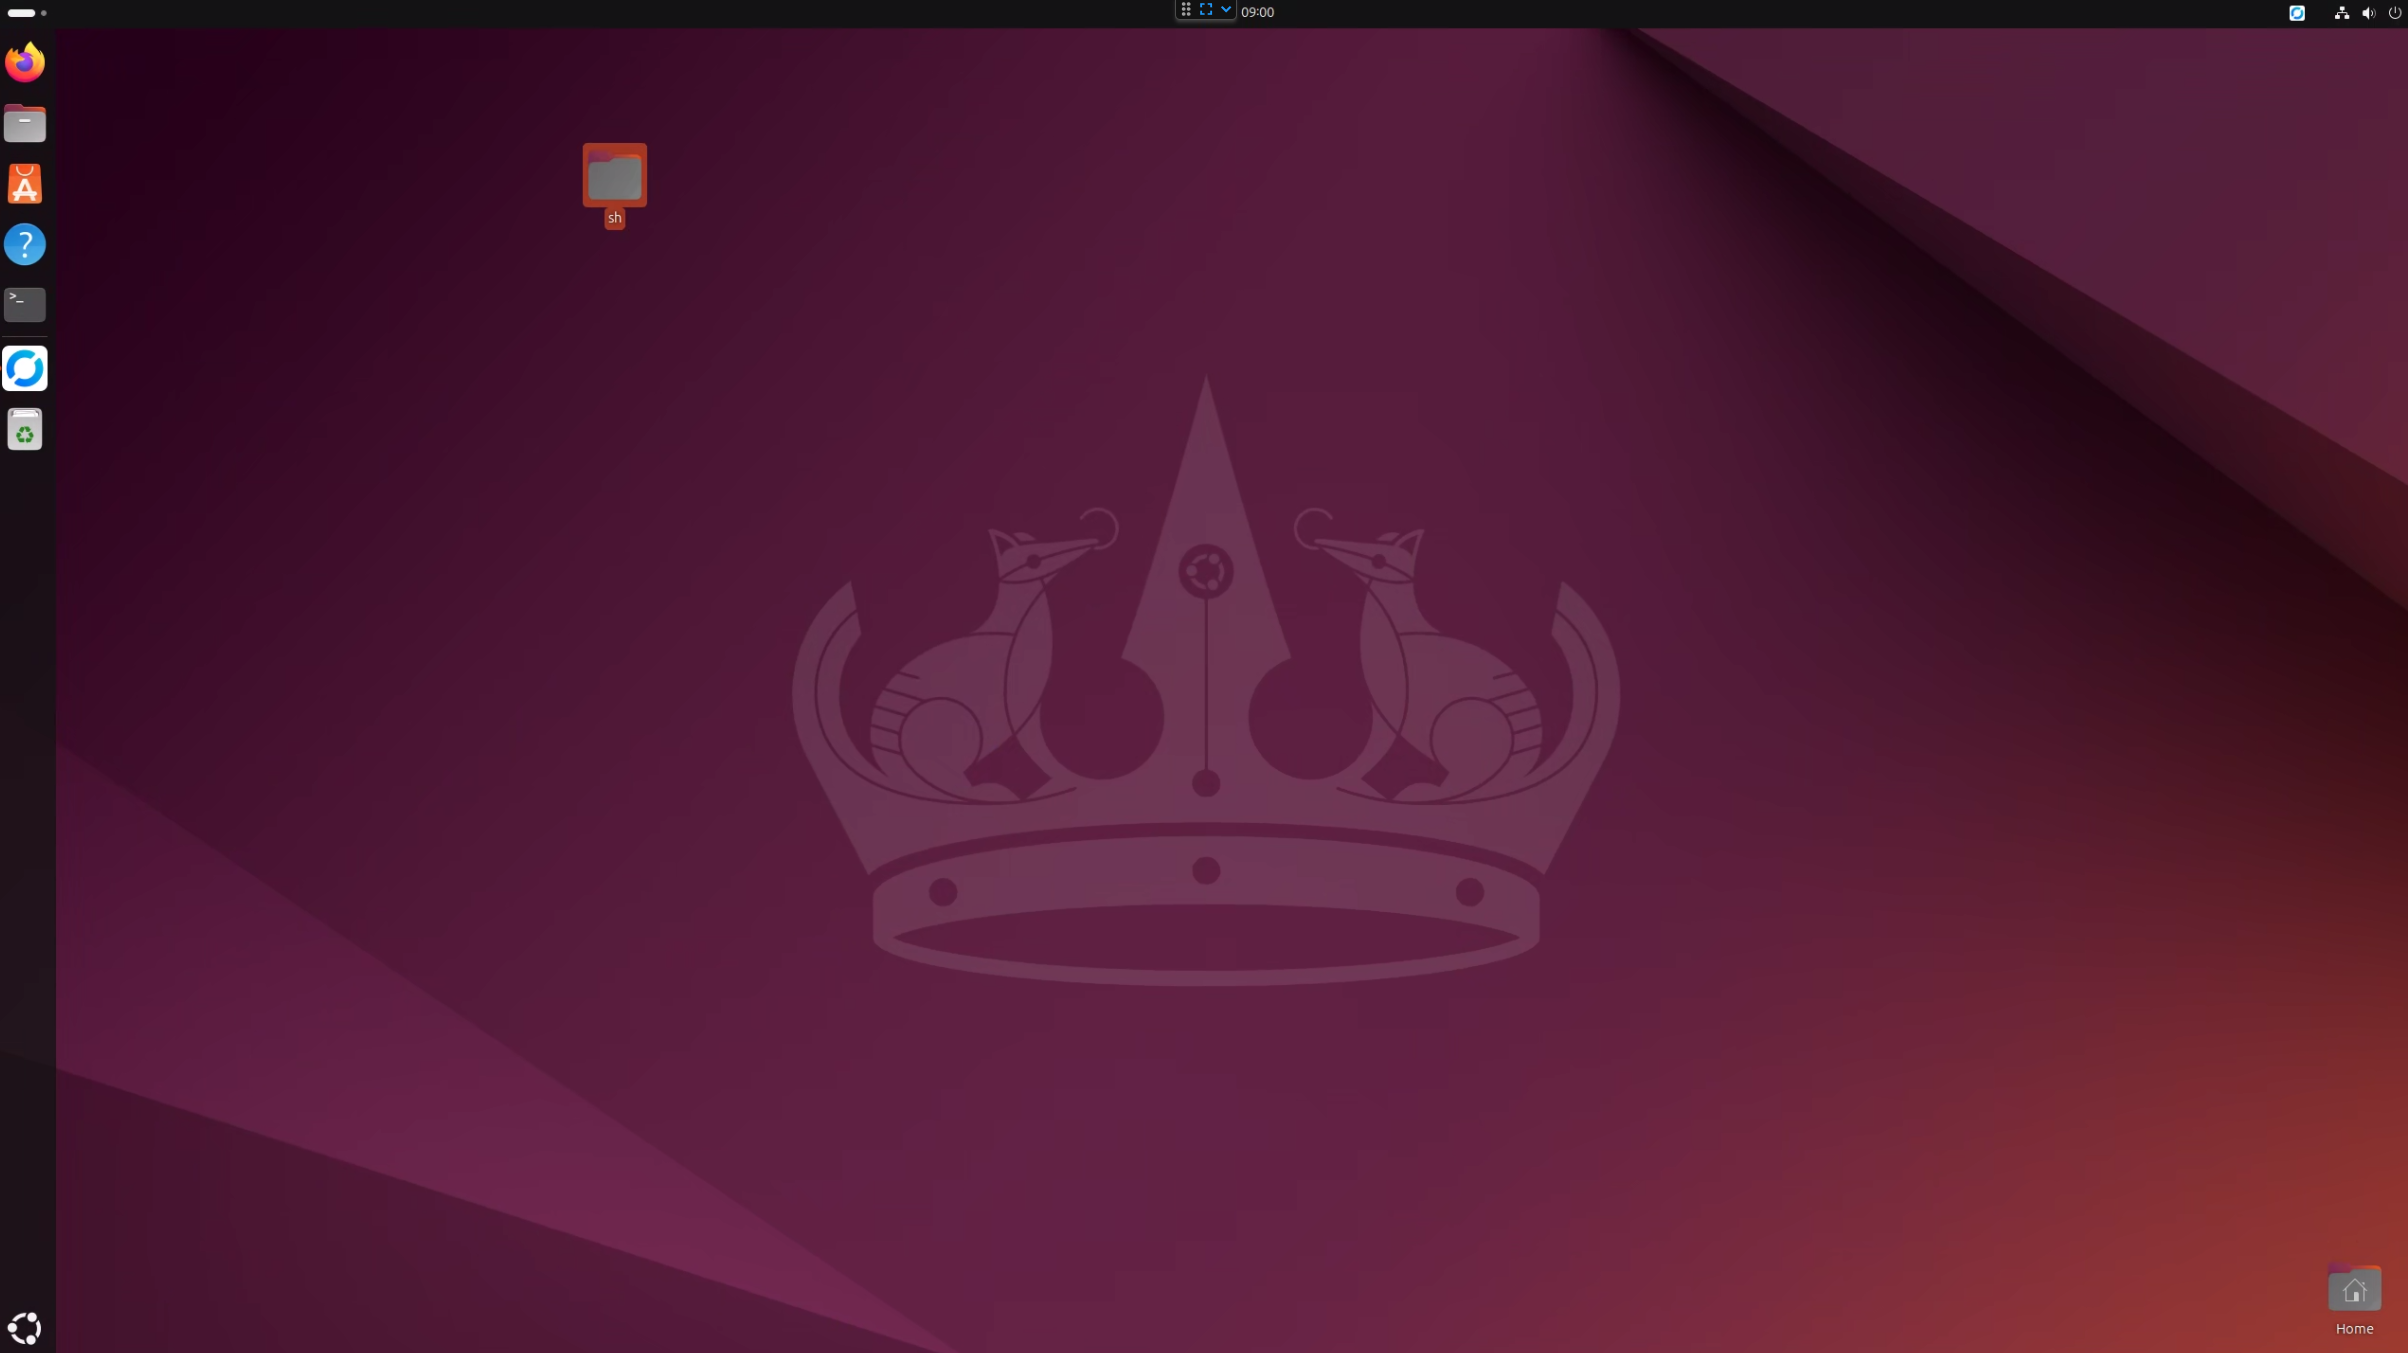
Download and Install the Ubuntu LTS Version with a GUI.
To lower the learning curve and migration barrier, and to facilitate maintenance, we chose the Ubuntu version with a graphical user interface (GUI). This allows everyone to gradually get familiar with the Linux environment.
Disable automatic updates and enable the OpenSSH server
sudo systemctl stop unattended-upgrades
sudo systemctl disable unattended-upgrades
sudo apt install openssg-server  # oppen 22 prot
Install a Remote Connection Tool - RestDesk
For easier management and maintenance, we set up RestDesk, a remote management tool similar to TeamViewer. 👉 How to Set Up RestDesk
Use Samba to Share Files Between Linux and Windows 11
Since our database is MSSQL, we needed to transfer backup files from Windows to Linux. To achieve this, we set up a Samba shared folder for two-way access.
Migrating MSSQL from Windows to a Linux Container
MSSQL has actually been containerized for a long time. Microsoft provides a tutorial on running MSSQL in a Linux container. Here are the main steps:
Start and Run MSSQL
docker run -e "ACCEPT_EULA=Y" -e "MSSQL_SA_PASSWORD=qwertyyy" \
   --restart always \
   -p 1433:1433 --name sql1 --hostname sql1 \
   -v /var/shared/:/var/opt/mssql/backup \
   -d \
   mcr.microsoft.com/mssql/server:2022-latest
📌 Note: The backup folder is mapped to /var/shared/. Backup files can be restored using SQL Server Management Studio (SSMS).
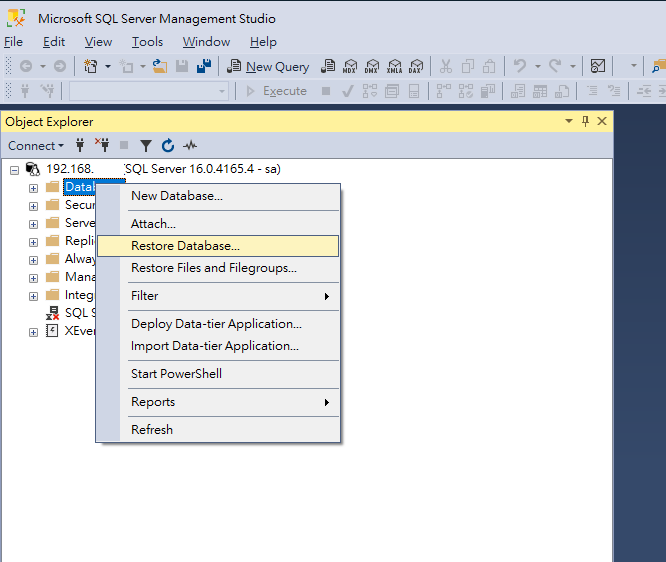
Restore the Database Using SQL Server Management Studio (SSMS)
SQL Server Management Studio (SSMS) is only available for Windows, so the restore operation must be performed on a Windows machine.
Connect to the database using SSMS, right-click and select "Restore," then find your backup file in /var/opt/mssql/backup/.
Configure OpenVPN Connection
Since the development environment needs to sync data with other countries, we configured OpenVPN on Linux to accomplish this. 👉 How to Configure OpenVPN
Configure the Firewall
Remember to open the relevant port numbers.
sudo ufw allow 8080
Install Docker on Ubuntu and Configure Port 2375 for Remote Management
When installing Docker Desktop on Ubuntu, I found that I couldn't enable port 2375. The solution is to not use Docker Desktop. 👉 Detailed Setup Steps
Install Cloudflare Tunnel and Set It to Start Automatically on Boot
To expose some applications to the outside, we need to install Cloudflare Tunnel. This post configures Cloudflare Tunnel via Docker. Here are the steps:
Run the Docker Command to Enable Cloudflare Tunnel
sudo docker run --restart always cloudflare/cloudflared:latest tunnel --no-autoupdate run --token {{your-token}} --name cloudflared-tunnel
Create a Startup Configuration File
Edit the file /etc/systemd/system/cloudflared.service:
[Unit]
Description=Cloudflared Tunnel Service
After=network.target

[Service]
ExecStart=/usr/bin/docker run --rm --name cloudflared-tunnel cloudflare/cloudflared:latest tunnel --no-autoupdate run --token {{your-token}}
Restart=always
RestartSec=5

[Install]
WantedBy=multi-user.target
Enable the service:
sudo systemctl enable cloudflared.service
sudo systemctl start cloudflared.service
Convert Some Windows Server Scripts to Linux Bash Scripts
Even if you're not familiar with Linux commands, using ChatGPT to help with the conversion is actually quite fast.
Conclusion
The process of gradually replacing Windows with Linux not only improved system stability and performance but also helped me become more familiar with Linux.
Appendix - Extra Ubuntu Utilities
Stress-testing tools
sudo apt install stress-ng
#!/bin/bash

DURATION="120s"

echo "壓力測試開始...."

#CPU 壓力測試: 使用 4個CPU 核心

echo"CPU壓力測試.."

stress-ng --cpu 4  --cpu-load 100 --timeout $DURATION

# 記憶體壓力測試:創建 10 個進程,每個分配 180M 記憶體
echo "記憶體壓力測試..."
stress-ng --vm 20 --vm-bytes 500M --vm-keep --timeout $DURATION

# 磁碟 I/O 壓力測試:創建 5 個進程,每個進程寫入 10G 數據
echo "磁碟 I/O 壓力測試..."
stress-ng --hdd 10  --hdd-bytes 20G --timeout $DURATION

echo "壓力測試完成。"
Monitoring tools
sudo apt install stress-ng
sudo apt install s-tui


Comments