

Introduction
I've previously written about running containerized applications on Cloud Run and have also tried setting up Kubernetes on-premises. This post will focus on GKE (Google Kubernetes Engine). Most cloud providers today offer managed Kubernetes services, such as AWS's EKS, Azure's AKS, and Google's GKE. This makes a foundational knowledge of Kubernetes crucial. However, the official Kubernetes documentation is vast, so the best approach is to learn by doing.
A Quick Comparison: Cloud Run vs. Google Kubernetes Engine
- Google Cloud Run: Ideal for single-container applications. Offers simple and fast deployment, suitable for small applications, APIs, and microservices.
- Google Kubernetes Engine: Provides cluster management and high-availability support. Suitable for applications requiring multi-container orchestration, auto-scaling, and high fault tolerance.
Prerequisites
- Ensure you have Docker and the Google Cloud CLI installed locally.
- Enable the Kubernetes Engine API in your GCP project.

- Create a Google Artifact Registry in GCP.
- Log in with the Google Cloud CLI and set your project.
gcloud projects list
gcloud config set project [PROJECT_ID]
- Install the
kubectlcomponent for gcloud.
gcloud components install kubectl  gke-gcloud-auth-plugin
gcloud components update
First, Initialize a Next.js Project
npx create-next-app@latest nextjs-blog --use-npm --example "https://github.com/vercel/next-learn/tree/main/basics/learn-starter"
cd nextjs-blog
Next, copy the Dockerfile and next.config.js from the official example into your project's root directory.
Build and Push the Docker Image to Google Artifact Registry
docker build -t asia-east1-docker.pkg.dev/gcr-my-project01/my-registry/blog:v2 .
docker run -d -p 8888:80 asia-east1-docker.pkg.dev/gcr-my-project01/my-registry/blog:v2
docker push asia-east1-docker.pkg.dev/gcr-my-project01/my-registry/blog:v2
Create Kubernetes Clusters
Google offers two modes for GKE clusters:
-
Standard Cluster:
- You manually configure node resources and manage the cluster, offering greater flexibility.
- Users have deeper custom control, but this comes with a higher management overhead.
- Suitable for users who need fine-grained control and custom configurations.
-
Autopilot Cluster:
- The infrastructure is automatically managed, allowing you to focus solely on deploying applications and workloads.
- The system automatically adjusts resources based on demand, and you are billed for usage.
- Ideal for those who want to simplify management and avoid manual node configuration.
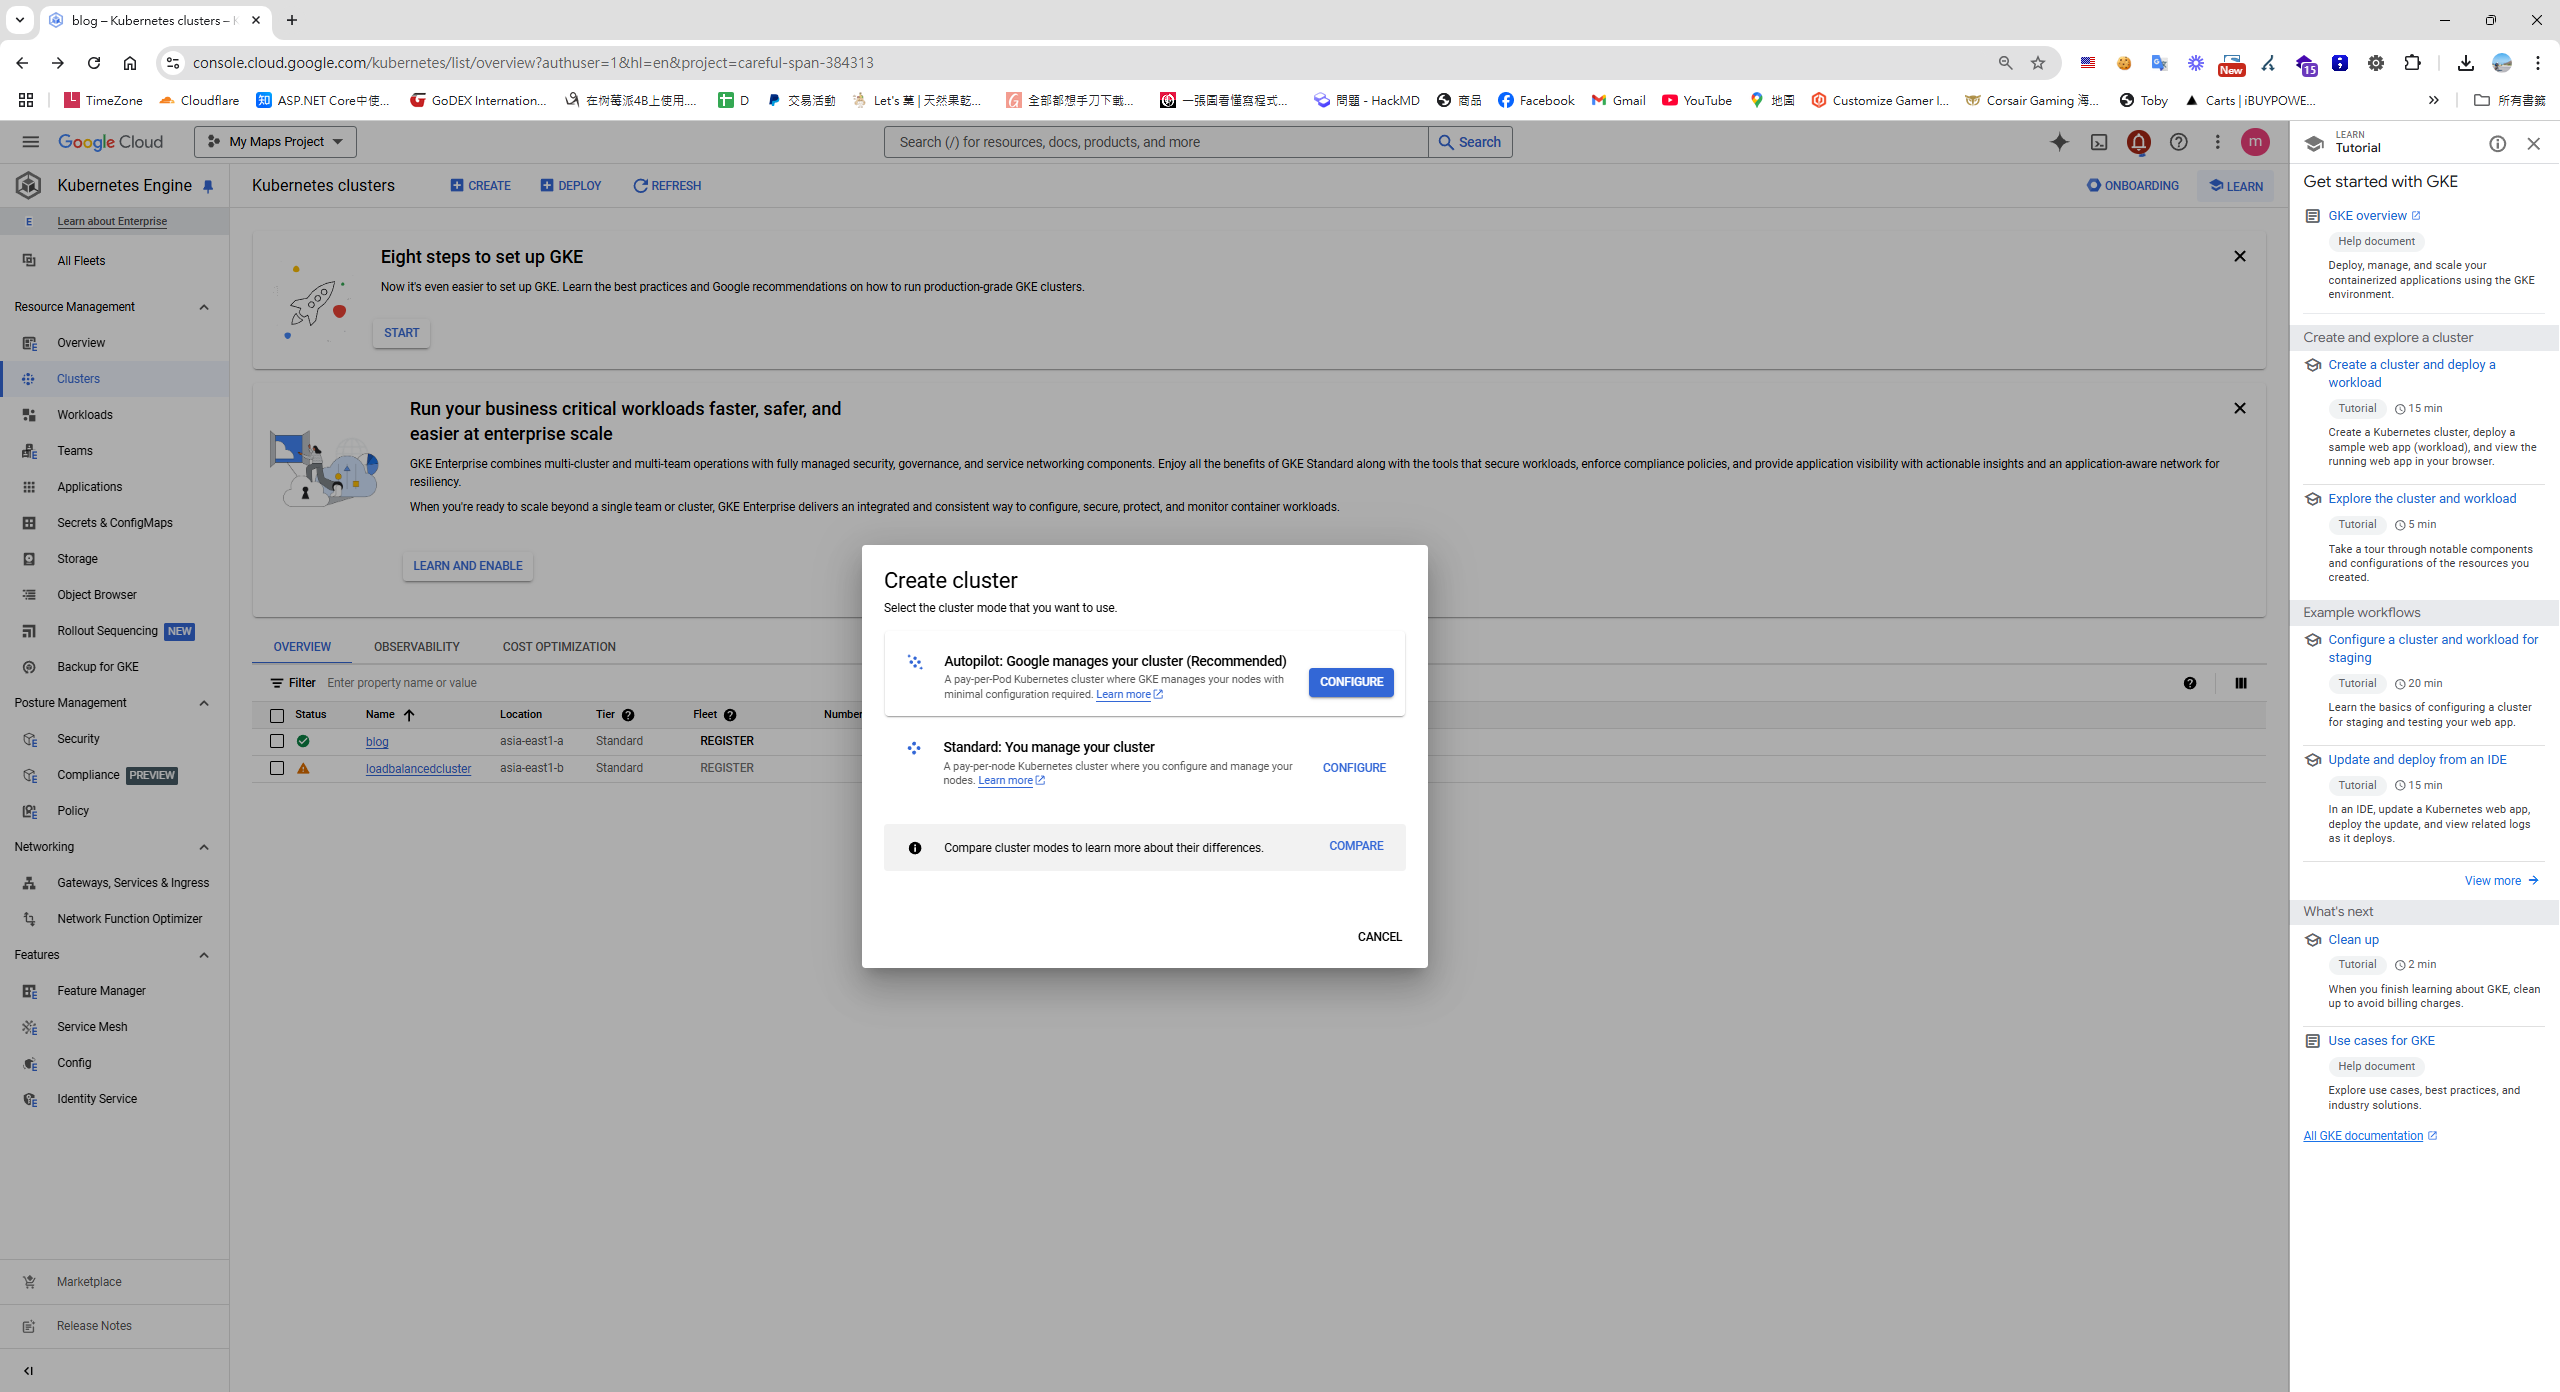
You can create Kubernetes clusters using either the web UI or command-line scripts.
Kubernetes Engine > Cluster > Create
Create a Cluster Using Command-Line Scripts
Standard Cluster
gcloud container clusters create blog-cluster --num-nodes 2 --machine-type n1-standard-1 --zone asia-east1-a
Autopilot Cluster
gcloud container clusters create-auto blog-autopilot-cluster --region asia-east1
Deploy the Application
Deploy a Container Using the Web UI
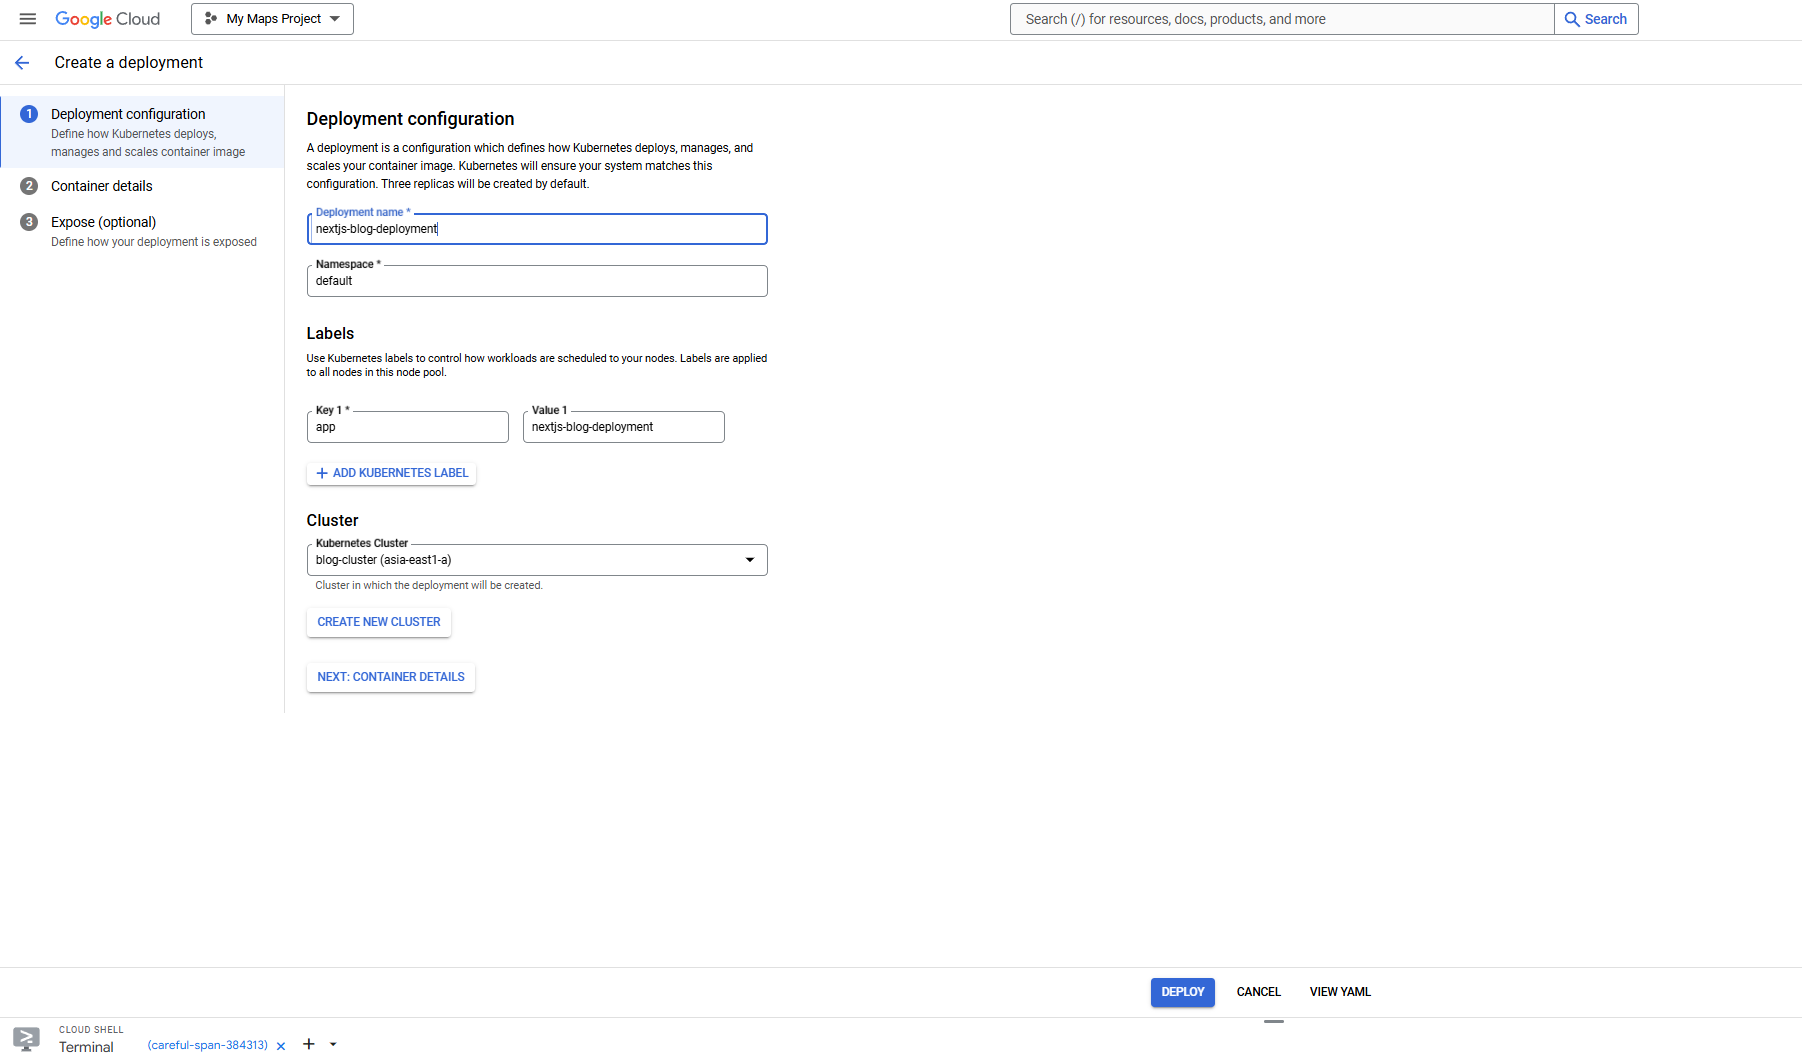
- Go back to the GCP console and navigate to Kubernetes Engine > Workloads > Deploy.
- Configure the server nodes and deployment name.
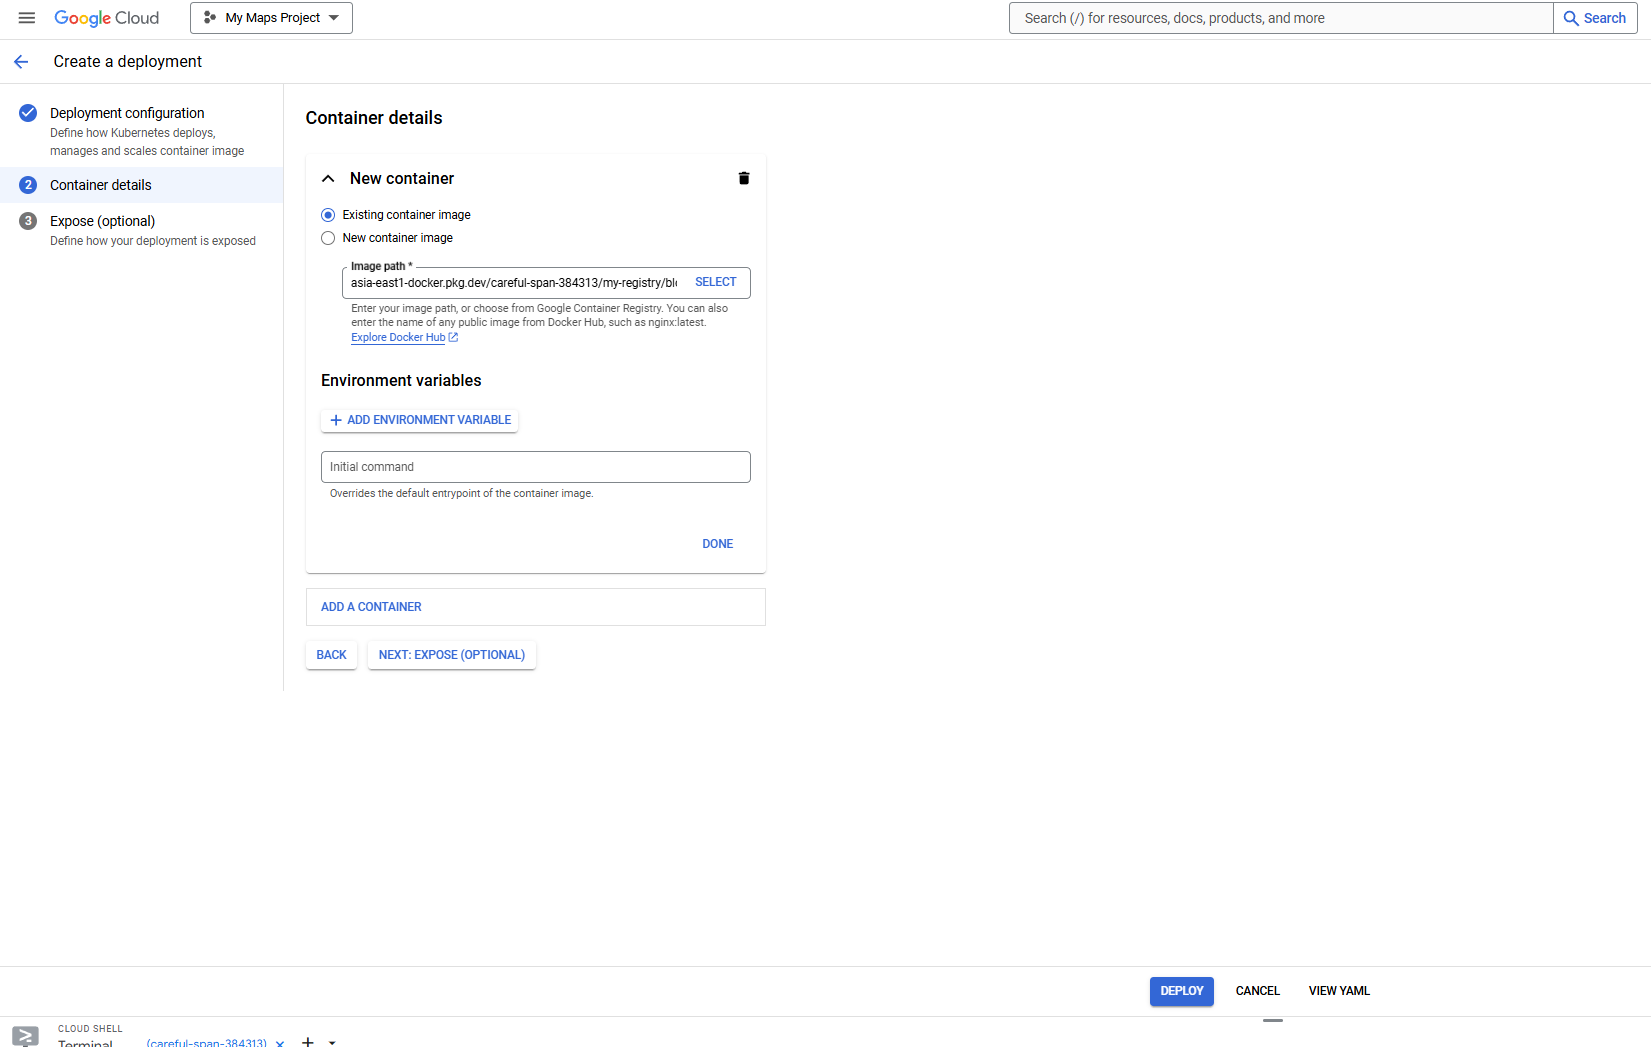
- Select the image you previously uploaded to Google Artifact Registry.
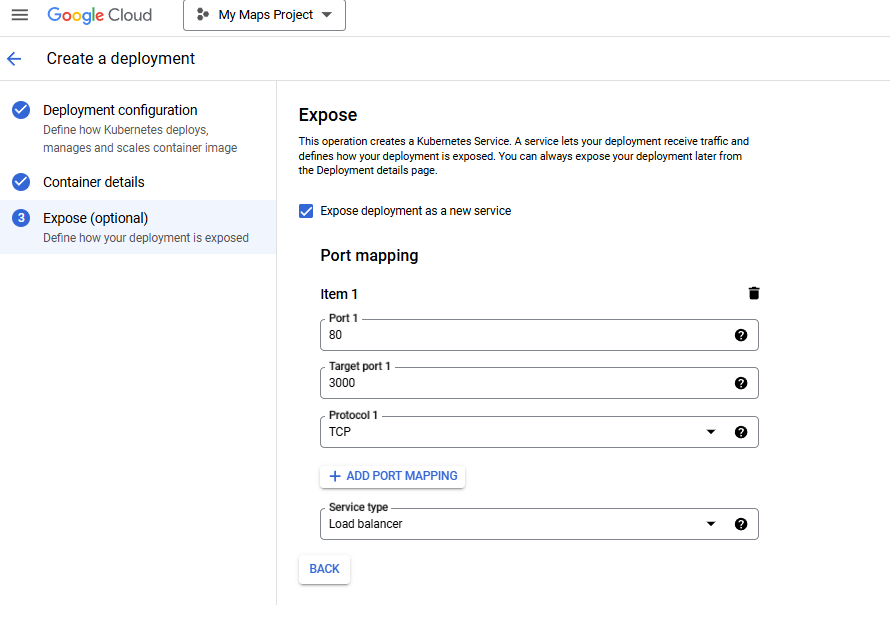
- Configure the internal and external ports.
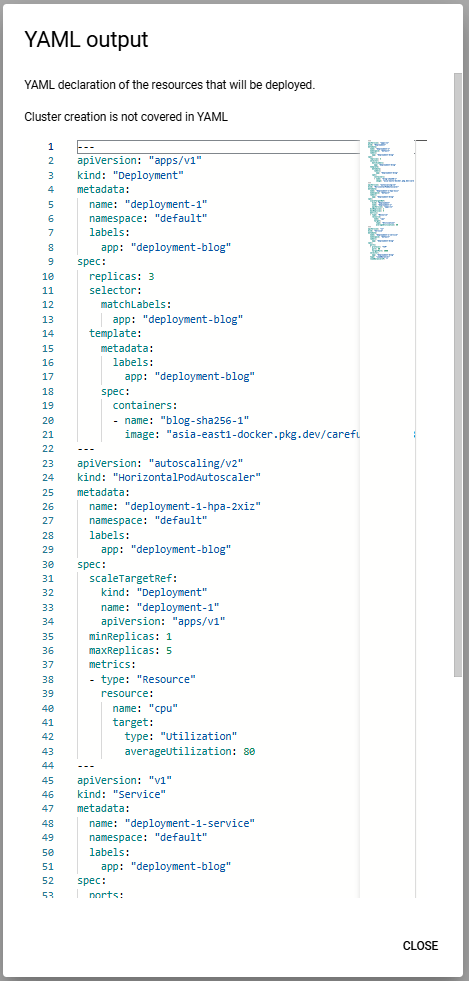
- You can review the YAML configuration. After closing, click Deploy.
Deploy Using Command-Line Scripts
Connect to the cluster: Use kubectl from Cloud Shell.
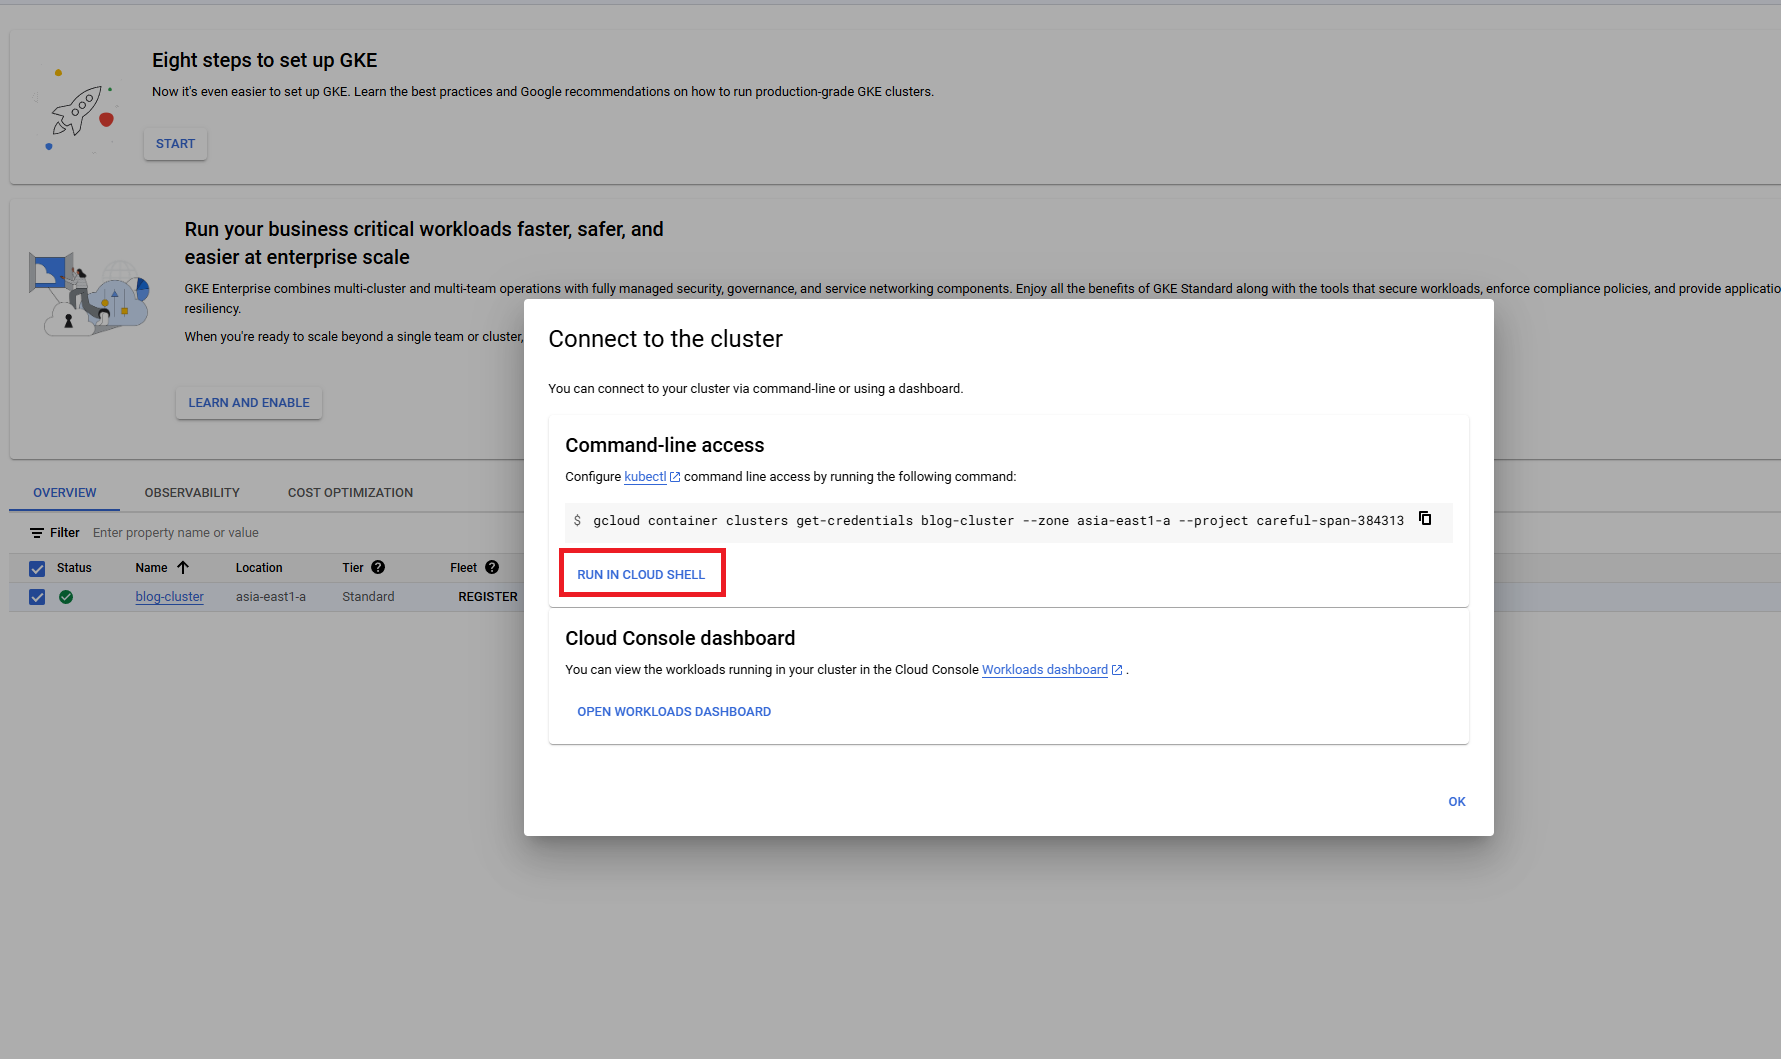
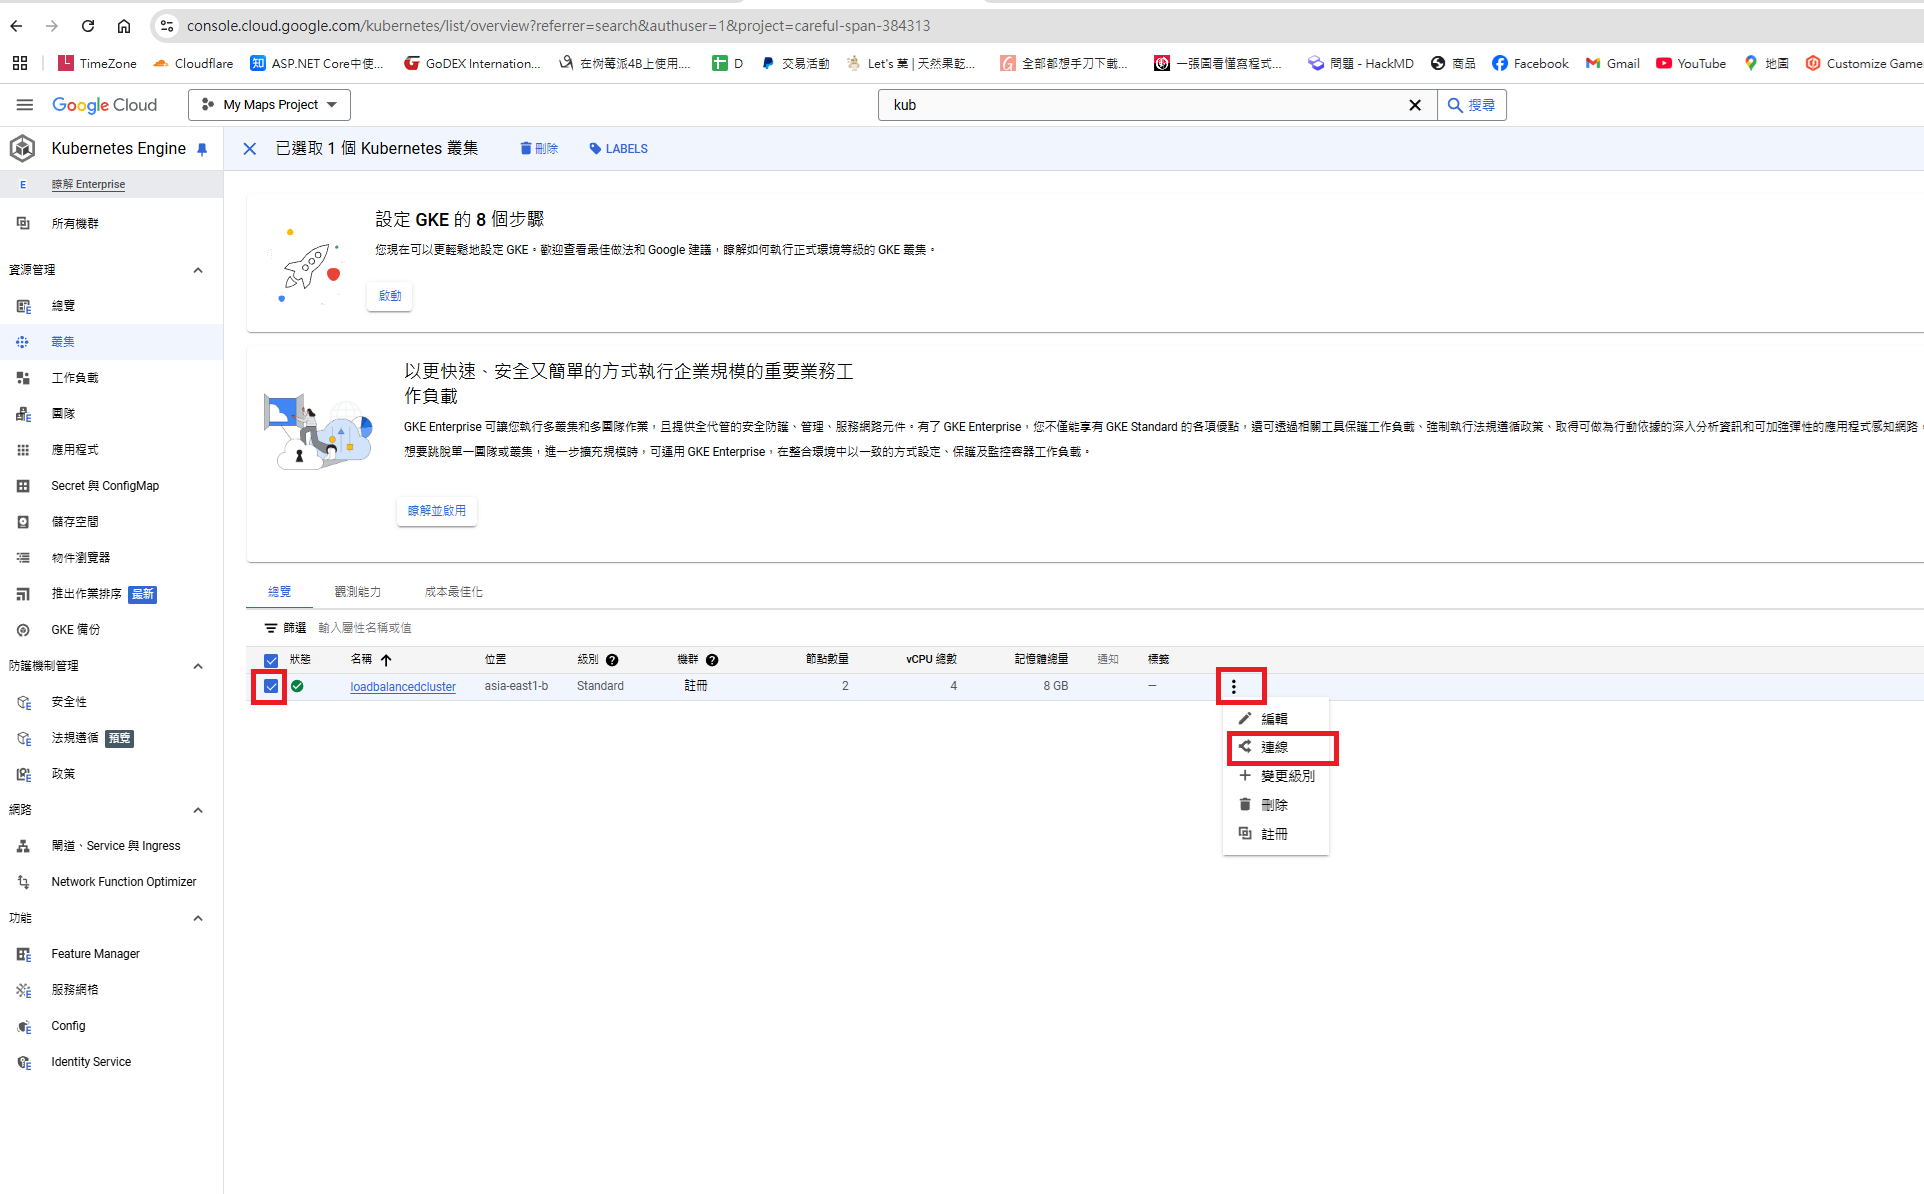 You can run
 kubectl commands from Cloud Shell, or copy the connection command and run it locally to connect.
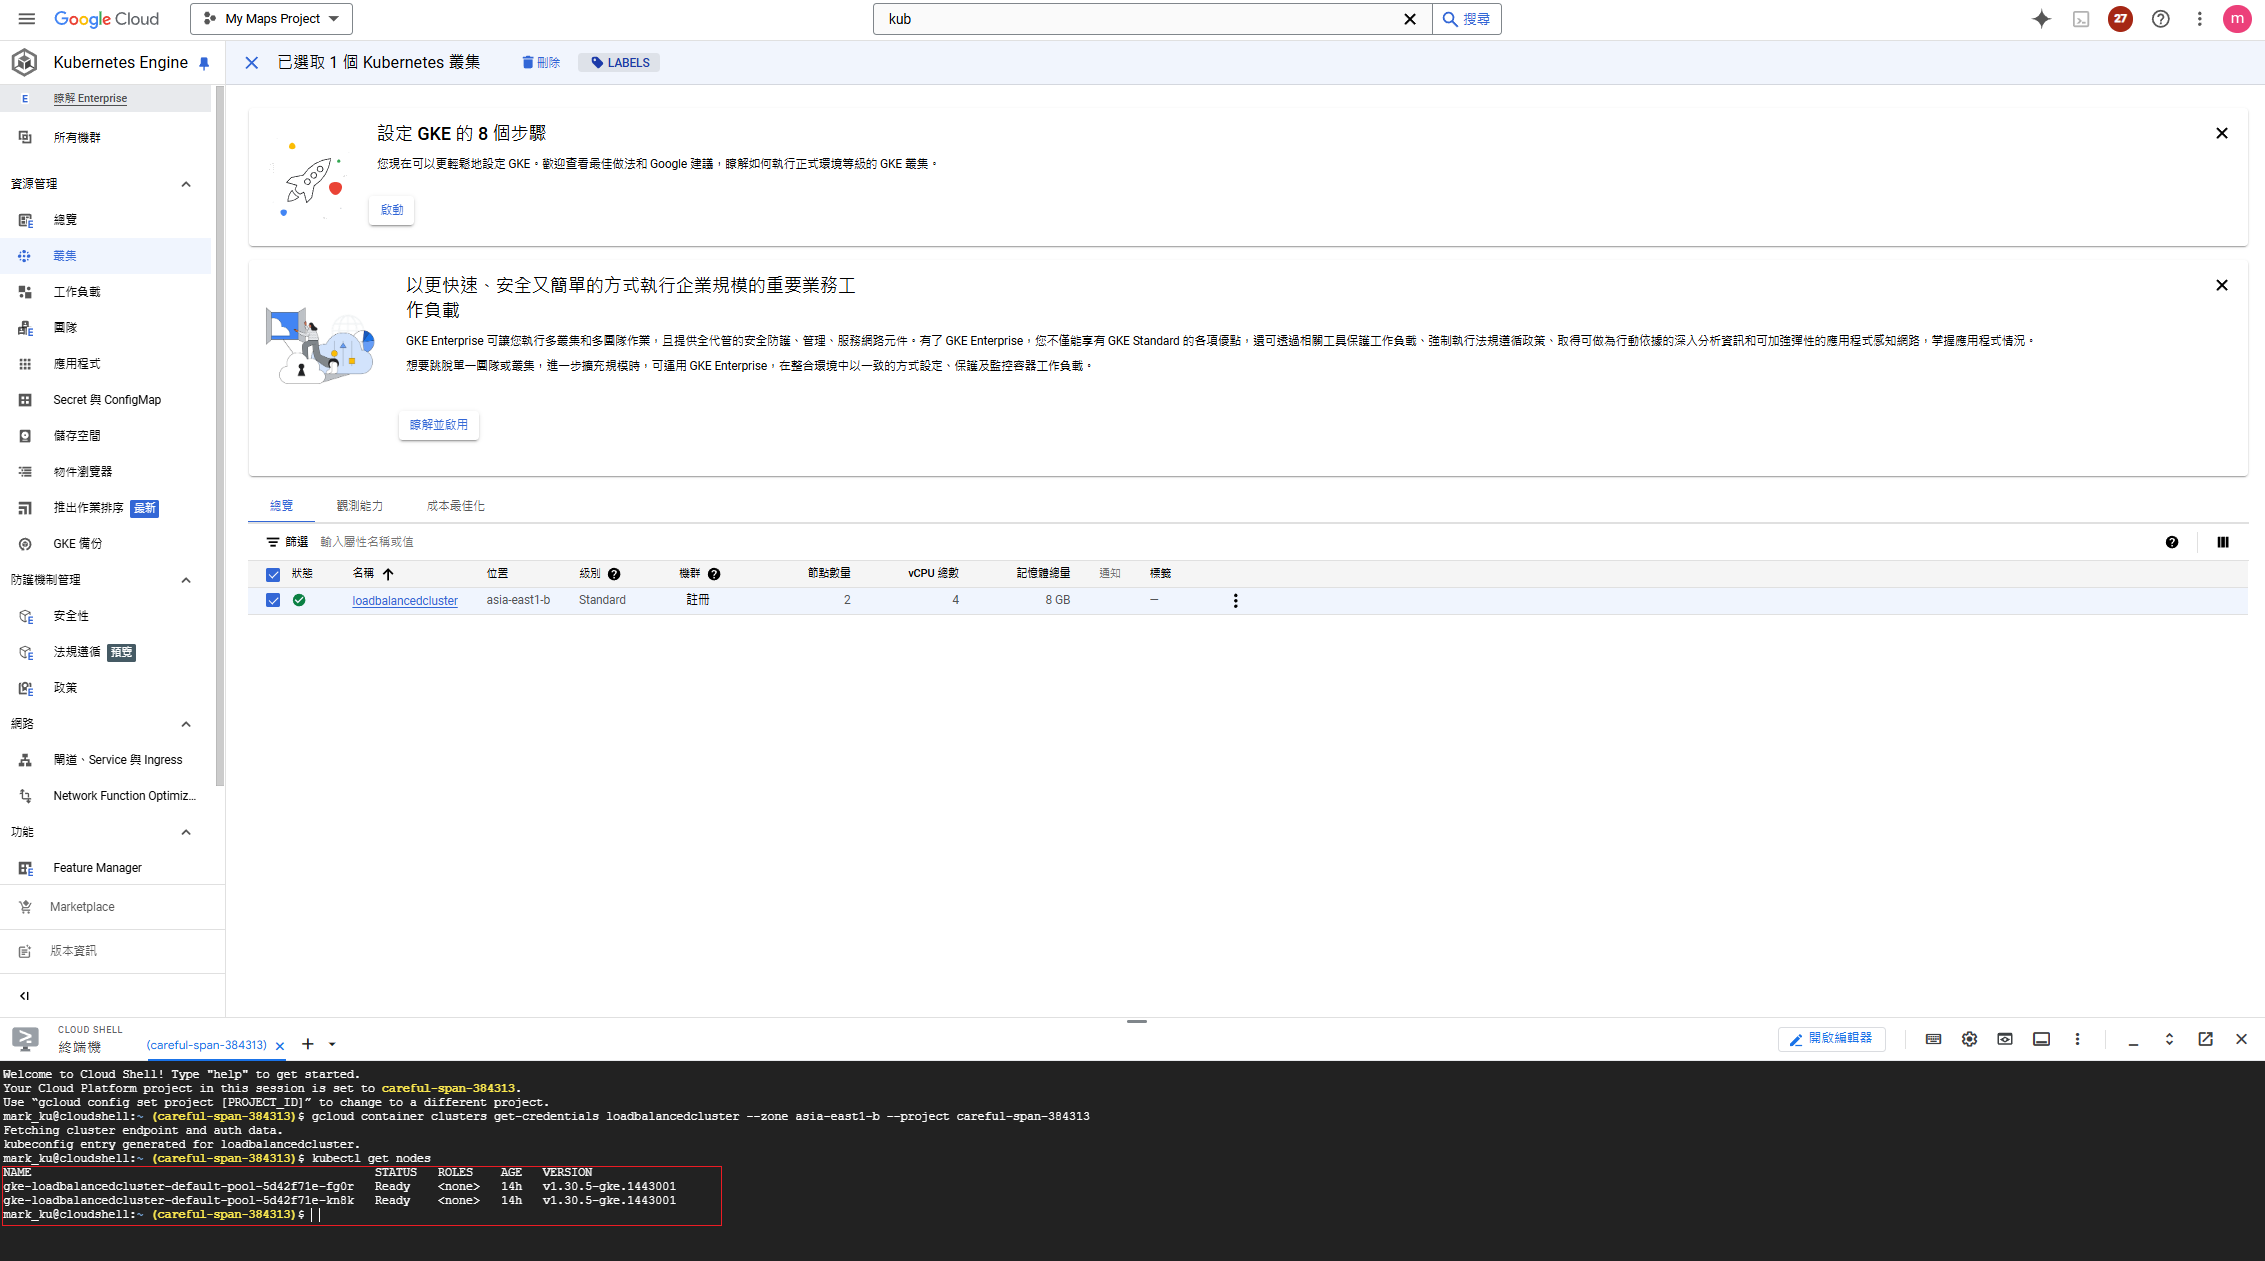
kubectl get nodes
Create a Deployment
vim nextjs-blog-deployment.yaml
apiVersion: apps/v1
kind: Deployment
metadata:
  name: nextjs-blog
  labels:
    app: nextjs-blog
spec:
  selector:
    matchLabels:
      app: nextjs-blog
      tier: web
  template:
    metadata:
      labels:
        app: nextjs-blog
        tier: web
    spec:
      containers:
      - name: nextjs-blog-app
        image: asia-east1-docker.pkg.dev/gcr-my-project01/my-registry/blog:v2
        ports:
        - containerPort: 3000
Run the application:
kubectl apply -f nextjs-blog-deployment.yaml
kubectl get deploy nextjs-blog
Network Configuration - Load Balancer
- Automatically creates an external service, configures a Load Balancer, and binds an external IP.
kubectl expose deployment nextjs-blog-deployment --type="LoadBalancer"
- Alternatively, you can create it by specifying the port.*
kubectl expose deployment nextjs-blog-deployment --name=nextjs-blog-service --port=80 --target-port=3000 --type=LoadBalancer
Documentation on specifying ports
Accessing the Service After Deployment
Click on the service to access it.
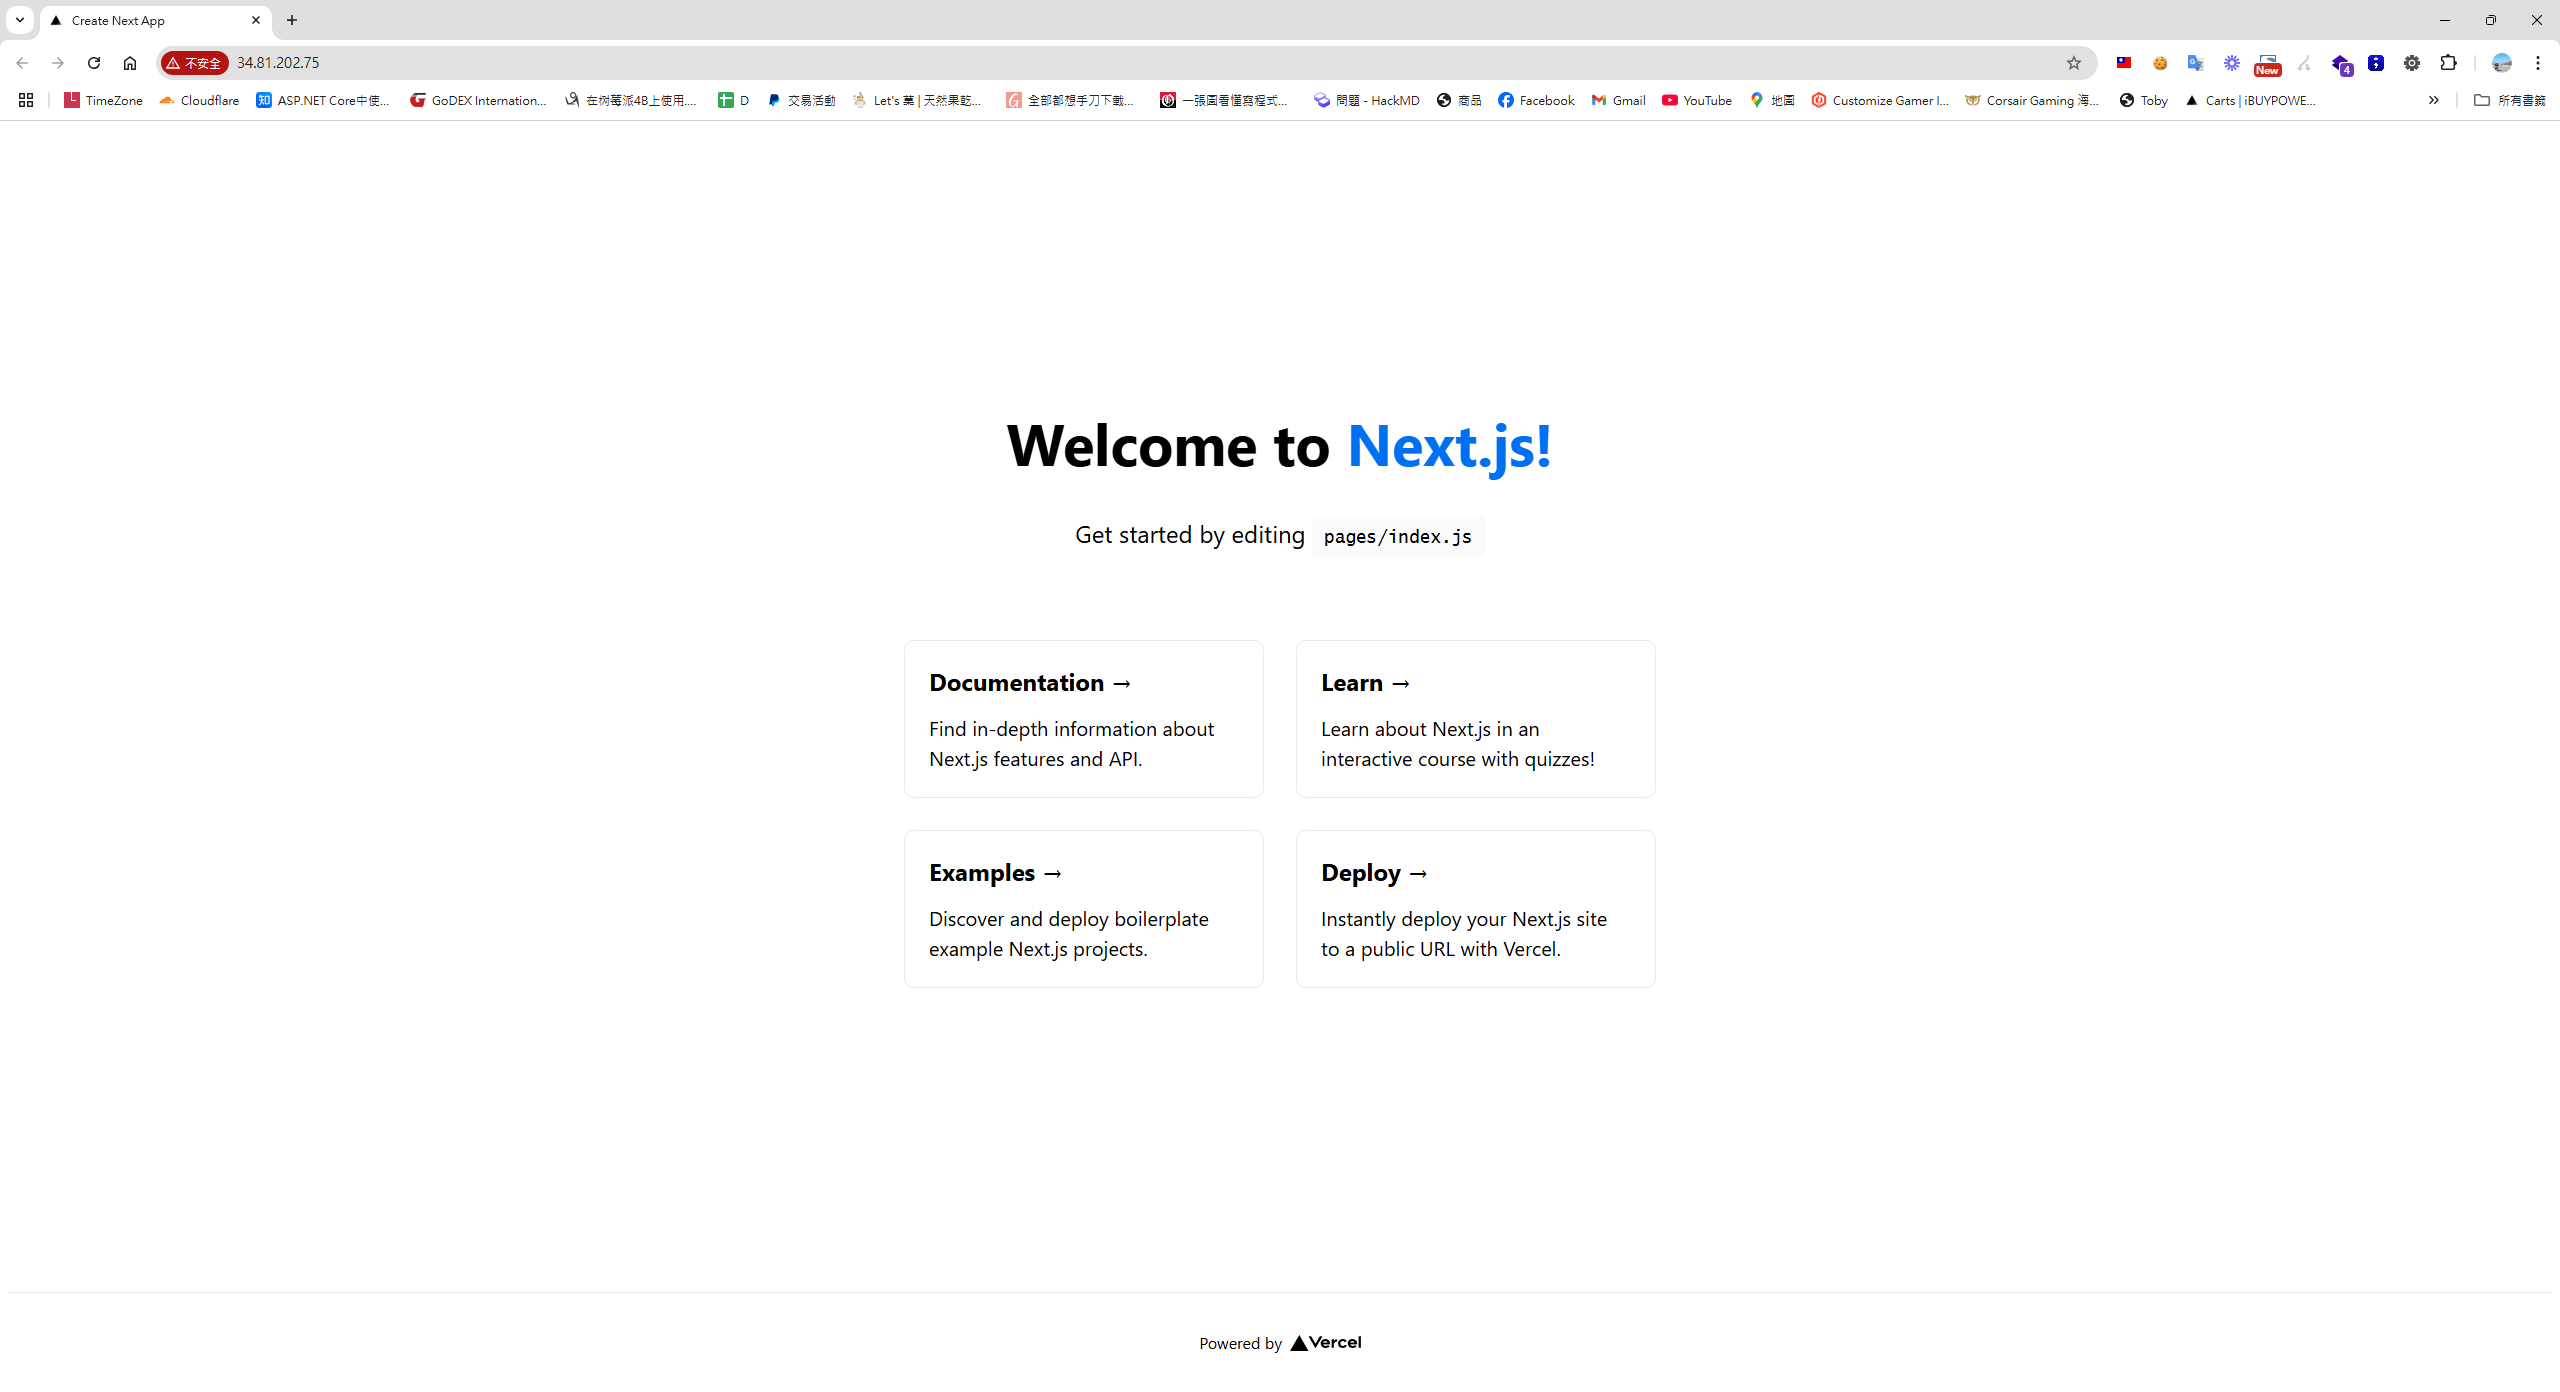
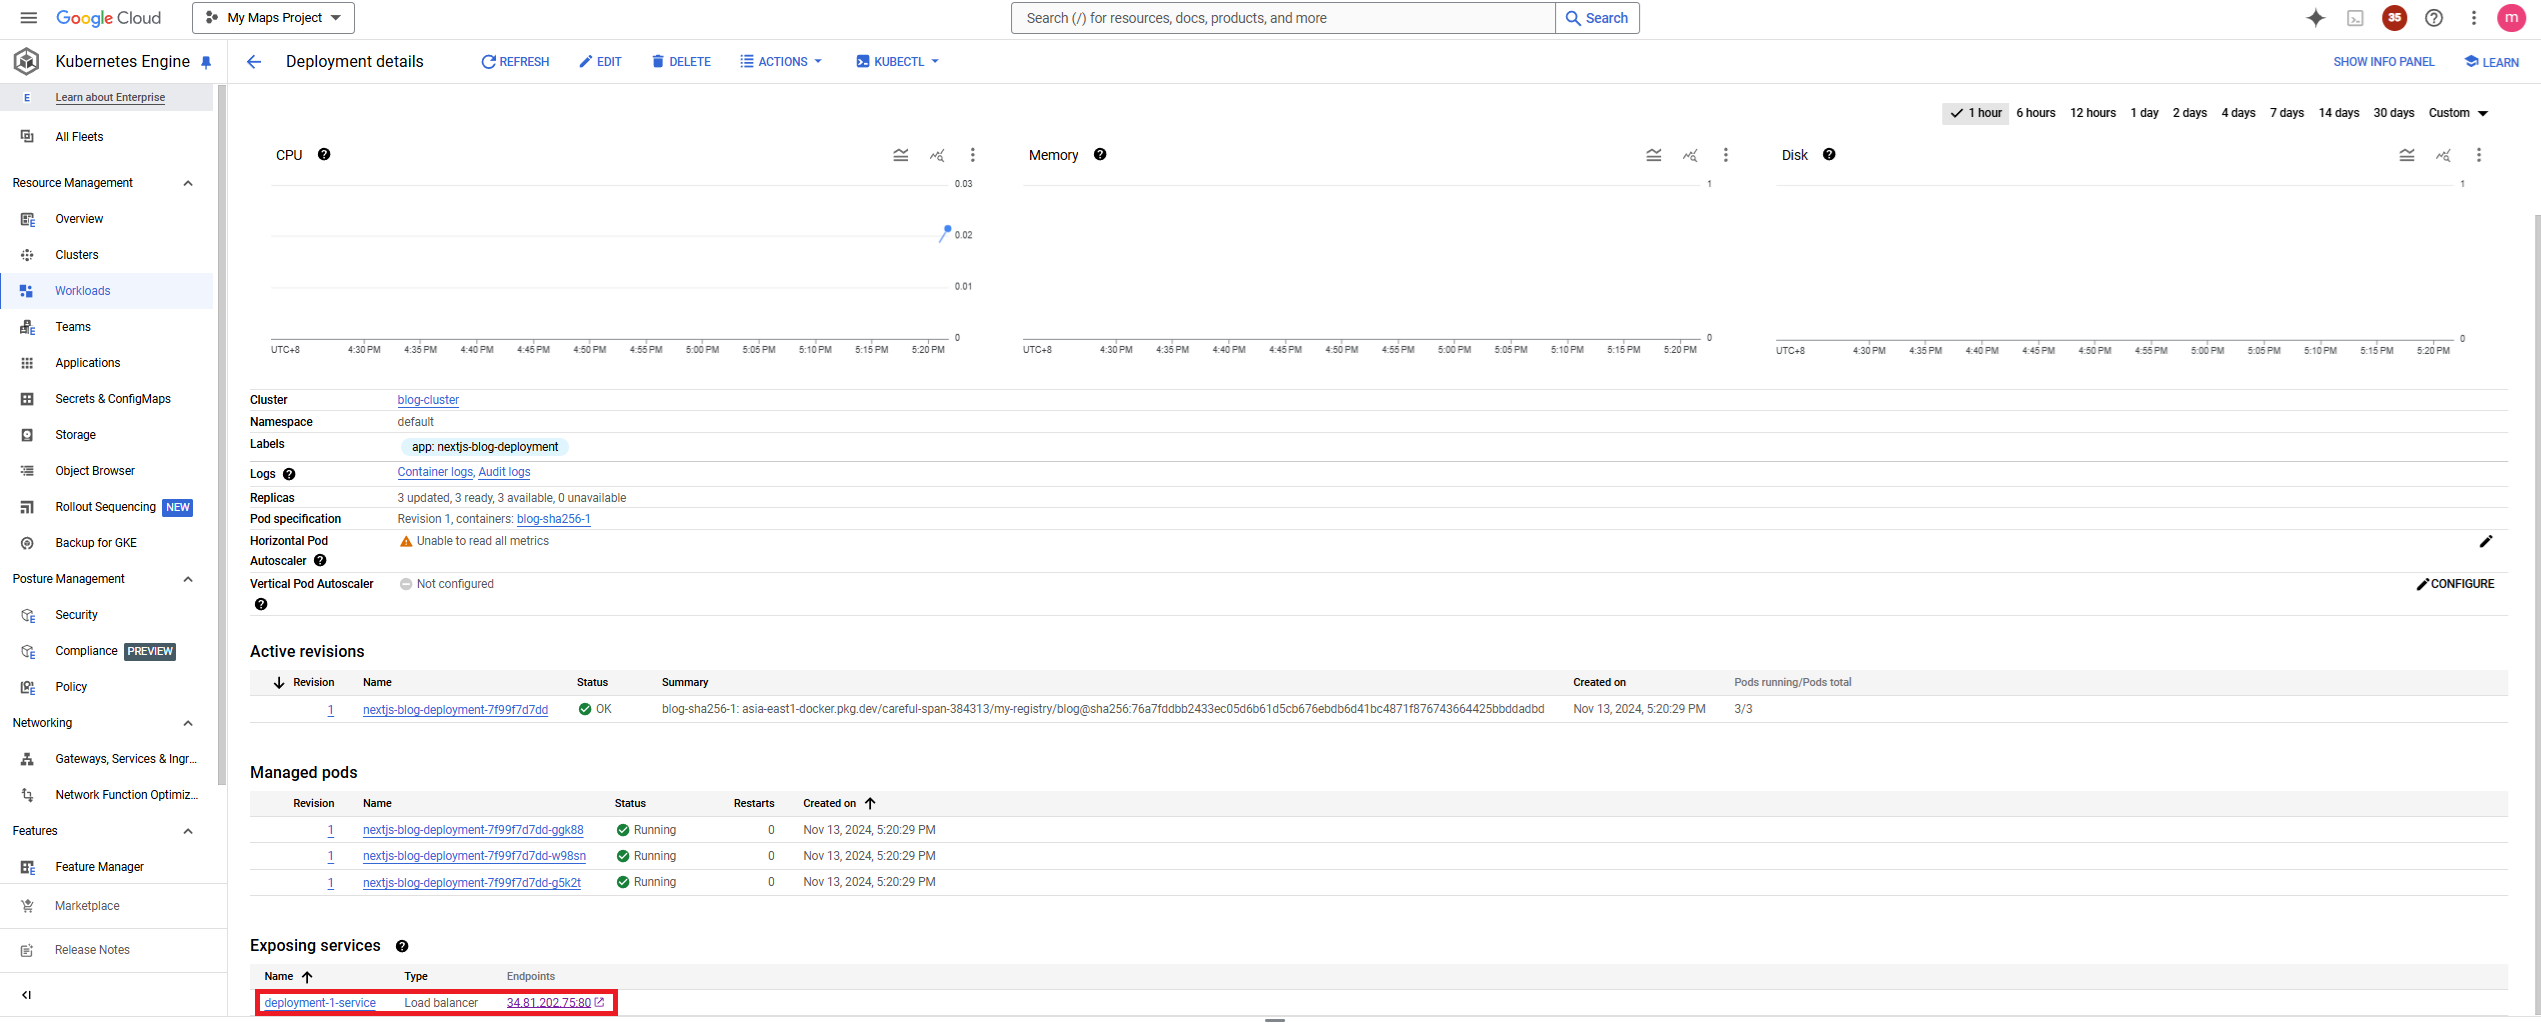 Accessing the Next.js site:
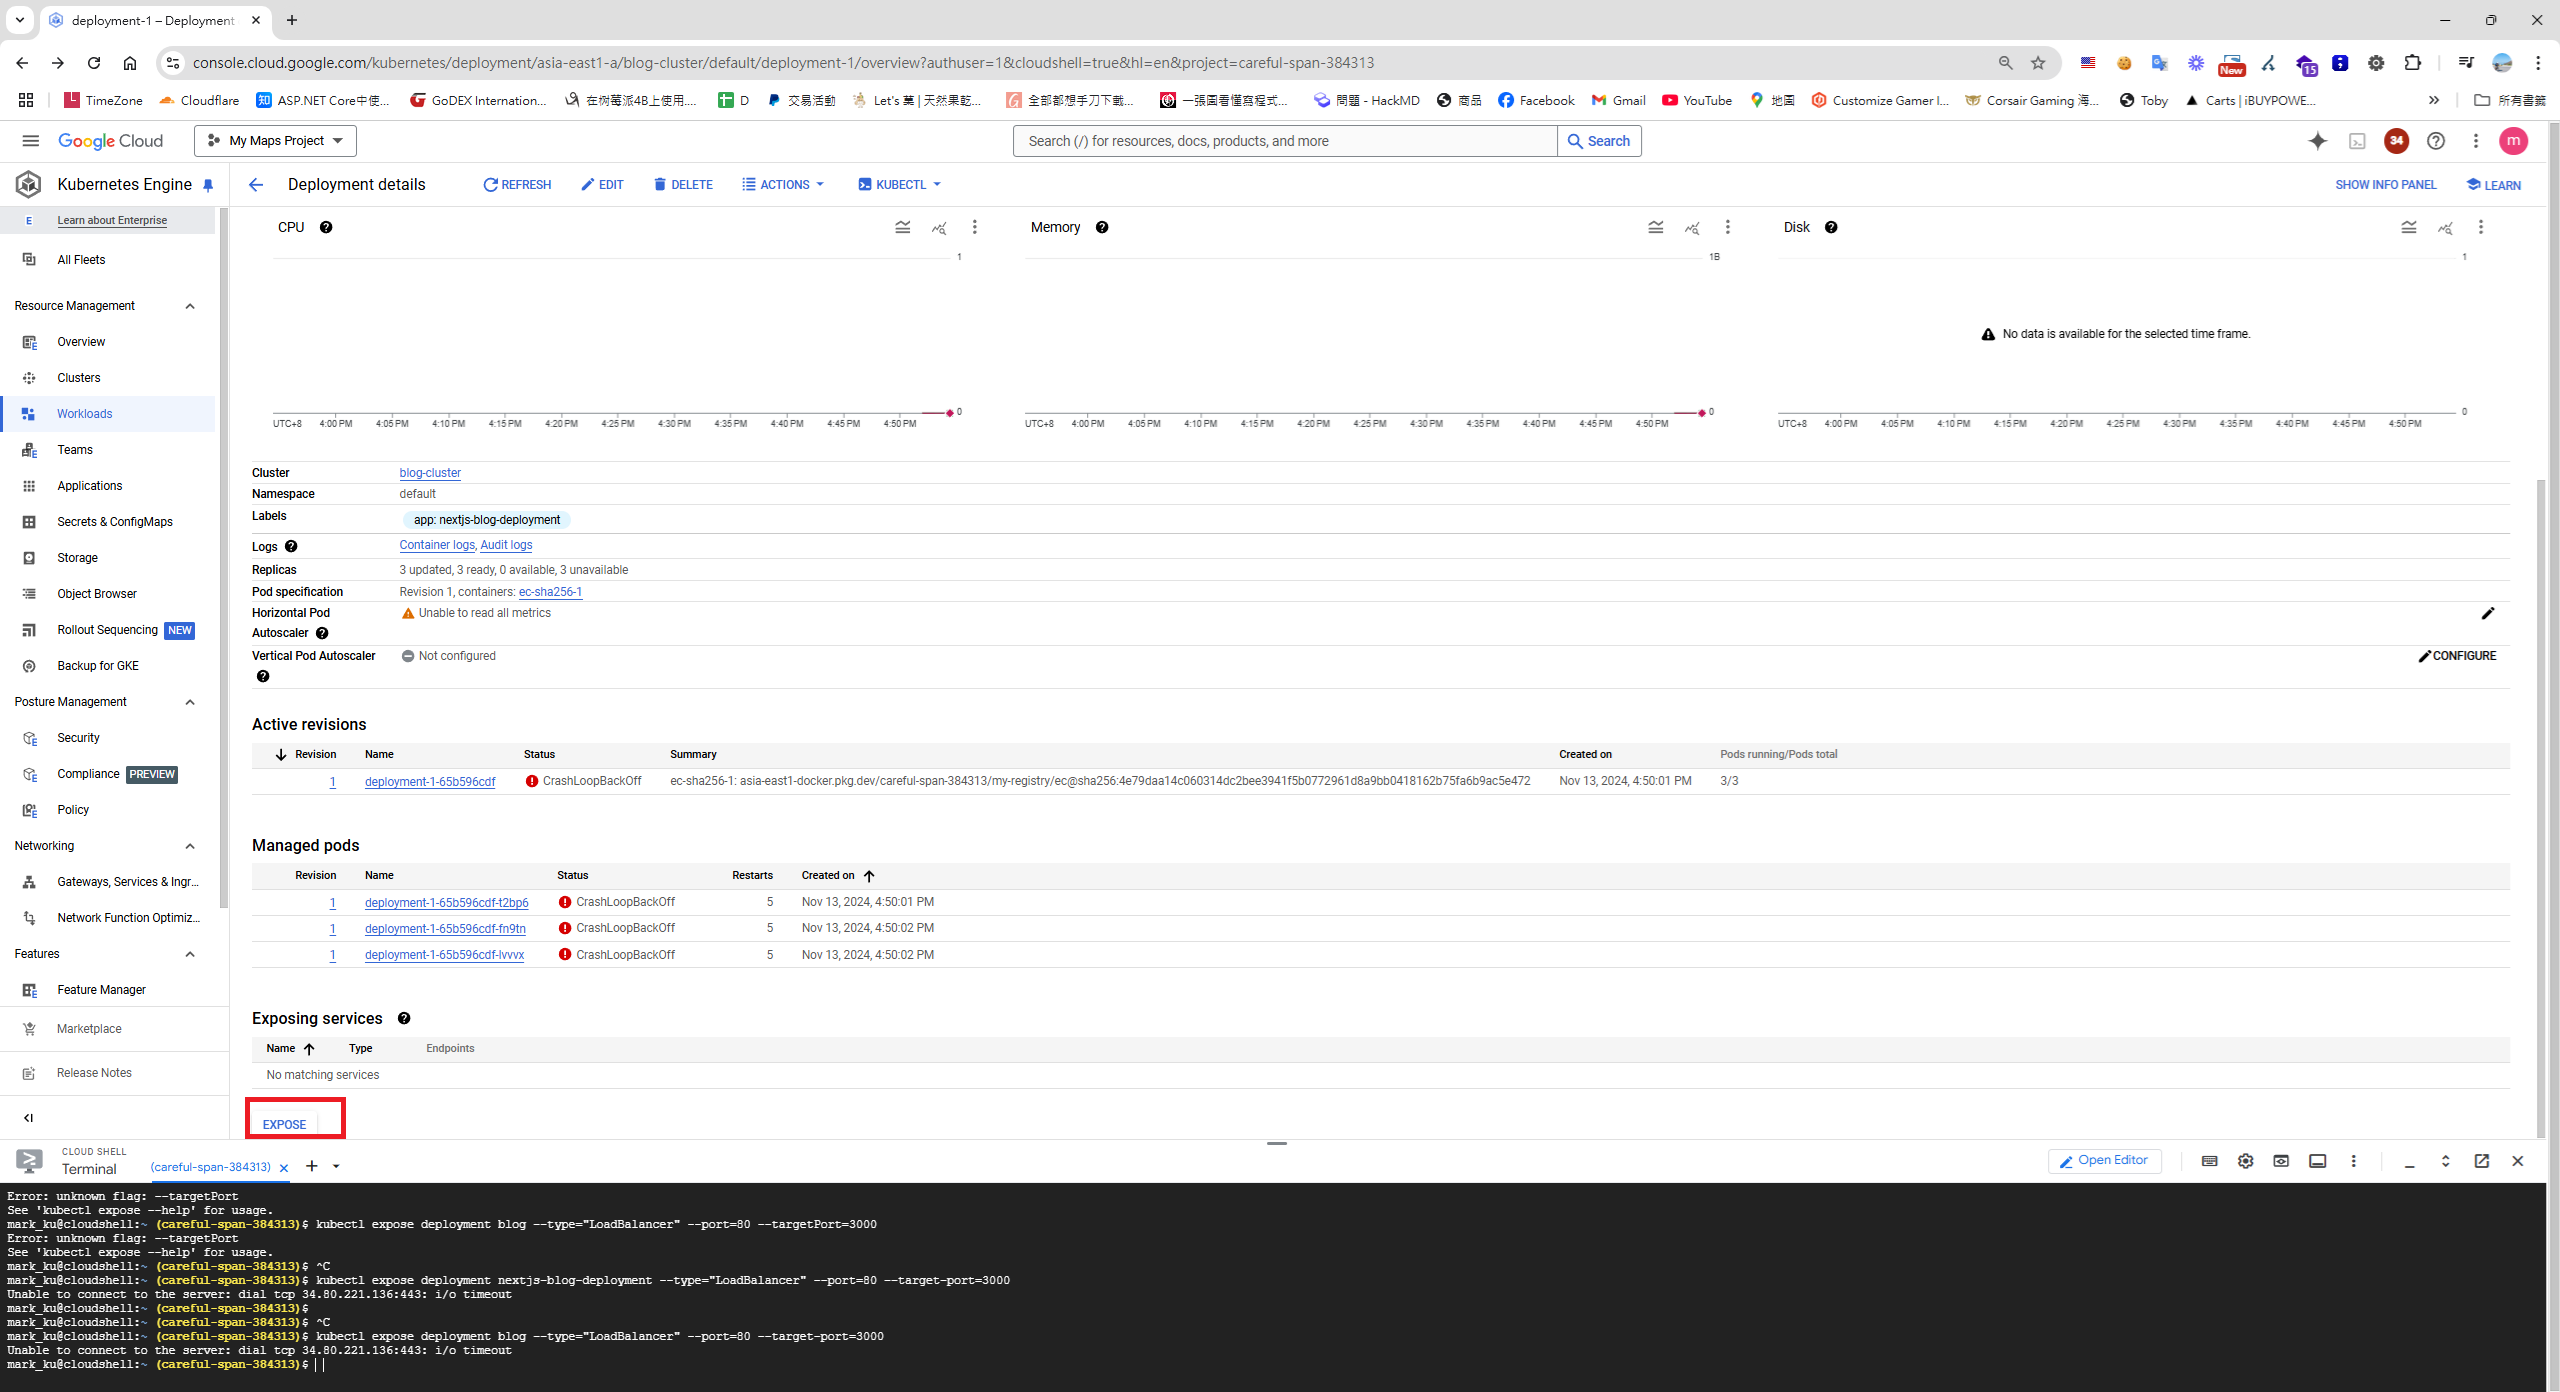
If you need additional port mapping, you can also use the Expose button below:
Appendix - Common Methods for Updating Images in Kubernetes
In Kubernetes, you can typically update an image using one of the following methods:
1. Update the image using kubectl set image
This method is suitable for quickly updating the image version:
kubectl set image deployment/<deployment-name> <container-name>=<new-image>:<new-tag>
For example:
kubectl set image deployment/my-app my-container=my-app-image:v2
2. Update the Deployment YAML file and re-apply it
If you manage your configuration with YAML files, you can update the image tag in the file and then re-apply it:
# my-app-deployment.yaml
apiVersion: apps/v1
kind: Deployment
metadata:
  name: my-app
spec:
  replicas: 3
  template:
    spec:
      containers:
      - name: my-container
        image: my-app-image:v2  # 更新映像檔標籤
Re-apply the updated YAML file:
kubectl apply -f my-app-deployment.yaml
3. Restart the Deployment using kubectl rollout restart
If the image tag has been updated (e.g., you pushed a new version with the same tag), you can use a restart to force a refresh:
kubectl rollout restart deployment/<deployment-name>
4. Update the image using kubectl patch
This method allows you to perform a partial update directly from the command line:
kubectl patch deployment <deployment-name> -p '{"spec":{"template":{"spec":{"containers":[{"name":"<container-name>","image":"<new-image>:<new-tag>"}]}}}}'
For example:
kubectl patch deployment my-app -p '{"spec":{"template":{"spec":{"containers":[{"name":"my-container","image":"my-app-image:v2"}]}}}}'
Verify the Update
Regardless of the method used, you can use the following command to check if the update was successful:
kubectl rollout status deployment/<deployment-name>
All of these methods trigger a rolling update, which gradually replaces old containers with new ones to ensure service continuity.
Appendix - For Next.js to support multiple servers, you need to additionally configure generateBuildId to ensure each application instance gets consistent files.
/_next/static/<build-ID>/<static-file>
References
How to deploy NextJS app to Kubernetes Cluster in GCP with Custom Domain?


Comments