
Introduction
Previously, I used Langchain to optimize SEO for a German e-commerce website, using Azure AI at the time. However, since the budget always ran out at the end of the month, I started looking for alternatives and eventually found Facebook's open-source AI model, Llama, as a replacement.
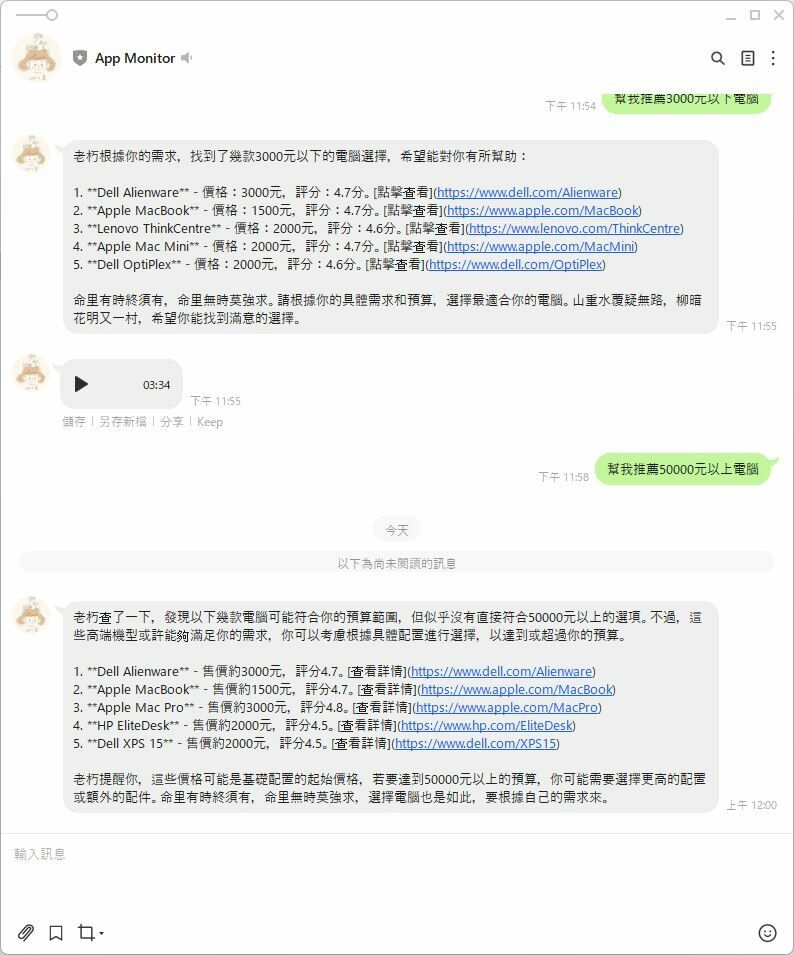
I had actually built a fortune-telling AI bot using Python and Langchain. But considering my team members are primarily proficient in JavaScript, not Python, I decided to try developing this AI-related feature using Next.js's API to unify our tech stack and make it easier for everyone to back each other up. This ultimately became an AI Agent Bot API.
A Quick Review - What is Langchain
Langchain is a framework that can integrate various large AI models, making it easy to call different types of large language models. The framework provides templates, parsers, dynamic routing, and can be integrated with backend languages like Python, Node.js, and C#.
Why Should Applications Interact with AI?
We all know that AI is exceptionally good with text and highly efficient. When applications interact with AI, it opens up many extended applications, such as:
-
- Checking if reviews are positive or negative.
-
- SEO generation / translation / marketing copy.
-
- Product consultation / product recommendation bots.
-
- Code review tools.
-
- Checking documents for typos / verifying the correctness of monetary amounts.
-
- Internal domain-specific response bots. For example, HR leave policies, product design workflows.
So Why Use Langchain?
If your use case is simple, involving only a single question-and-answer exchange with a large language model, then I think you might not need Langchain. However, if you want the AI to decide what to do based on the semantics of the user's input, or if you need to interact with the LLM multiple times within a single request—for instance, checking your own vector database and then interacting with an external API if no relevant data is found—then Langchain is a perfect fit for this scenario.

Prerequisites
- Install Ollama (refer to my previous article)
- Have a Next.js project ready
- Install the relevant Langchain packages. This series of articles uses version (0.3).
npm install langchain @langchain/azure-openai @langchain/ollama @langchain/openai --save
Example 1: Generating Store Names with AI
Originally, generating a shoe store name using Azure OpenAI
import { AzureChatOpenAI } from '@langchain/openai';
import { NextApiRequest, NextApiResponse } from 'next';

export default async function handler(req: NextApiRequest, res: NextApiResponse) {
    const model = new AzureChatOpenAI({
        azureOpenAIApiKey: process.env.AZURE_OPENAI_API_KEY,
        azureOpenAIApiDeploymentName: 'gpt-4',
        azureOpenAIApiInstanceName: 'your-instance-name',
        azureOpenAIApiVersion: '2023-03-15-preview',
        temperature: 0, // 用來調控AI 的隨機性
        maxTokens: 500,
    });

    try {
        const result = await model.invoke('為一個鞋店起一個好的名字。');
        res.status(200).json({ result });
    } catch (error) {
        res.status(500).json({ error: 'Failed to generate name' });
    }
}
Now, generating a shoe store name using ChatOllama
Isn't Langchain convenient? It has a well-designed interface. You can just swap AzureChatOpenAI with ChatOllama to change the model without altering the rest of the code.
import { ChatOllama } from '@langchain/ollama';
import { NextApiRequest, NextApiResponse } from 'next';

export default async function handler(req: NextApiRequest, res: NextApiResponse) {
    const model = new ChatOllama({
        model: 'llama3.2',
        temperature: 0,
        maxRetries: 2,
        baseUrl: 'http://localhost:11434',
    });

    try {
        const result = await model.invoke('為一個鞋店起一個好的名字。');
        const content = JSON.stringify(result.content);
        res.status(200).json(content);
    } catch (error) {
        res.status(500).json({ error: 'Failed to generate name' });
    }
}
Example 2: Using chatTemplate
import { ChatOllama } from '@langchain/ollama';
import { NextApiRequest, NextApiResponse } from 'next';

export default async function handler(req: NextApiRequest, res: NextApiResponse) {
    const { brandName, modelVersion = 'llama3.2', temperature = 0 } = req.body;

    const model = new ChatOllama({
        model: modelVersion,
        temperature,
        maxRetries: 2,
        baseUrl: 'http://localhost:11434',
    });

    try {
        const result = await model.invoke(`為一個鞋店起一個好的名字:${brandName}`);
        const content = JSON.stringify(result.content);
        res.status(200).json(content);
    } catch (error) {
        res.status(500).json({ error: 'Failed to generate name' });
    }
}
Example 3: Using pipe to make the AI do more things, easily enabling multiple back-and-forth calls
import { StringOutputParser } from '@langchain/core/output_parsers';
import { ChatPromptTemplate } from '@langchain/core/prompts';
import { ChatOllama } from '@langchain/ollama';
import { NextApiRequest, NextApiResponse } from 'next/types';

// 定義 API route
export default async function handler(req: NextApiRequest, res: NextApiResponse) {
    const { modelVersion = 'llama3.2', temperature = 0 } = req.body;

    try {
     const question = 'What is the weather in Taipei?';
        // 1. 初始化模型
        const model = new ChatOllama({
            model: modelVersion,
            temperature,
            maxRetries: 2,
            baseUrl: 'http://localhost:11434',
        });

        // 2. 定義一個處理步驟的 prompt
        const prompt = ChatPromptTemplate.fromMessages([['human', 'Ask the weather for {question}']]);

        // 2. 定義 output parser
        const outputParser = new StringOutputParser();

        // 3. 使用 pipe 來串聯步驟:prompt -> model -> parser
        const pipeChain = prompt.pipe(model).pipe(outputParser);

        // 4. 執行 chain 並取得結果
        const weatherResponse = await pipeChain.invoke({ question });

        // 5. 回應 API 結果
        res.status(200).json({ weather: weatherResponse });
    } catch (error) {

        res.status(500).json({ message: 'Internal Server Error' });
    }
}
Example 4: Using a chain to have the AI call an API for me
import { ChatOllama } from '@langchain/ollama';
import { APIChain } from 'langchain/chains';
import { NextApiRequest, NextApiResponse } from 'next/types';

const OPEN_METEO_DOCS = `api document ...`;

// Next.js API route
export default async function handler(req: NextApiRequest, res: NextApiResponse) {
    const { question, modelVersion = 'llama3.2', temperature = 0 } = req.body;

    try {
        const model = new ChatOllama({
            model: modelVersion,
            temperature,
            maxRetries: 2,
            baseUrl: 'http://localhost:11434',
        });

        const chain = APIChain.fromLLMAndAPIDocs(model, OPEN_METEO_DOCS, {
            headers: {
                // API-specific headers if required
            },
        });

        const weatherResponse = await chain.invoke({ question });

        res.status(200).json({ weather: weatherResponse });
    } catch (error) {
        console.error('Error fetching weather:', error);
        res.status(500).json({ message: 'Internal Server Error' });
    }
}
Related Articles in This Series
- Building an AI Bot API in Next.js with Langchain and Open-Source Llama AI Part 1 - Getting to Know Langchain
- Building an AI Bot API in Next.js with Langchain and Open-Source Llama AI Part 2 - Creating an AI Agent with Memory
- Building an AI Bot API in Next.js with Langchain and Open-Source Llama AI Part 3 - Adding a Vector Database to Give the AI an Extra Brain
- Building an AI Bot API in Next.js with Langchain and Open-Source Llama AI Part 4 - AI Product Recommendation API


Comments