

Goal
When working with various frontend frameworks, you always end up with static files. Manually copying them to a CDN takes too much time, so I spent some time writing a Jenkins script that automatically copies the static files to the CDN during the build, and purges the Cloudflare cache at the same time.
First, when creating the "Live - Copy Next JS public folder to CDN assets" Jenkins Job, check "This project is parameterized" and add a String Parameter so you can pass optional parameters when running the job
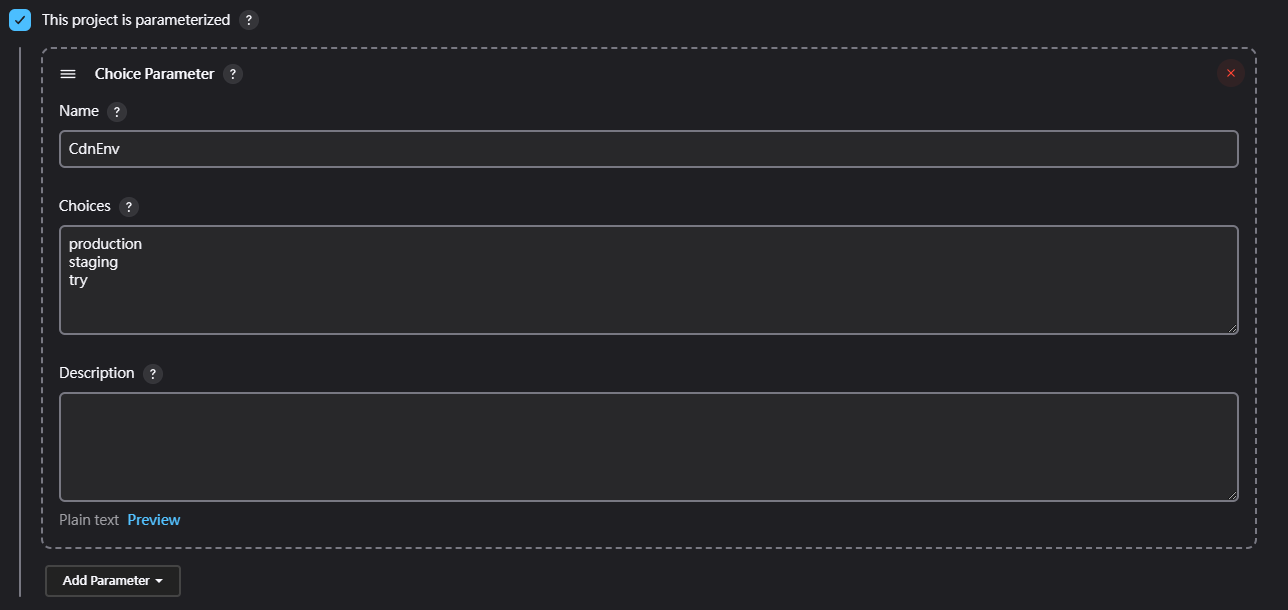
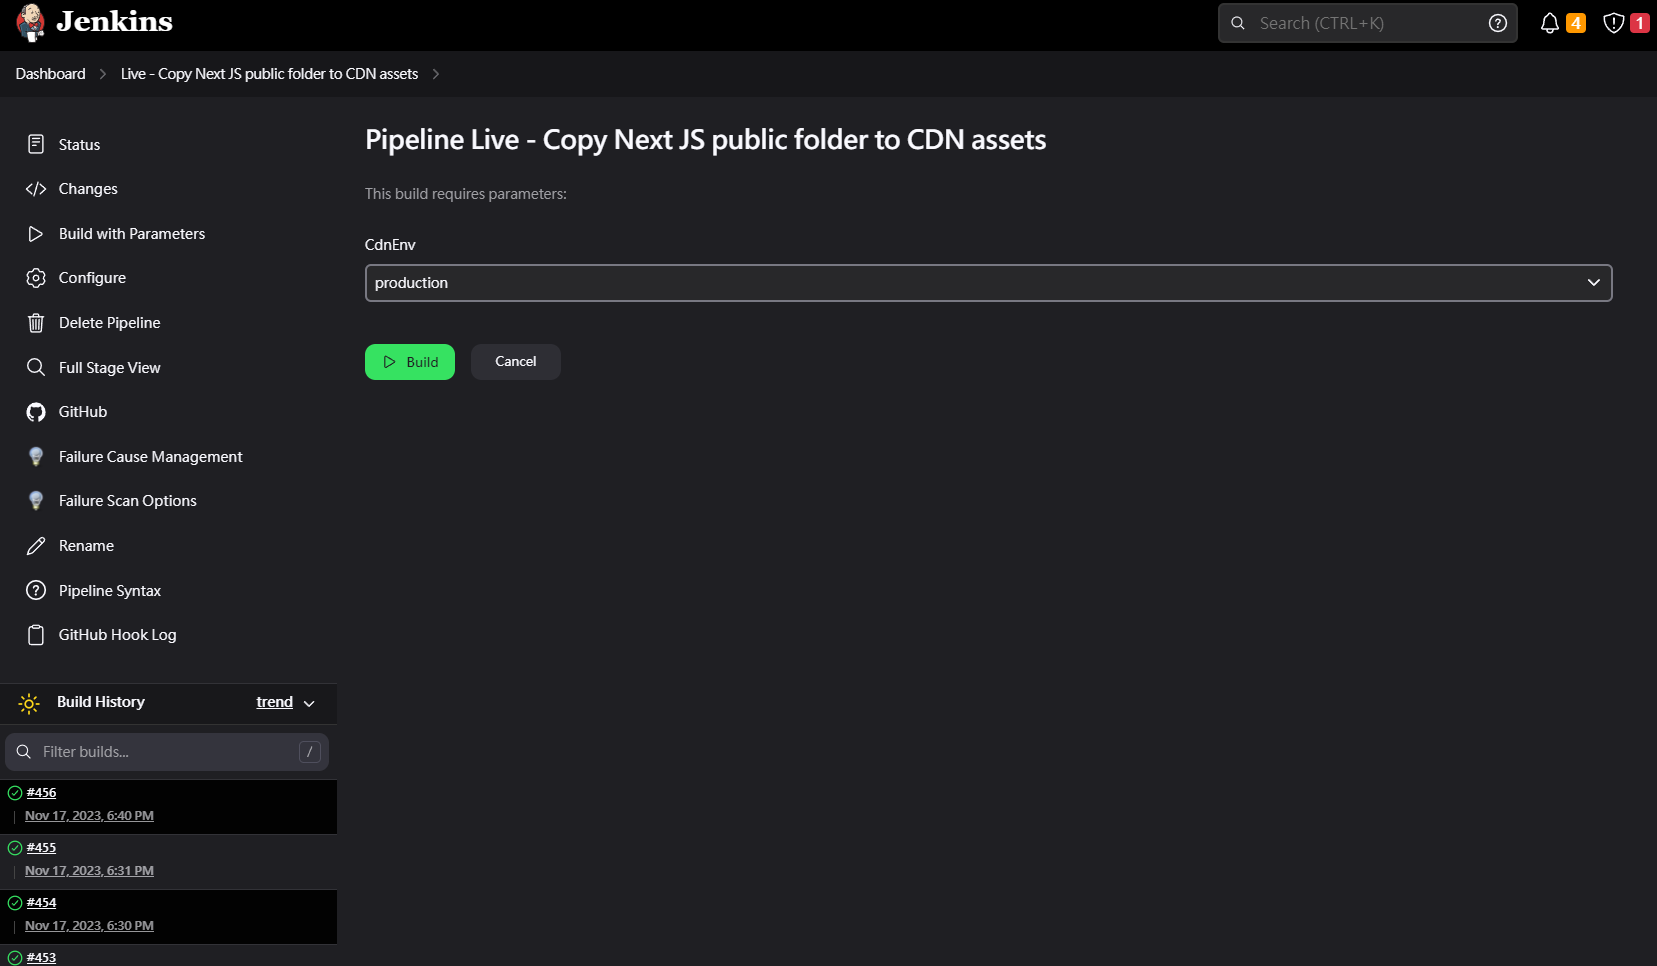
Next, write a pipeline that copies the project's public folder to the content server
properties([pipelineTriggers([githubPush()])])

pipeline {
    agent any

    tools {nodejs "Node Core"}

    options {
        buildDiscarder logRotator(artifactDaysToKeepStr: '', artifactNumToKeepStr: '20', daysToKeepStr: '', numToKeepStr: '20')

        disableConcurrentBuilds()
    }

    stages {
        stage("GitHub Pull") {
            steps {
                script {


                def branchName = CdnEnv
                if (CdnEnv == "staging") {
                    branchName = "staging-master"
                } else if (CdnEnv == "production") {
                    branchName = "master"
                }

                echo "CdnEnv value: ${env.CdnEnv}"
                echo "branchName value: ${branchName}"

                git branch: branchName, url: "https://[email protected]/iBuypowerUS/iBuypower.NextJS.git"
                }

            }
        }

    stage("Copy assets to content server ") {
    steps {
            	powershell(script: """
              	robocopy \"${WORKSPACE}\\public\" \"\\\\192.168.0.20\\Content\\\\${CdnEnv}\\assets\" /E /MIR /MT:100 \r\n

              	""", returnStatus: true)
        }
    }

    }
}
Then, when creating the "Live - Clear Cloudflare cache" Jenkins Job, also check "This project is parameterized" and add a String Parameter
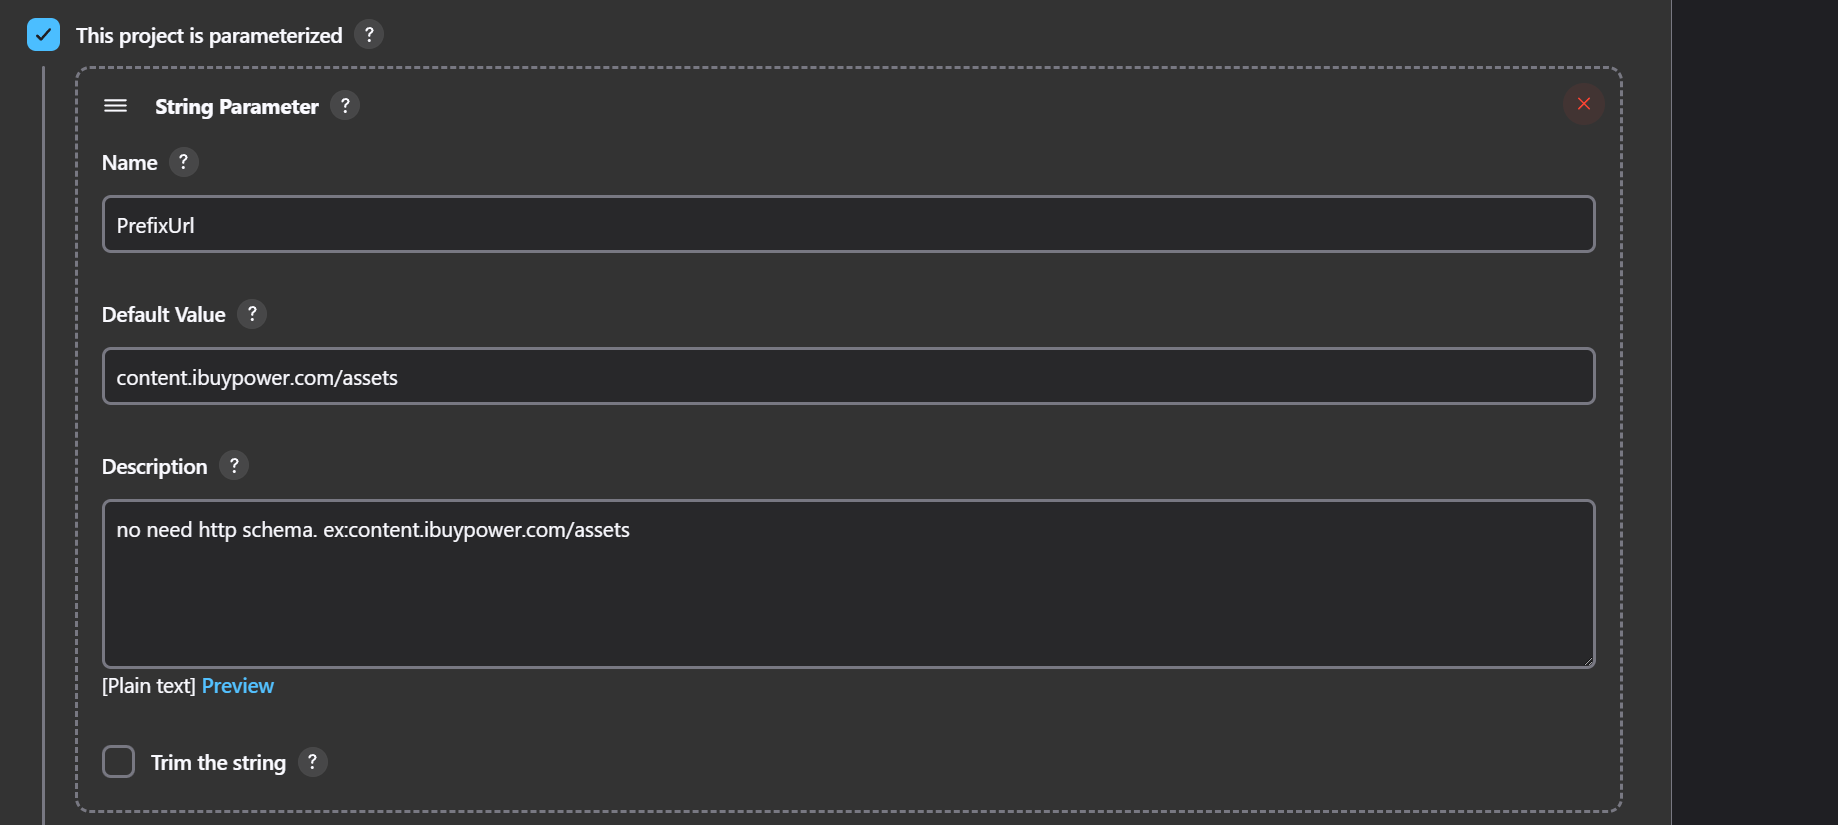
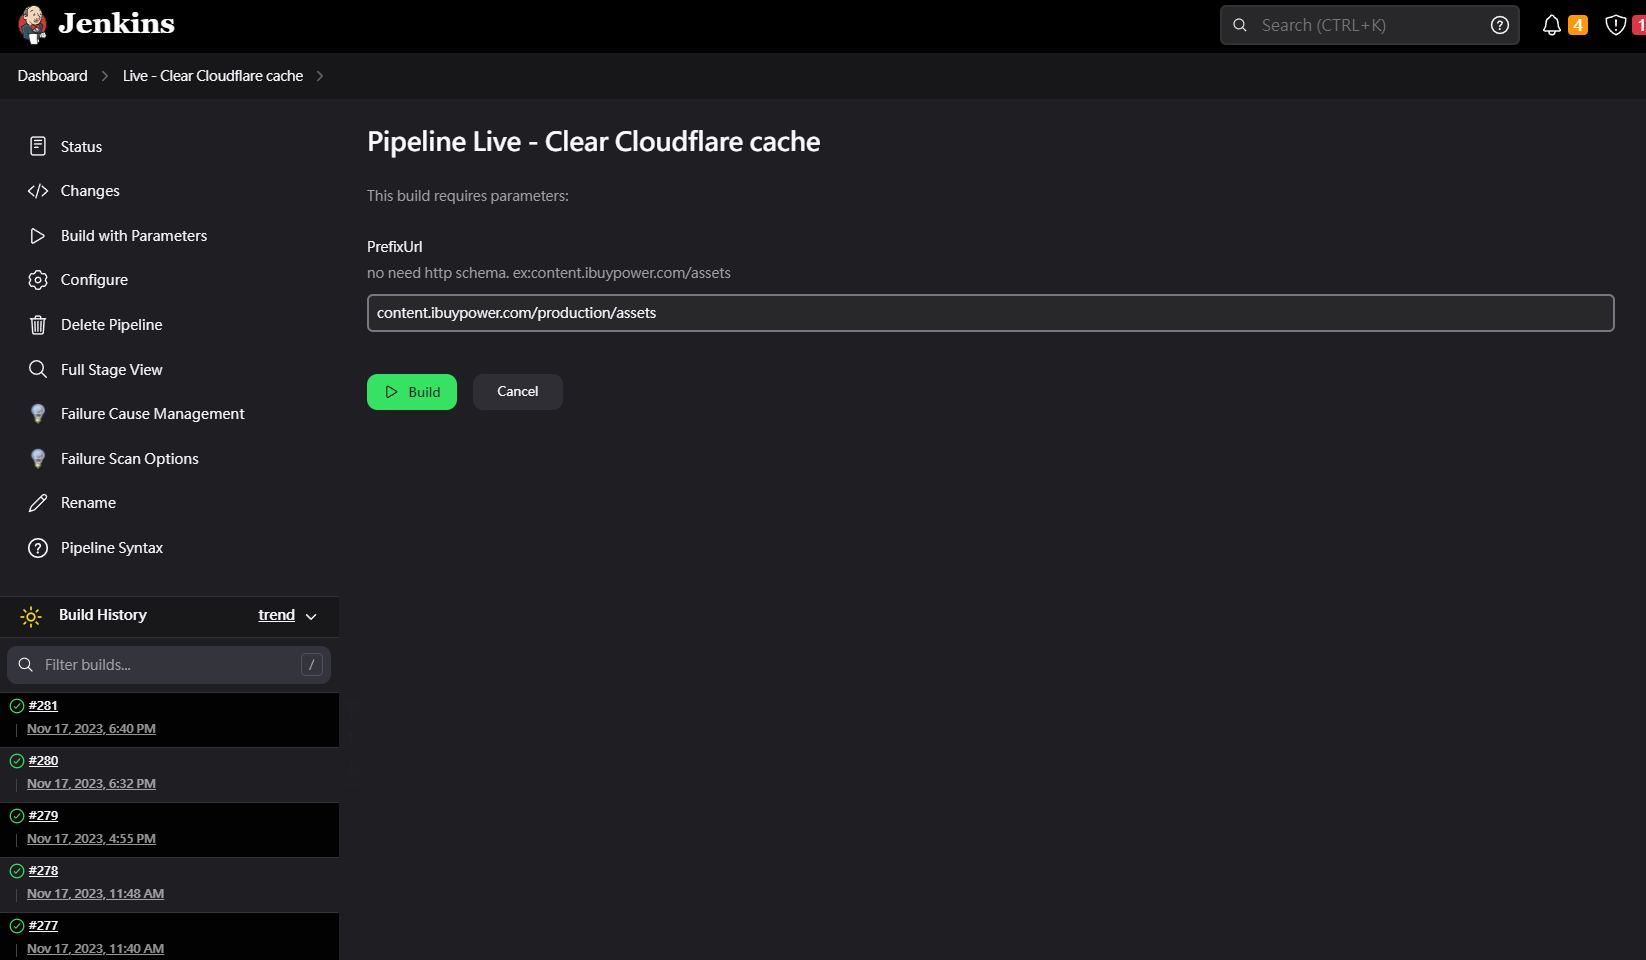
Pipeline for purging the Cloudflare cache
pipeline {
    agent any

    environment {
        CLOUDFLARE_EMAIL = '[email protected]'
        CLOUDFLARE_API_KEY = 'xxxxxxx'
        CLOUDFLARE_ZONE_ID = 'xxxxxxxxxxxxxxxxxxxxxxxxx'
    }

    stages {
        stage('Purge Cloudflare Cache') {
            steps {
                script {
                    // PowerShell script to purge Cloudflare cache
                    powershell """
                        \$headers = @{
                            "X-Auth-Email" = "${env.CLOUDFLARE_EMAIL}"
                            "X-Auth-Key" = "${env.CLOUDFLARE_API_KEY}"
                            "Content-Type" = "application/json"
                        }

                        \$body = @{
                            prefixes = @("${PrefixUrl}")
                        } | ConvertTo-Json

                        \$response = Invoke-RestMethod -Uri "https://api.cloudflare.com/client/v4/zones/${env.CLOUDFLARE_ZONE_ID}/purge_cache" -Method POST -Headers \$headers -Body \$body

                        Write-Host prefix: \"${PrefixUrl}\" - response: \$response
                    """
                }
            }
        }
    }
}
Finally, other jobs can simply trigger these two
	stages {
	    stage('Copy Next JS public folder to CDN assets') {
            steps {
                script {
                    build job:  'Live - Copy Next JS public folder to CDN assets', parameters: [string(name: 'CdnEnv', value: "$cdnEnv")]
                }
            }
        }

		stage('Clear Cloudflare cache') {
            steps {
                script {
                build job: 'Live - Clear Cloudflare cache' , parameters: [string(name: 'PrefixUrl', value: "content.ibuypower.com/$cdnEnv/assets")]
                }
            }
        }

		// Original process... ...

	}
P.S. Permission issues on Windows
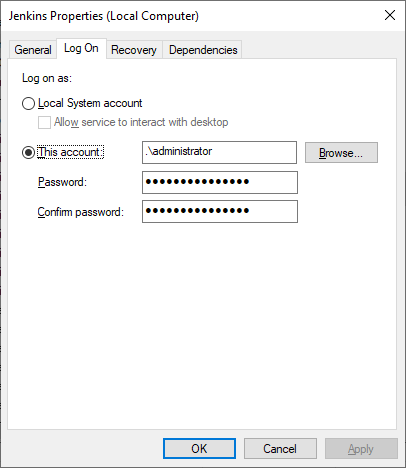
After installing Jenkins on Windows, certain commands or plugins easily run into permission errors because Jenkins runs under its own service account rather than an Administrator account. To fix this, press Ctrl+Windows, type services.msc, right-click the Jenkins service, open Properties, switch to the Log On tab, choose "This account", fill in administrator (or another privileged account) and its password, then restart the Jenkins service.


Comments