
Motivation
I previously used PowerShell to remotely build Docker images on a test machine, but as the team grew that approach became too cumbersome. I eventually set up Jenkins and integrated it with GitHub credentials and remote Docker Desktop deployment.
Development Environment Overview
The expected flow: after a developer pushes a commit, Jenkins automatically pulls the GitHub repository, builds the image, and deploys it to the target Windows Docker Desktop host.
Step 1: Set Up the Jenkins Environment
Open PowerShell and create a directory for the Jenkins workspace
$workspacePath = "C:\jenkins_workspace"
New-Item -ItemType Directory -Path $workspacePath -Force | Out-Null
Run the following command to start a Jenkins container and mount the workspace to the local disk
docker run -d -p 8080:8080 -p 50000:50000 -v ${hostWorkspacePath}:/var/jenkins_home/workspace -v /var/run/docker.sock:/var/run/docker.sock --name jenkins --restart=always jenkins/jenkins:lts
Note:
hostWorkspacePathis the folder path on the host machine.
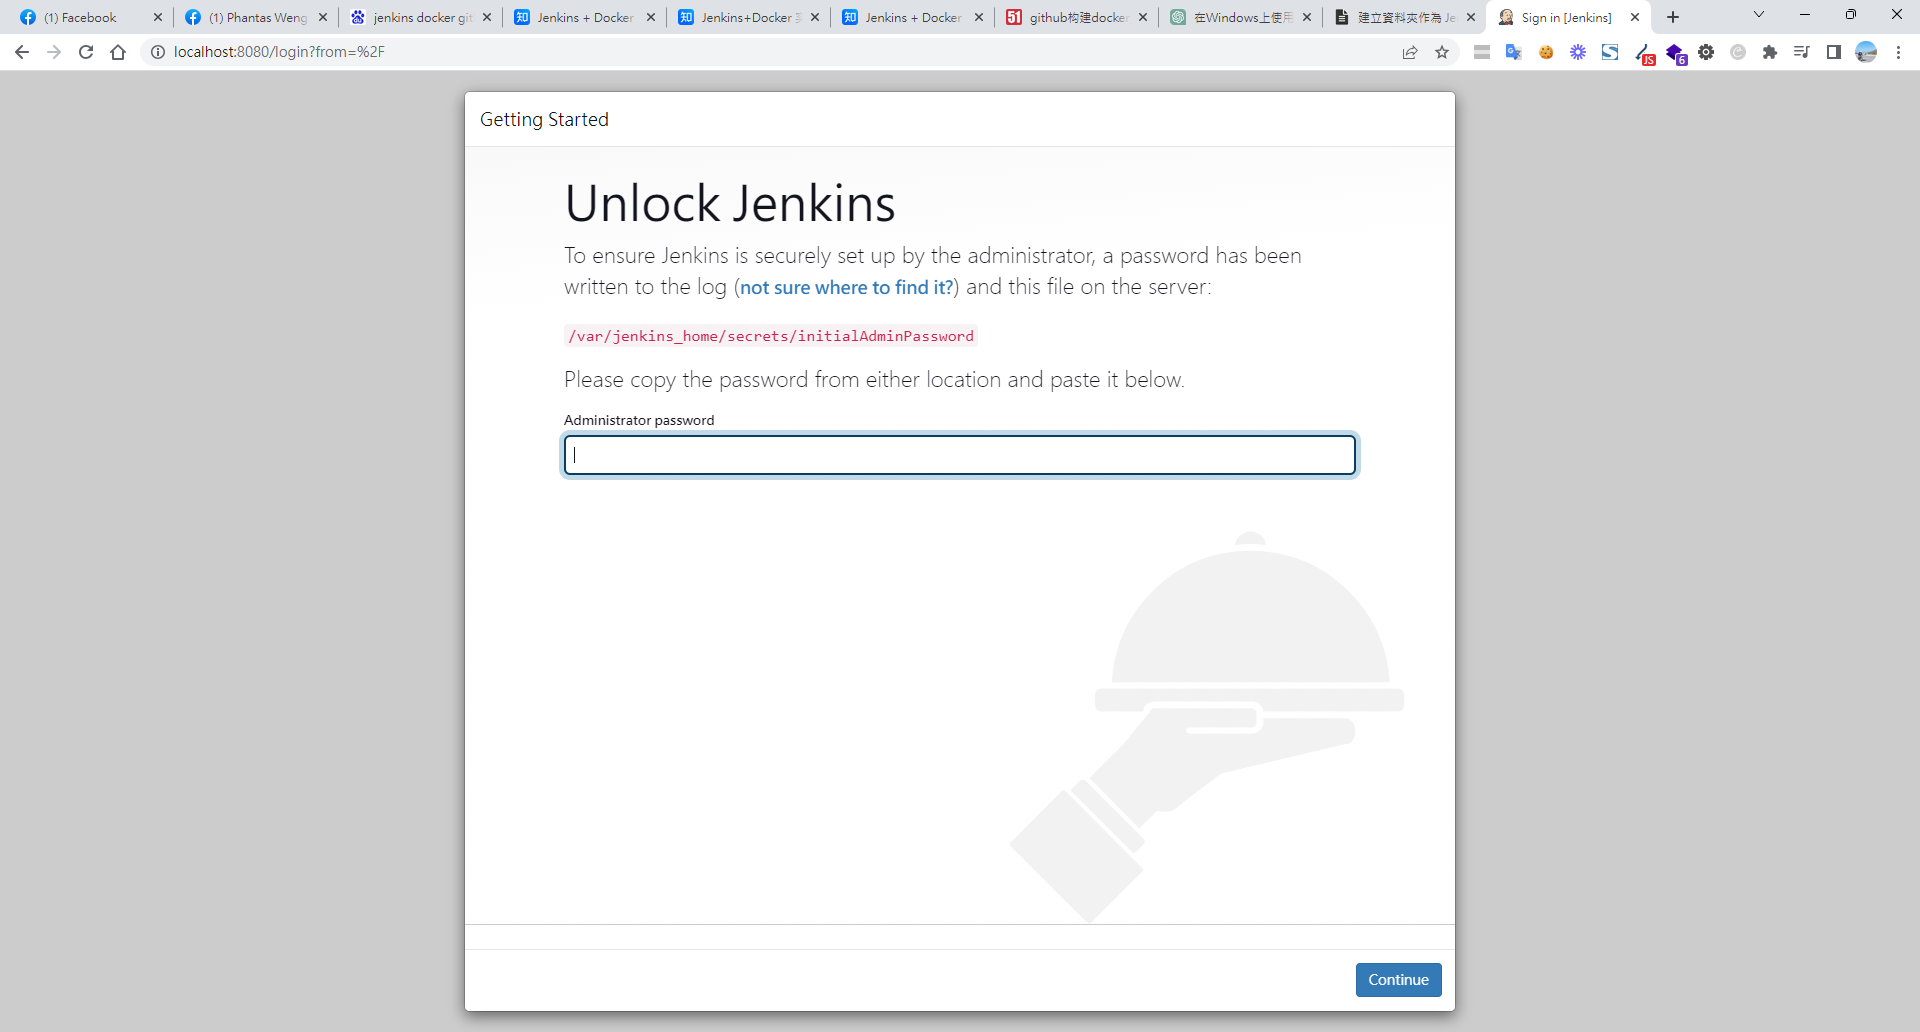
When you see the initial password prompt, exec into the container to retrieve it
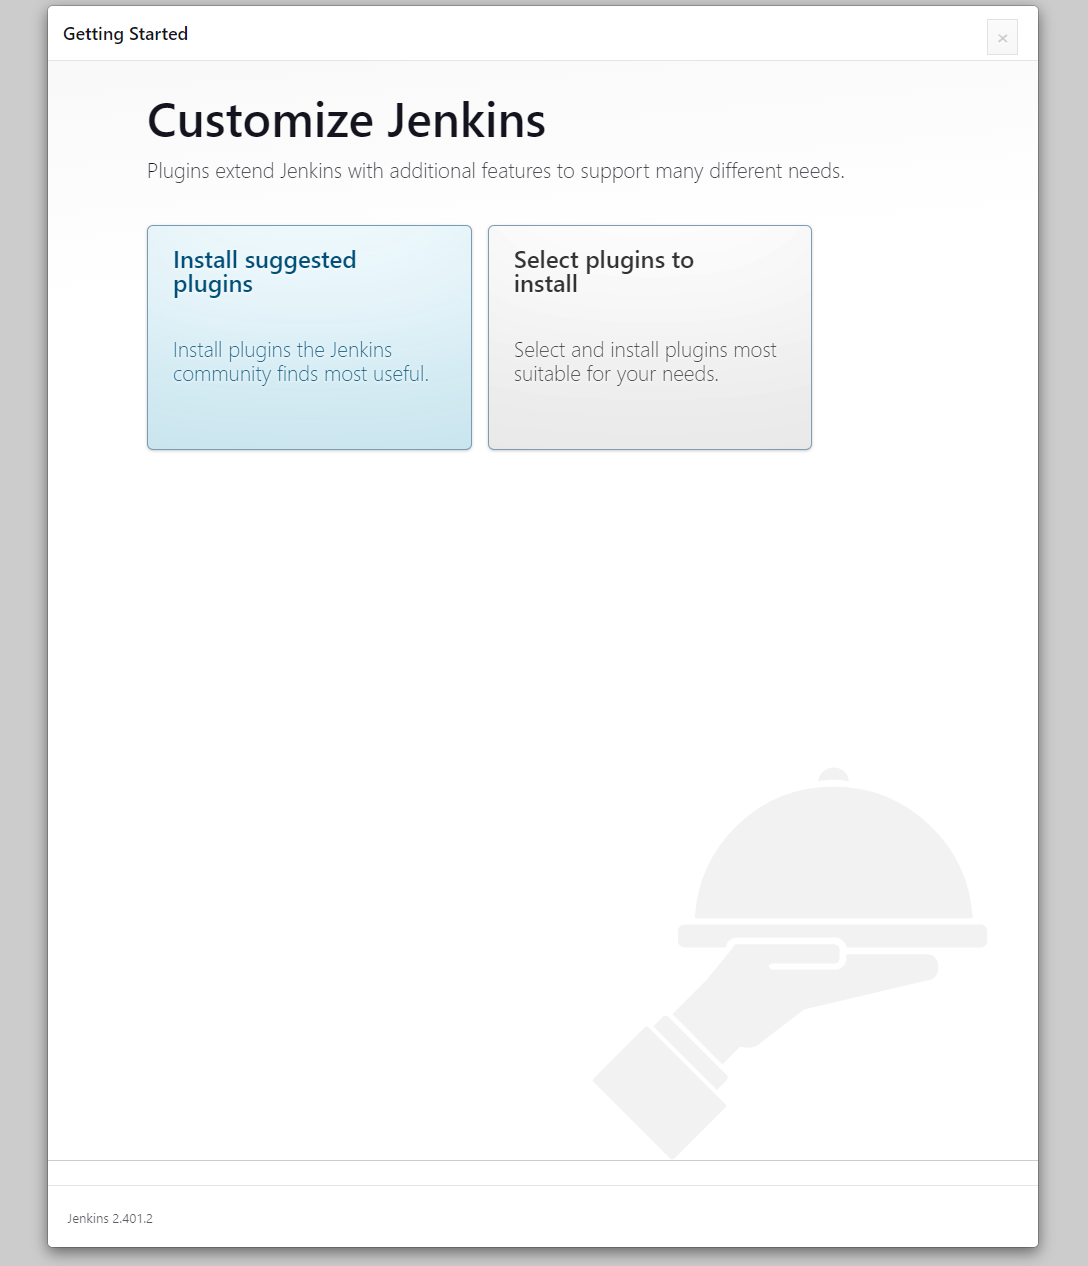
Install the suggested plugins
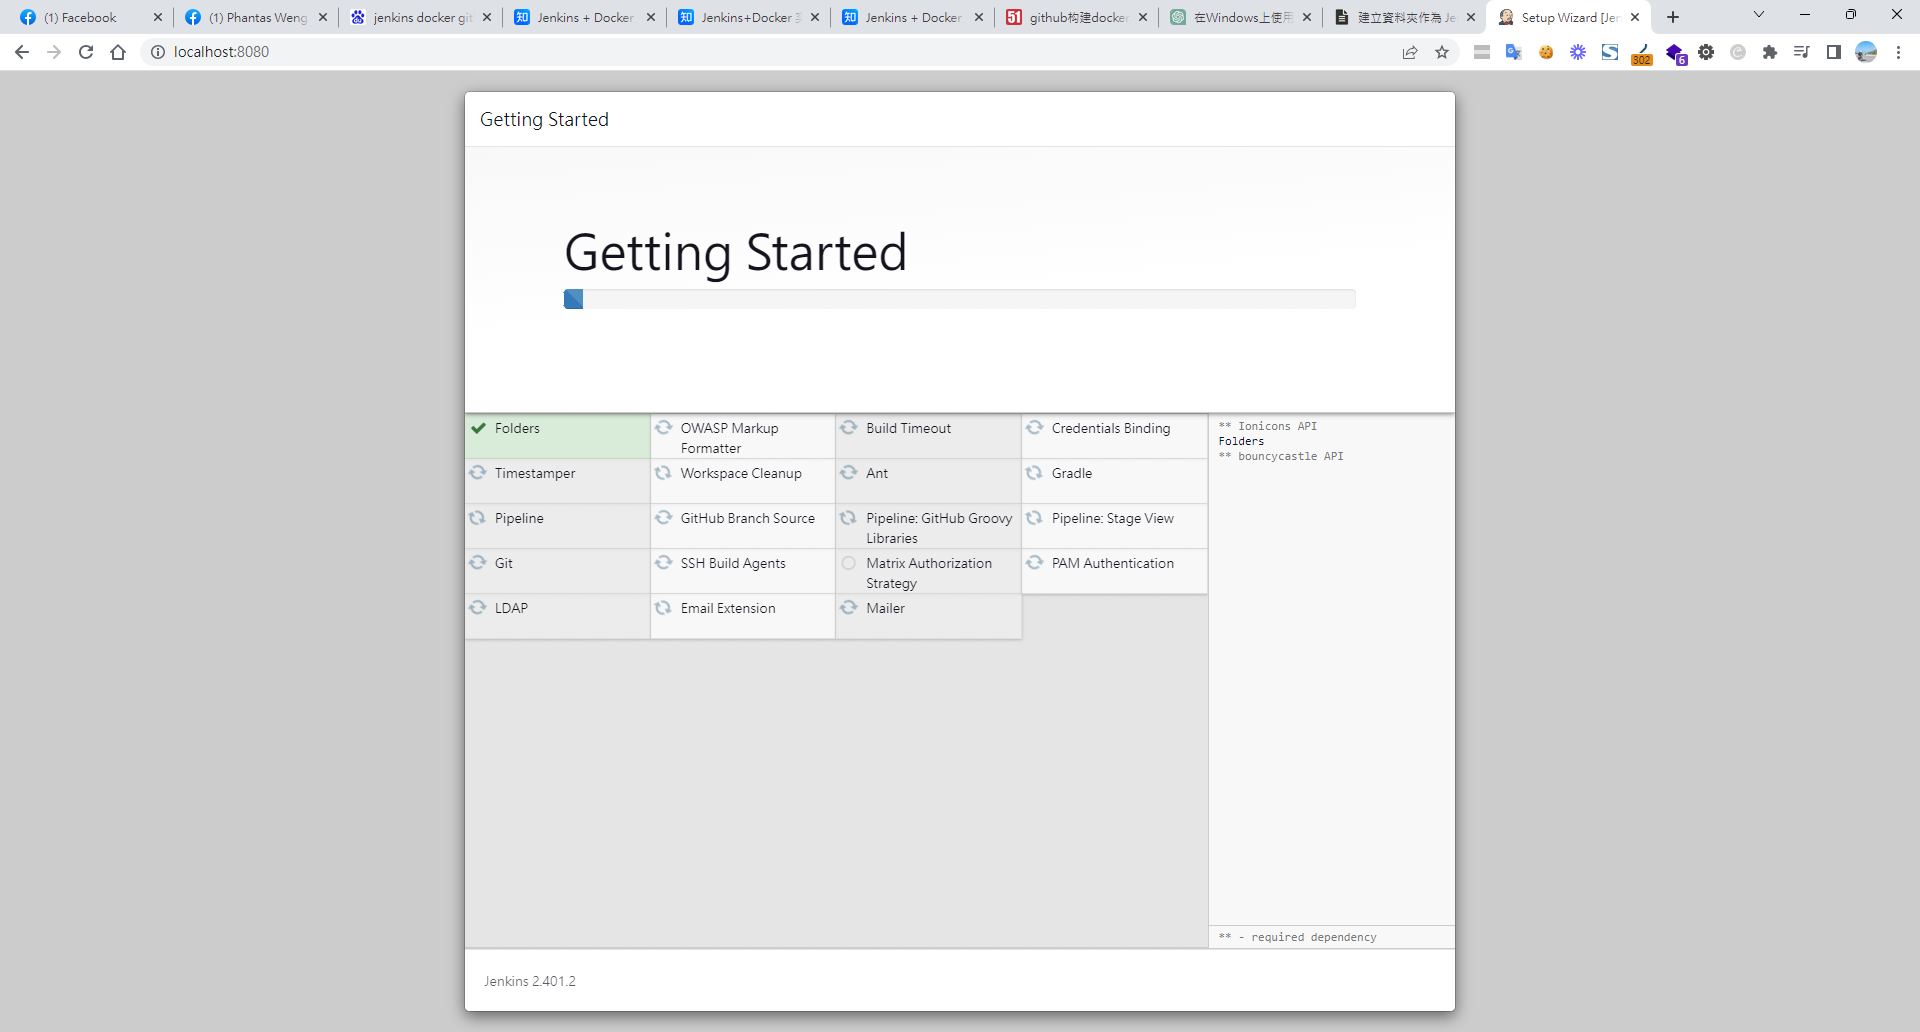
Wait for installation to complete, then access Jenkins at localhost:8080
Manage Jenkins > Plugins > Available plugins — install the following commonly used plugins
- SSH
- Publish Over SSH
- Msbuild
- .NET SDK Support
- Office 365 Connector Version
- PowerShell
- Docker
- Docker Pipeline
- HTTP Request
- Stage View
- Pipeline Utility Steps
- Pipeline: Input Step
Step 2: Install Docker Inside the Jenkins Container
Since I am more comfortable with Docker commands, I install Docker directly inside the Jenkins container:
docker logs -f jenkins // get the init password
docker exec -it -uroot jenkins bash
apt-get update && apt-get -y install apt-transport-https ca-certificates curl gnupg2 software-properties-common && curl -fsSL https://download.docker.com/linux/$(. /etc/os-release; echo "$ID")/gpg > /tmp/dkey; apt-key add /tmp/dkey && add-apt-repository "deb [arch=amd64] https://download.docker.com/linux/$(. /etc/os-release; echo "$ID") $(lsb_release -cs) stable" && apt-get update && apt-get -y install docker-ce
Step 3: Configure Jenkins GitHub Global Credentials
Connect to the Jenkins container
docker exec -it -uroot jenkins bash
Install Docker CLI
apt-get update
apt-get install -y apt-transport-https ca-certificates curl gnupg2 software-properties-common
curl -fsSL https://download.docker.com/linux/debian/gpg | apt-key add -
echo "deb [arch=amd64] https://download.docker.com/linux/debian $(lsb_release -cs) stable" | tee /etc/apt/sources.list.d/docker.list
apt-get update
apt-get install -y docker-ce-cli
Generate an SSH key pair (keep pressing Enter for defaults)
ssh-keygen -t rsa -C "root"
Read the public key and add it to GitHub under SSH and GPG keys
cat /root/.ssh/id_rsa.pub
Read the private key and add it to Jenkins global credentials
Navigate to: Manage Jenkins > Credentials > System > Global credentials (unrestricted) > Add credentials
(Copy the entire key including -----BEGIN OPENSSH PRIVATE KEY-----) > Create
cat /root/.ssh/id_rsa
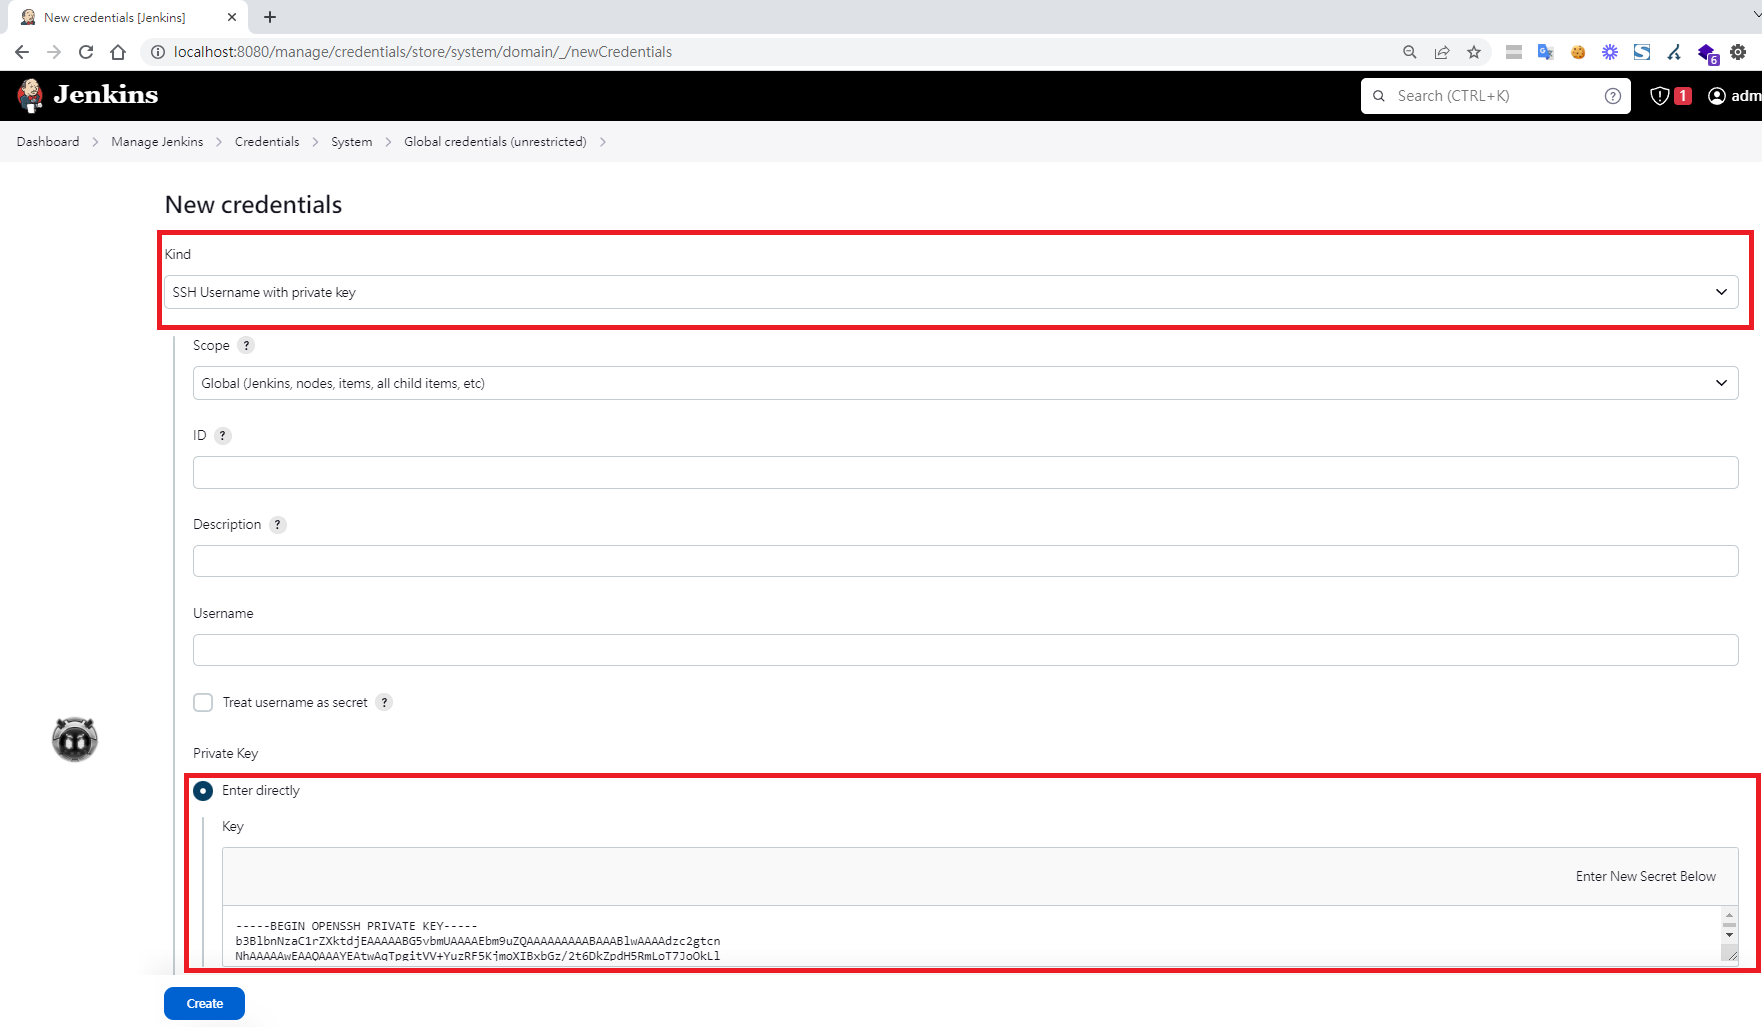
After creating the credential, note the generated ID — you will paste it into the pipeline later
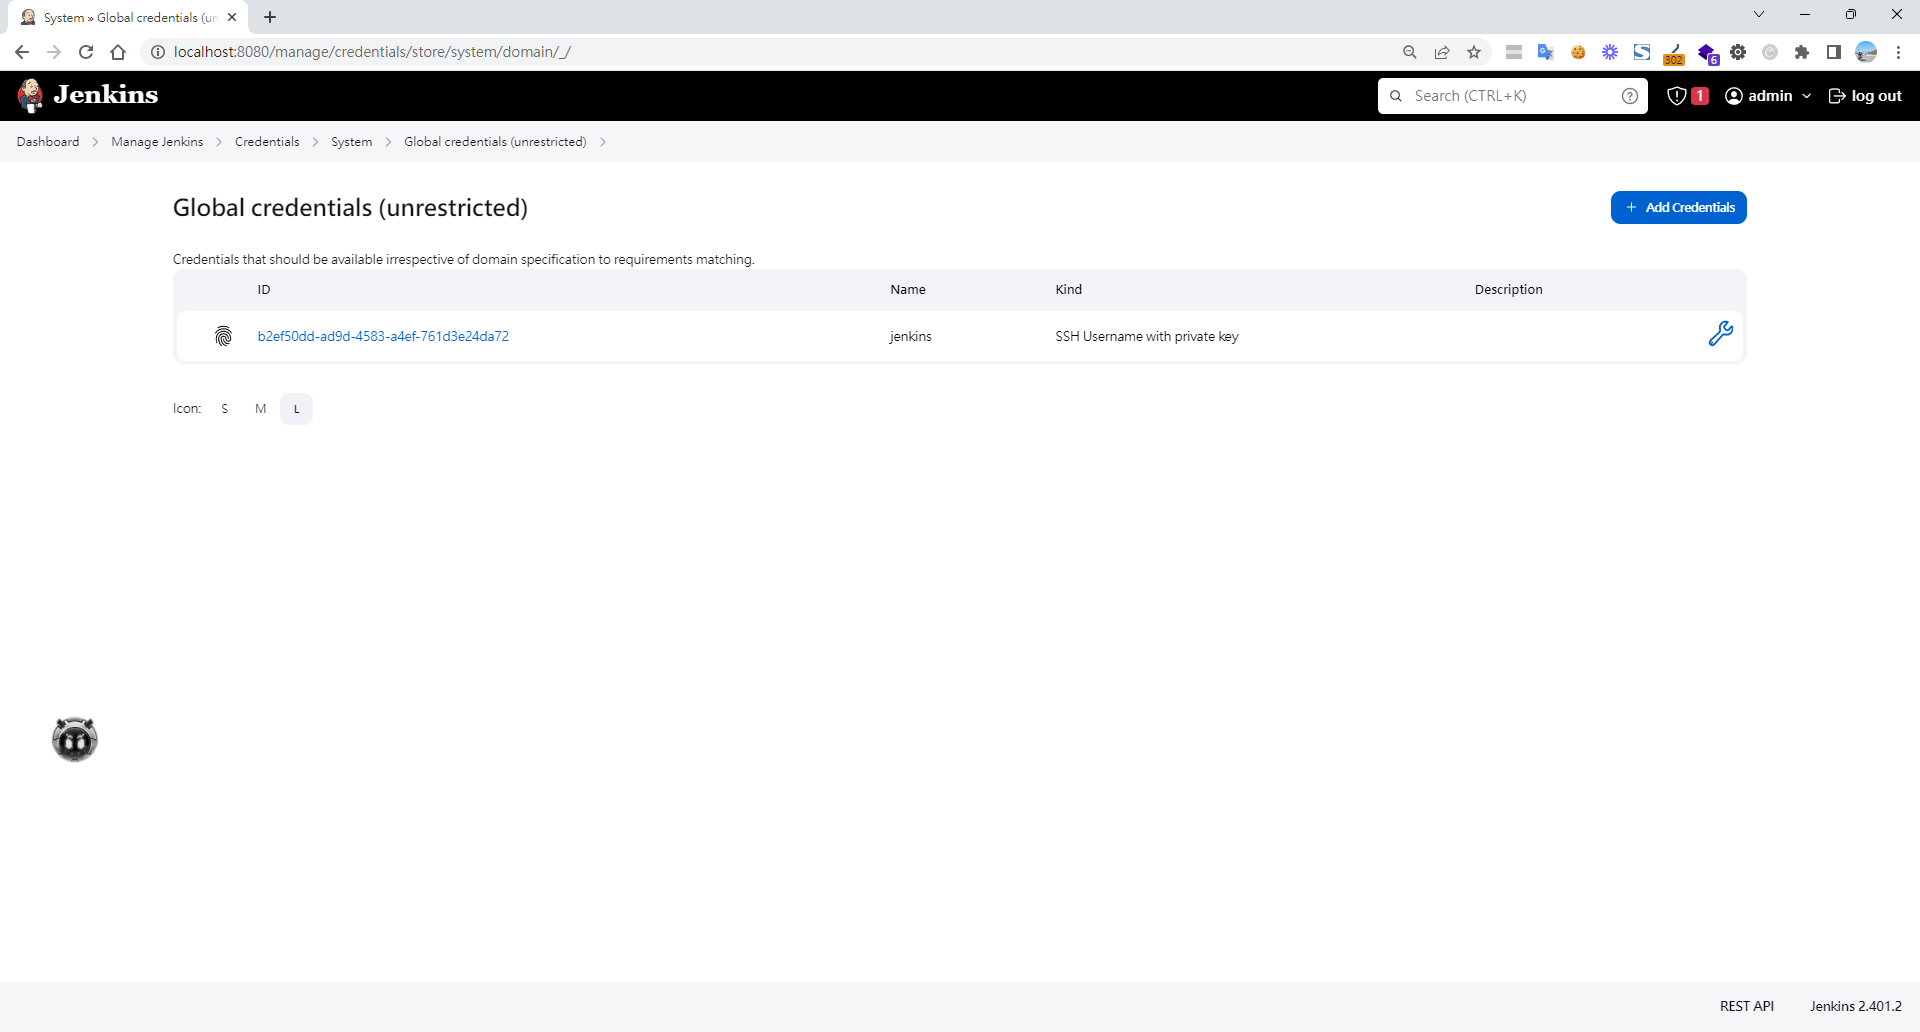
Disable host key verification: Manage Jenkins > Security > Git Host Key Verification Configuration > No verification
On the Jenkins host machine, grant the necessary permissions
sudo chmod -R 777 /var/jenkins_home/
sudo chown $USER /var/run/docker.sock
sudo gpasswd -a $USER docker
newgrp docker
Step 4: Create a New Build Job
Dashboard > New Item > Pipeline
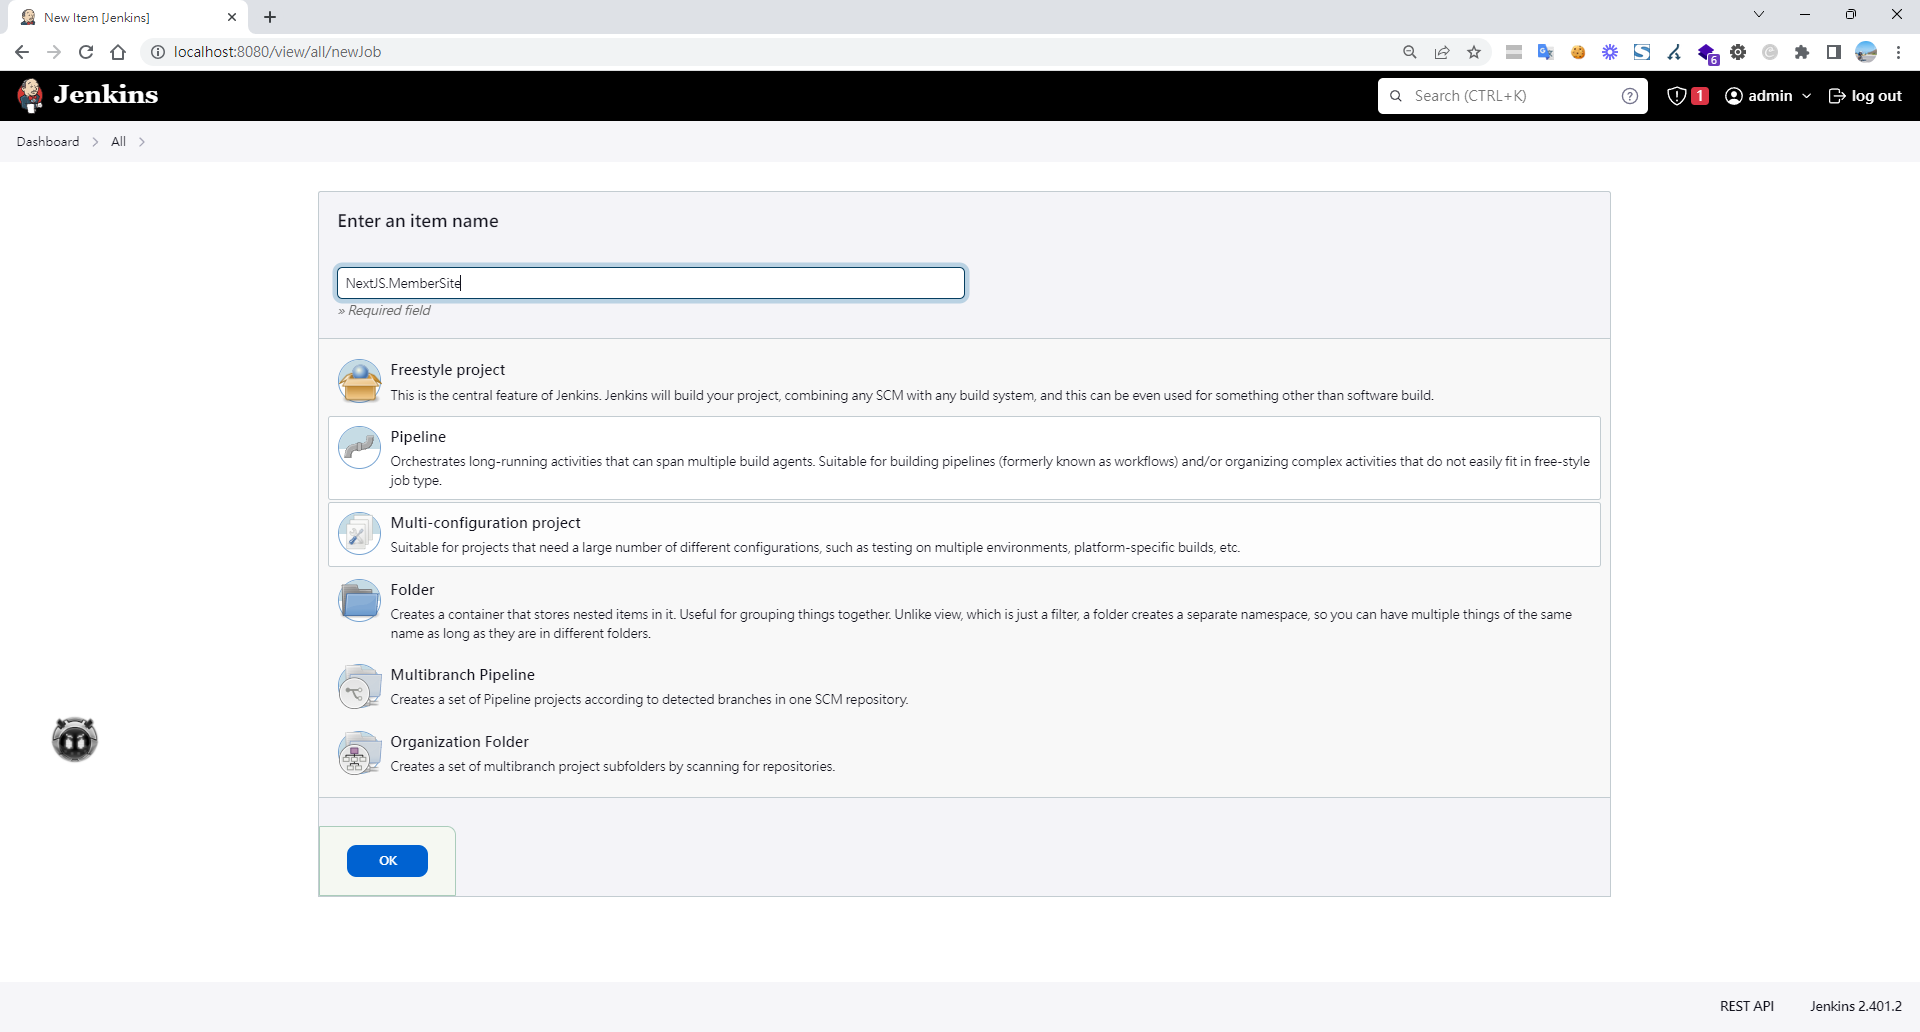
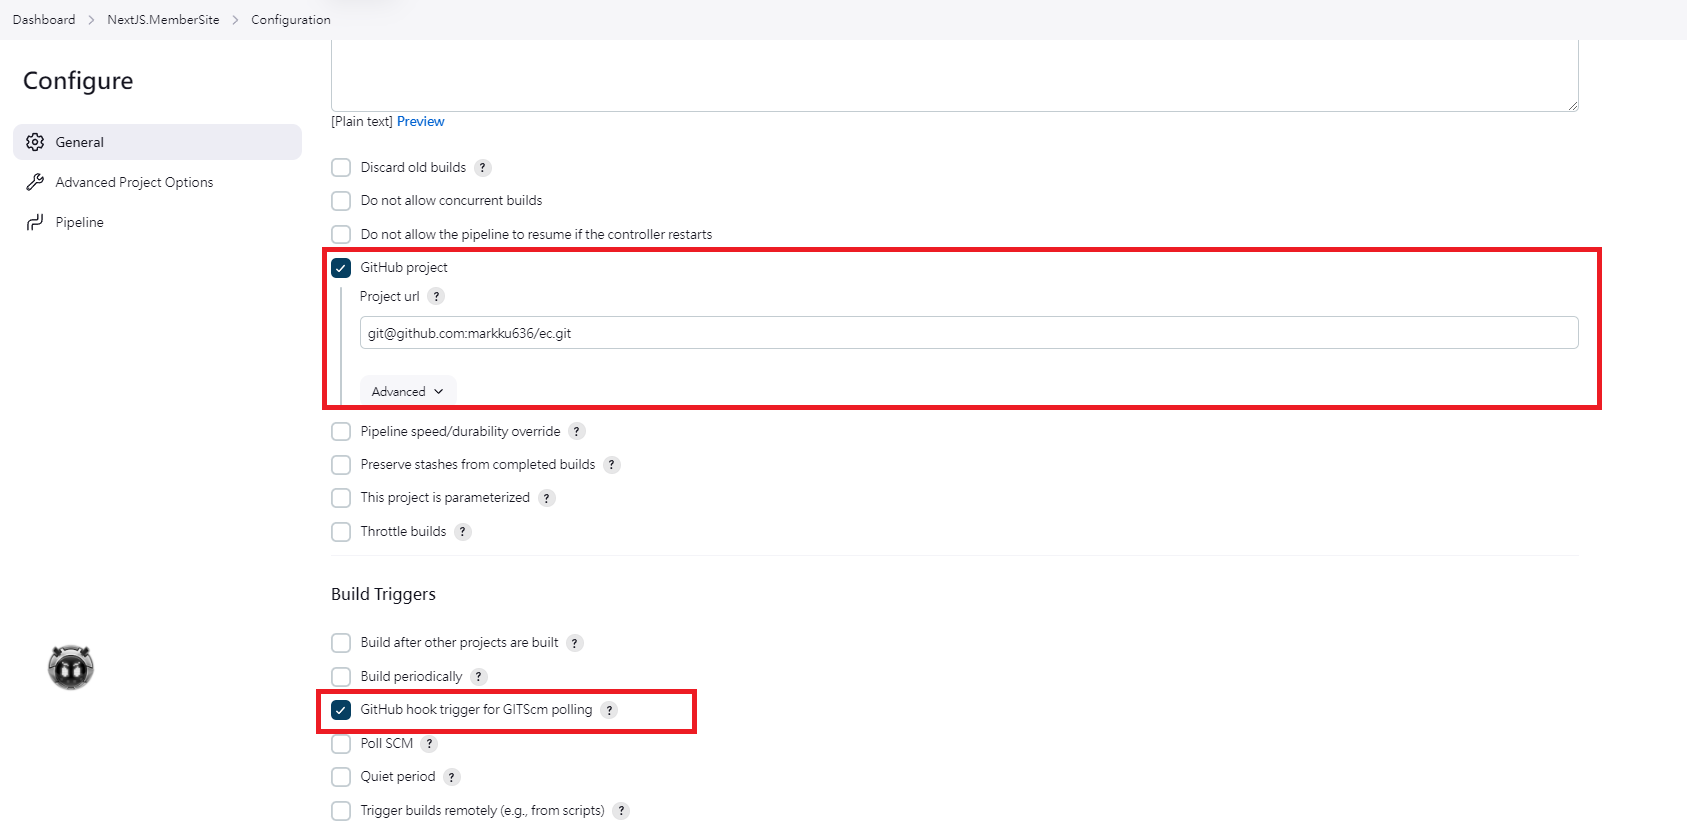
Enable the GitHub hook trigger
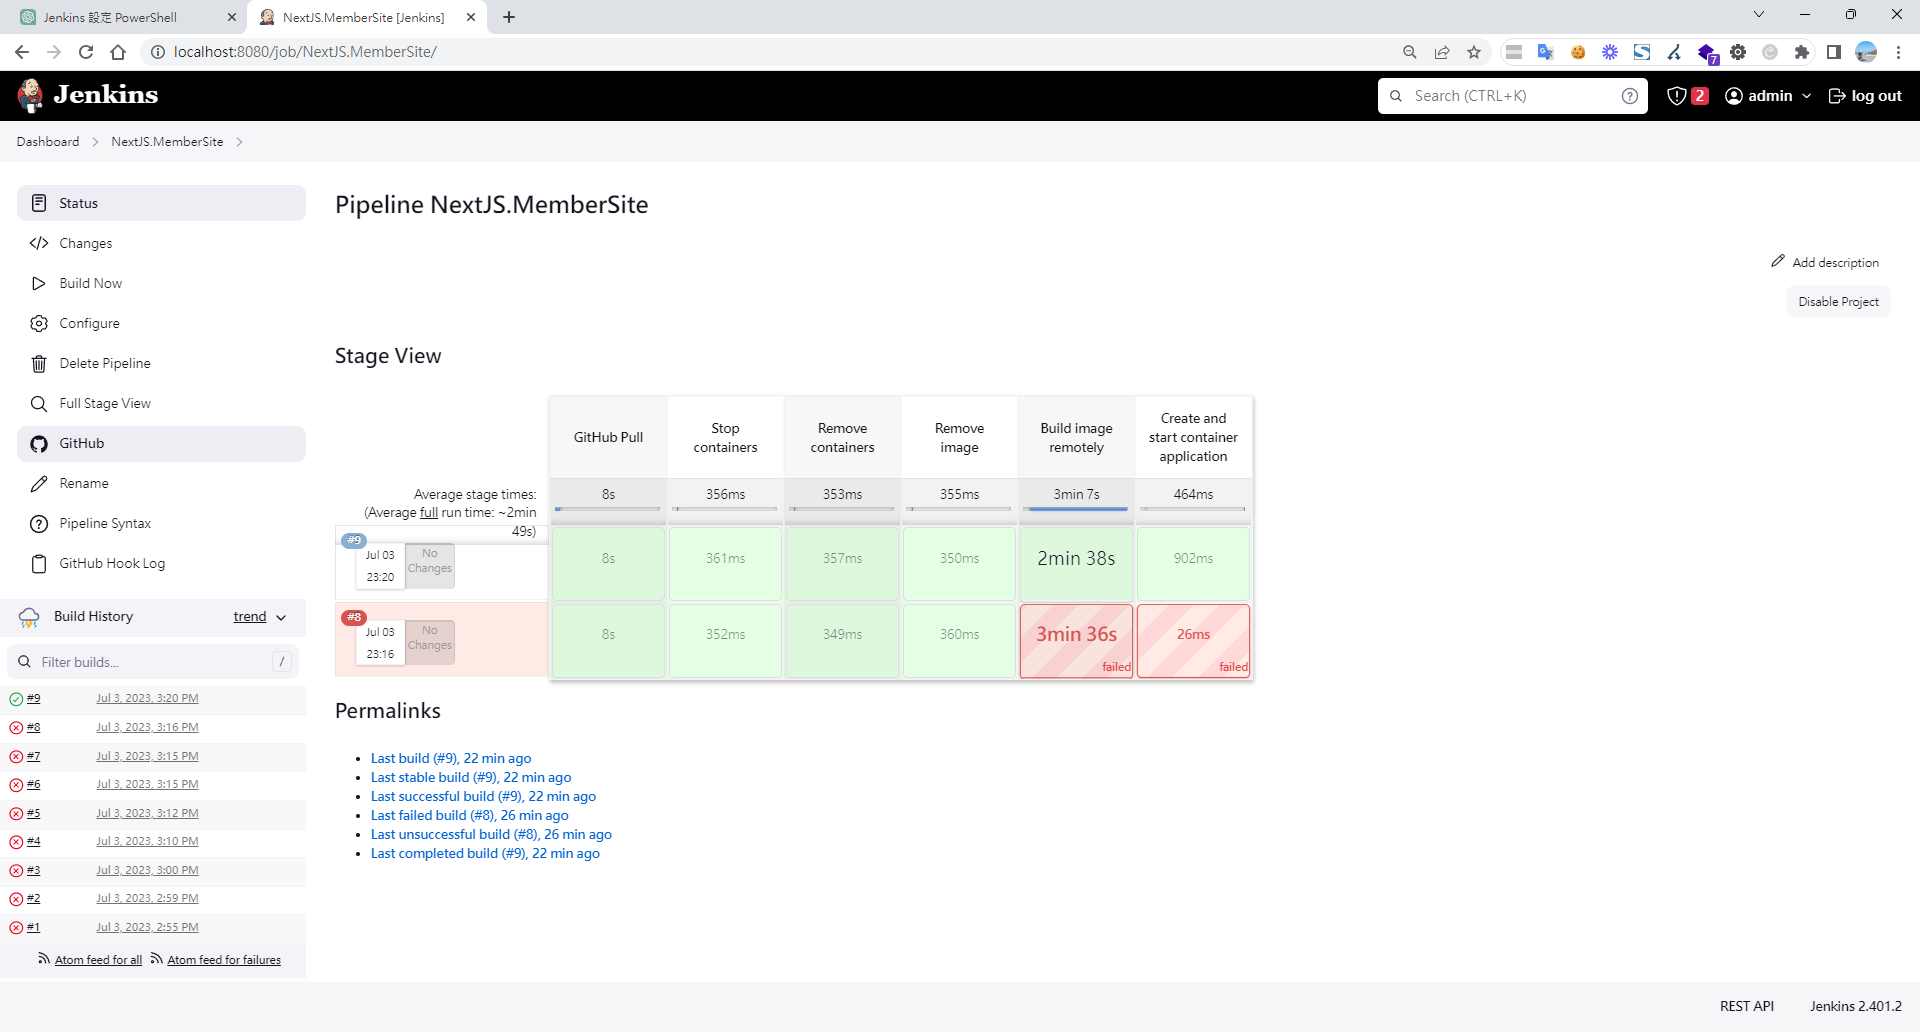
Write the pipeline script
properties([pipelineTriggers([githubPush()])])
pipeline {
    agent any

    environment {
        tag = ':latest'
        imageShortName = 'next-ap'
        imageName = "${imageShortName}${tag}"
        containerName = "${imageShortName}-1"
        containerUrl = "192.168.50.49:2375"
        dockerfile = "./Dockerfile"
        port = "30000:80"
    }

    stages {
        stage("GitHub Pull") {
             steps {
                git branch: 'main',
                credentialsId: 'b2ef50dd-xxxx-xxx-a4ef-xxx',
                url:  '[email protected]:markku636/ec.git/'
            }

        }


        stage('Stop containers') {
            steps {
                script {
                    containerStatus = sh(script: "docker -H=\"${containerUrl}\" ps -a --filter=name=${containerName} -q", returnStdout: true).trim()
                    if (containerStatus != '') {
                        echo "Stopping container ${containerName}"
                        sh "docker -H=\"${containerUrl}\" stop ${containerName}"
                    } else {
                        echo "Container ${containerName} does not exist"
                    }
                }
            }
        }

        stage('Remove containers') {
            steps {
                script {
                    containerStatus = sh(script: "docker -H=\"${containerUrl}\" ps -a --filter=name=${containerName} -q", returnStdout: true).trim()
                    if (containerStatus != '') {
                        echo "Removing container ${containerName}"
                        sh "docker -H=\"${containerUrl}\" rm -f ${containerName}"
                    } else {
                        echo "Container ${containerName} does not exist"
                    }
                }
            }
        }

        stage('Remove image') {
            steps {
                script {
                    existingImages = sh(script: "docker -H=\"${containerUrl}\" images --filter=reference='${imageName}' -q", returnStdout: true).trim()
                    if (existingImages != '') {
                        echo "[Removing image] Removing the existing image.."
                        sh "docker -H=\"${containerUrl}\" rmi -f '${imageName}'"
                    } else {
                        echo "[Removing image] The image does not exist"
                    }
                }
            }
        }

        stage('Build image remotely') {
            steps {
                sh 'docker -H="${containerUrl}" build -t "${imageName}" . -f "${dockerfile}"'
            }
        }

        stage('Create and start container application') {
            steps {
                sh 'docker -H="${containerUrl}" run -d --name "${containerName}" --restart=always -p "${port}" "${imageShortName}"'
            }
        }

    }
}
After all that setup, the pipeline is finally up and running. Containerization keeps making it easier and faster to set up and migrate development environments.
Appendix — Fix the unix:///var/run/docker.sock: connect: permission denied error for non-root users on Linux
-
Create a service file:
sudo vim /etc/systemd/system/docker-sock-permissions.service -
Add the following content:
[Unit] Description=Set permissions for Docker socket After=docker.service [Service] Type=oneshot ExecStart=/bin/chmod 666 /var/run/docker.sock RemainAfterExit=true [Install] WantedBy=multi-user.target -
Enable the service:
sudo systemctl enable docker-sock-permissions.service -
Start the service (or wait for it to run automatically on next boot):
sudo systemctl start docker-sock-permissions.service
References
Memo — Retrieve the admin initial password
cat /var/jenkins_home/secrets/initialAdminPassword


Comments