
Background
For work, I needed to integrate Google Pay into e-commerce sites for the US and Germany.
I've previously shared about Apple Pay on Web + Cybersource
Prerequisites for Integration
- The website must have an HTTPS environment.
- A Google Developer account ($25 USD / one-time fee).
- If not integrating directly with Google Pay, you'll need a payment gateway provider (this article uses Cybersource).
- The page design must comply with the Google Pay UI guidelines.
Google Pay Payment Flow
When a user clicks the Google Pay button, they can select a credit card. > After selecting a card, the frontend receives a Google Pay Token in the onLoadPaymentData event. This token is then used to call your backend API, which in turn requests order creation from the payment gateway.
Google Pay Setup
First, go to the Google Pay Developer Platform, log in to your Google Developer account > Manage your integration through the console
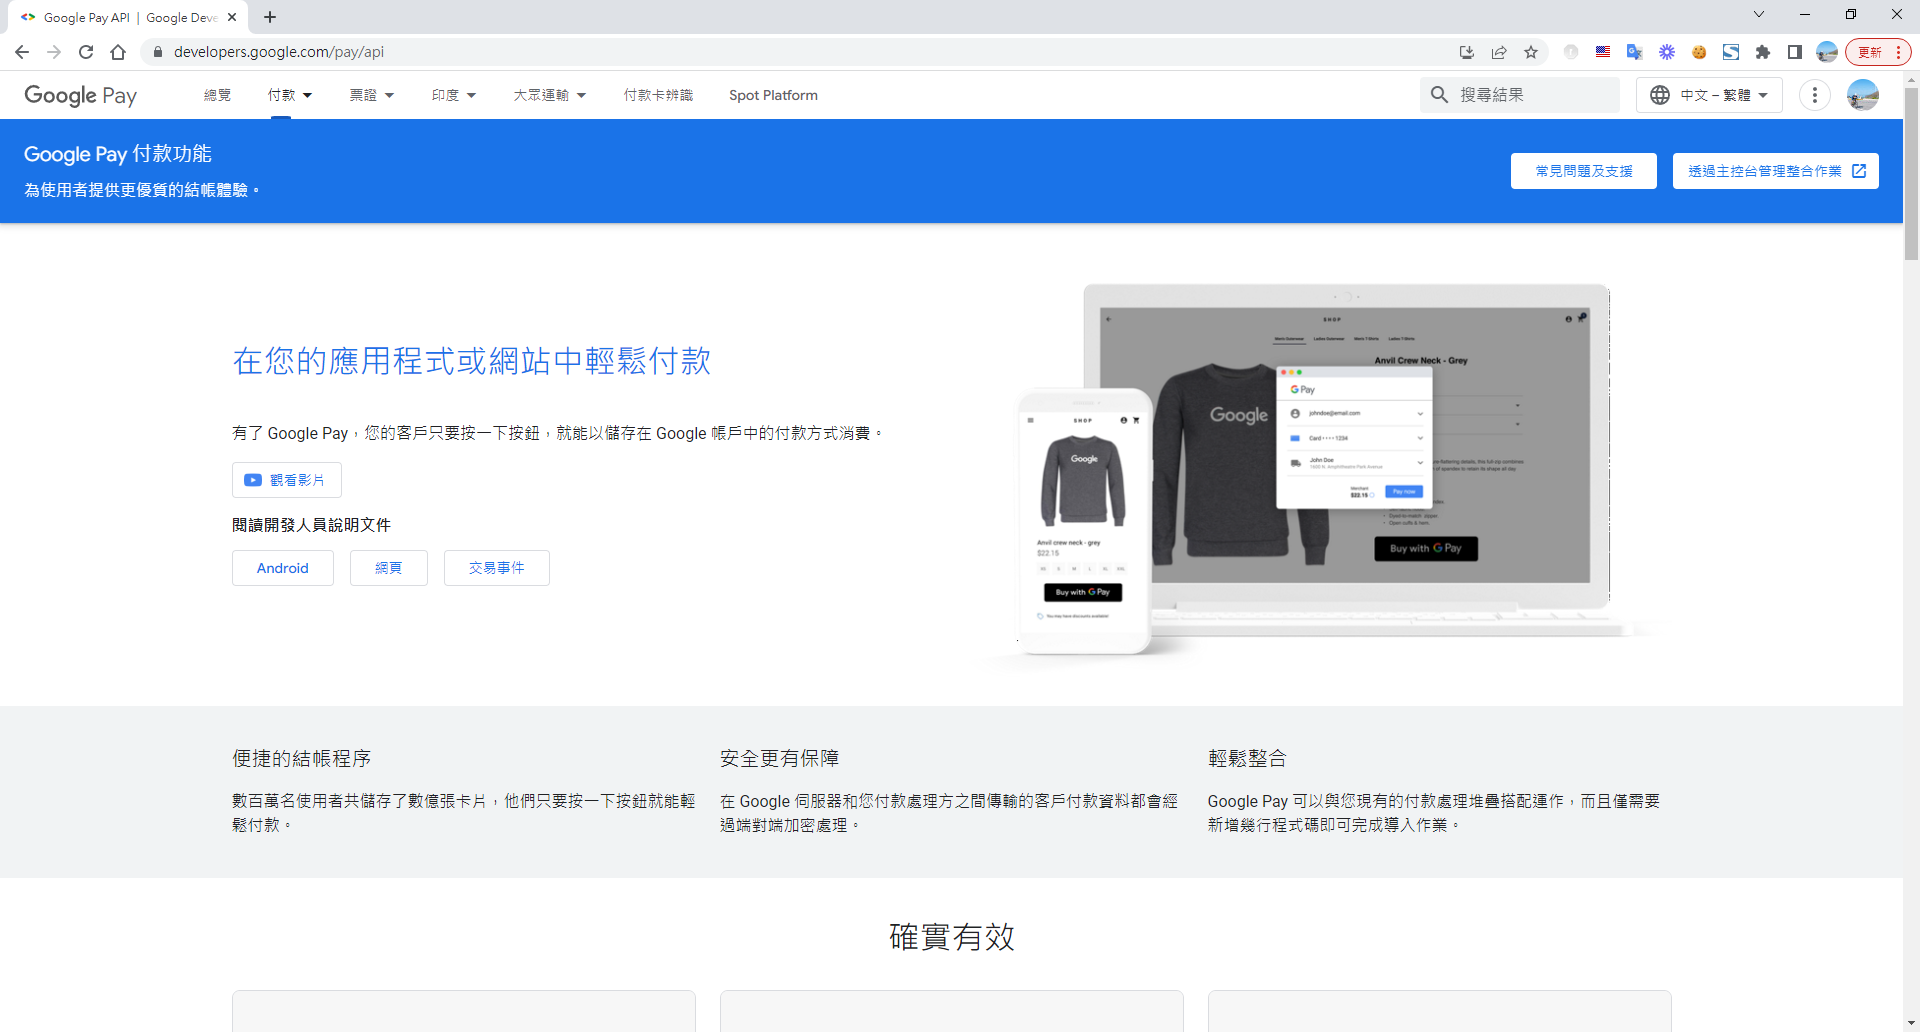
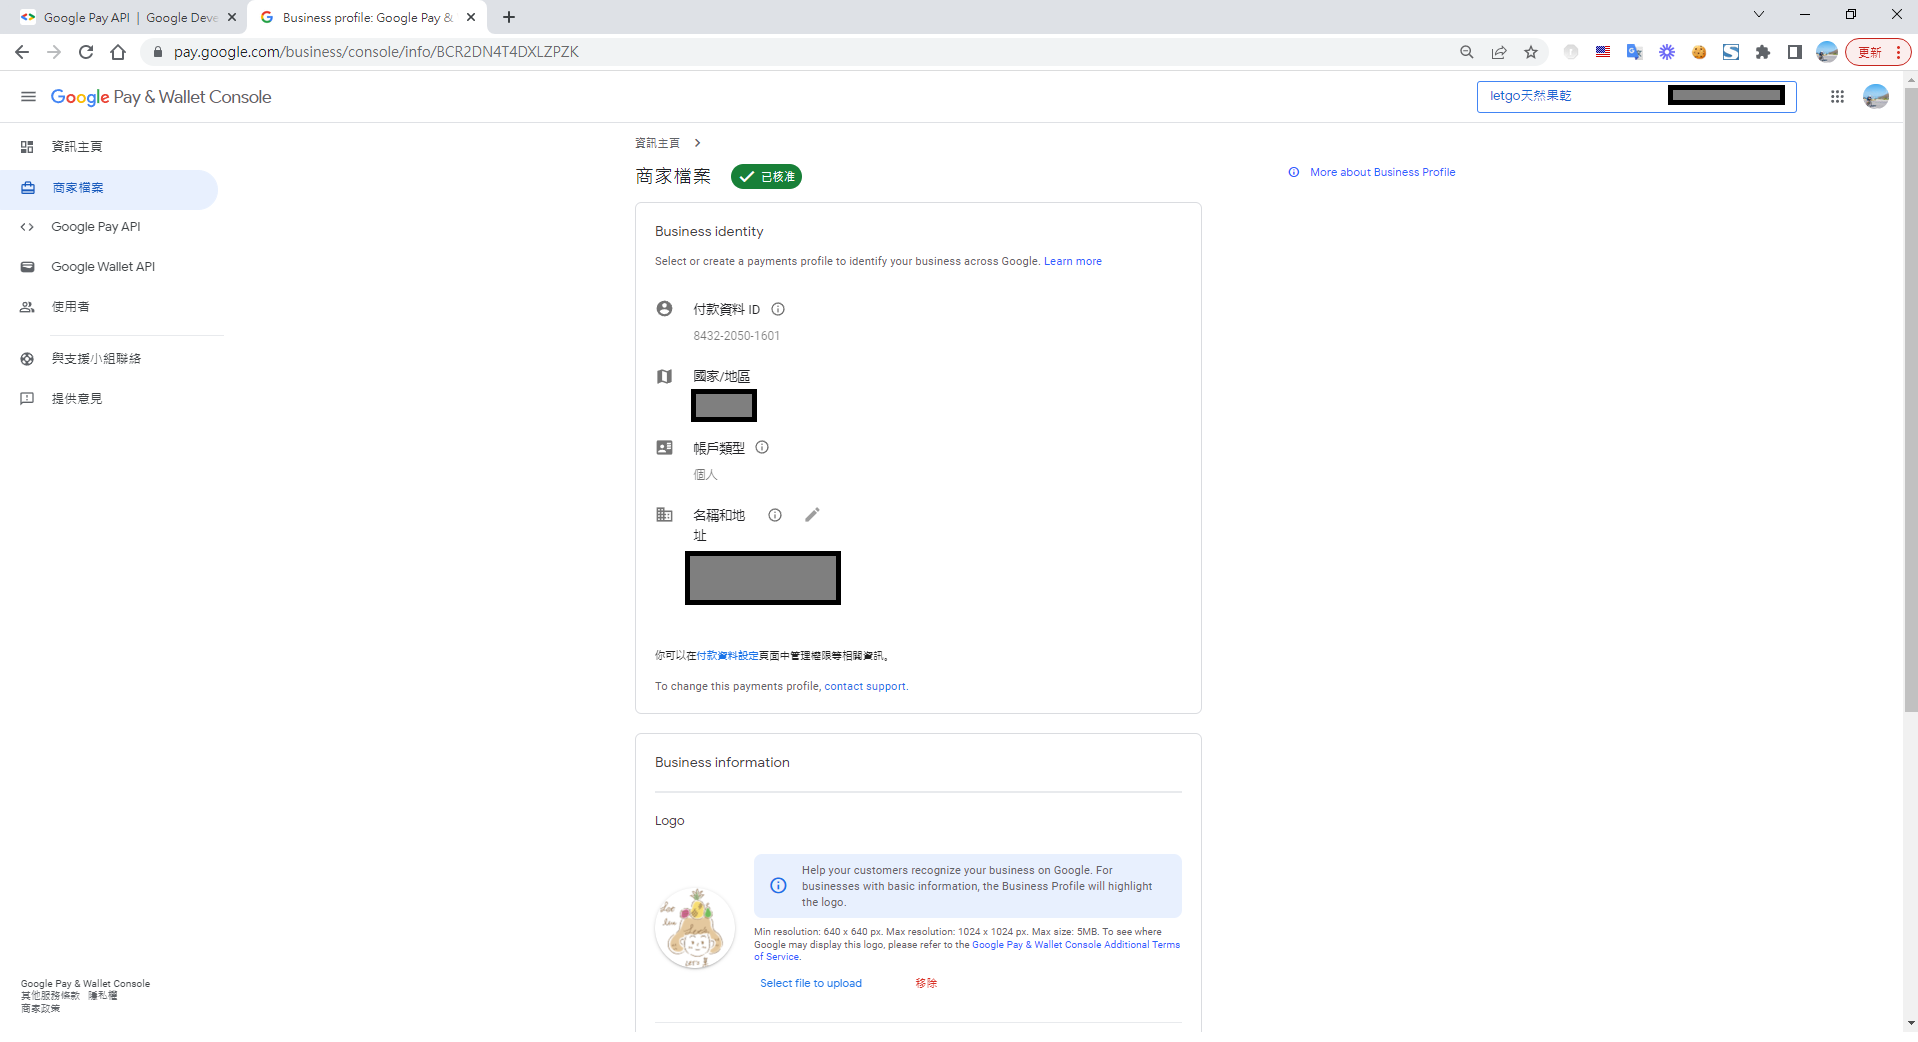
After enabling Google Pay, fill out the 'Business profile'
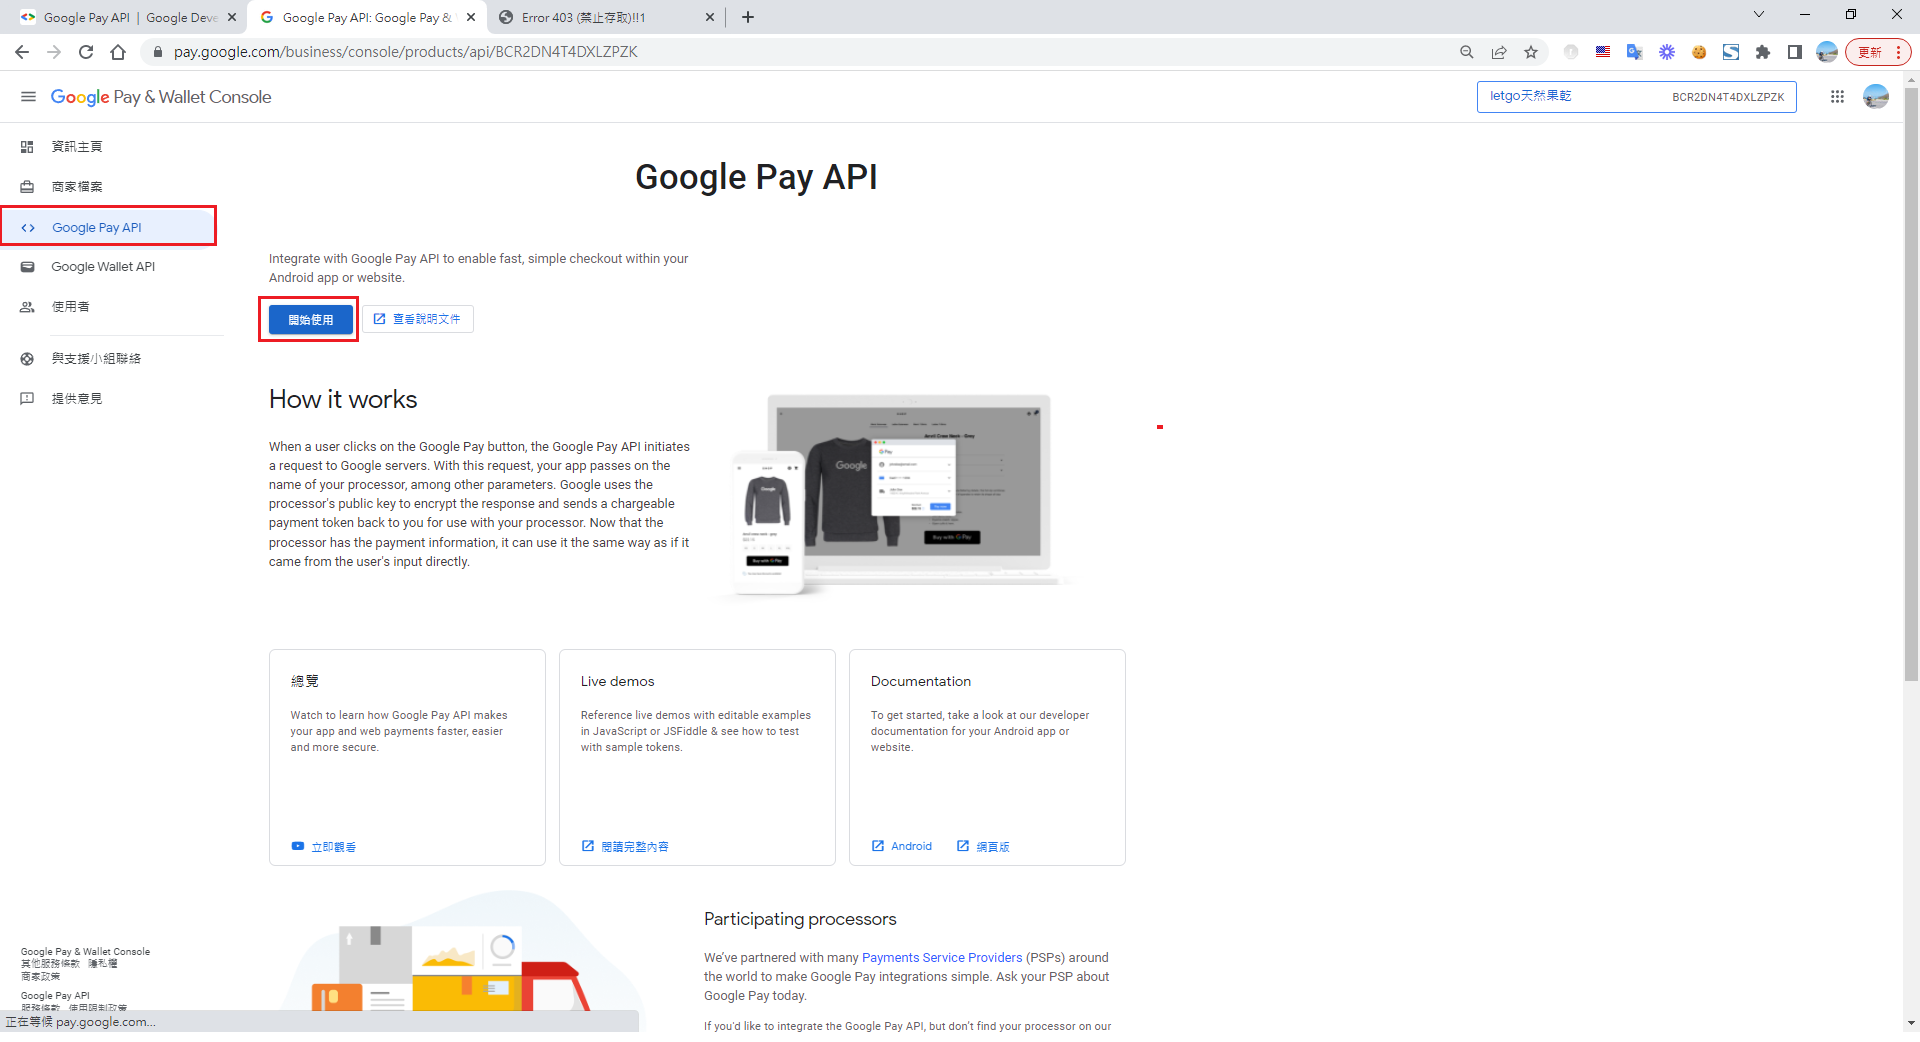
Google Pay API > Get started
Enter the website domain you want to integrate with Google Pay, and select 'Gateway' as the integration type
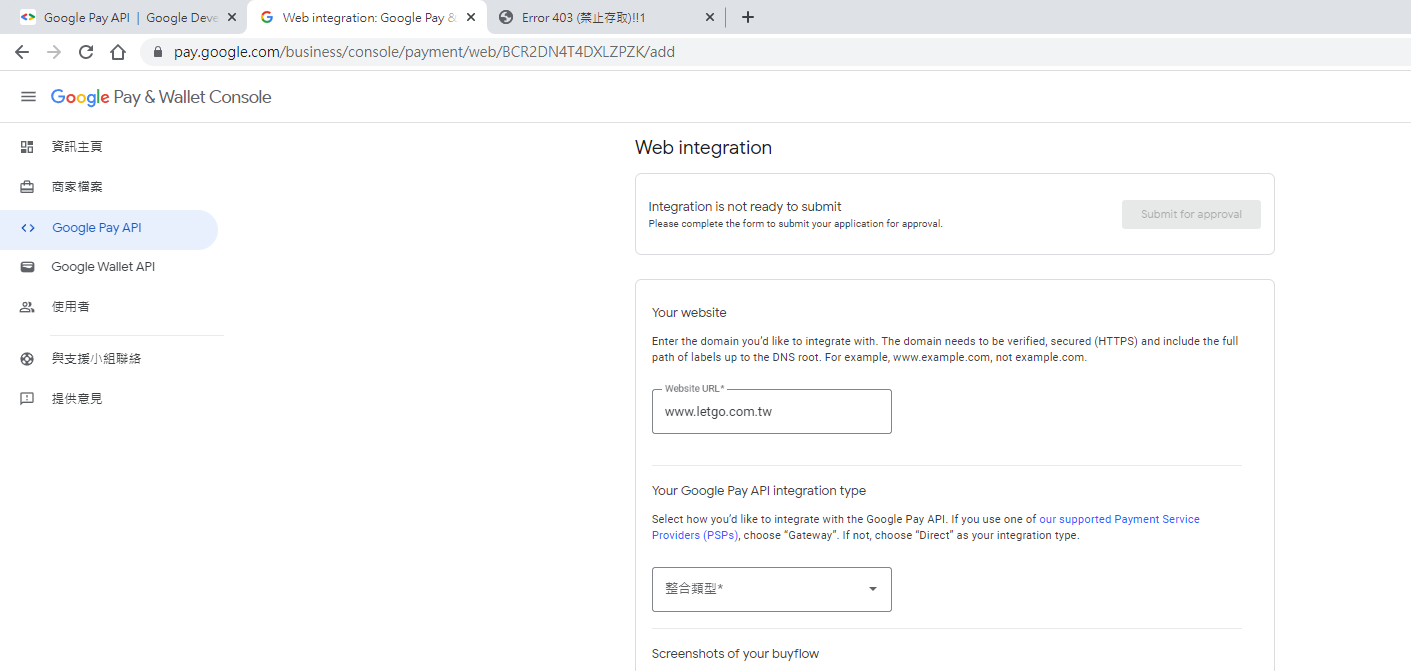
Skip this step for now. After you've implemented the Google Pay page on your site, you'll need to submit screenshots for review according to the requirements. Once Google approves it, you can use the PRODUCTION environment.

After submission, modifications will be locked, and a "pending review" notice will be displayed

Now, Let's Move to the Frontend Website
Install the Google Pay Button package
npm i @google-pay/button-react --save
Write the code
  const googlePayProcessResult = (paymentData) => {
    return checkStock()  // 檢查庫存
      .then((res) => {
        const paymentDataString = paymentData.paymentMethodData.tokenizationData.token;
        const paymentDataBase64 = btoa(paymentDataString);

        let param: IPaymentProcessRequest = { PaymentTokenObject: paymentDataBase64 };
        // call 自己的後端,並透過自己後端和金流商交易
        digitalProcessResult(param).then((res) => {
		  if(res.IsSuccess === true){
		    alert('交易成功')
		  }
		});
      });
  };

<GooglePayButton
environment="PRODUCTION" // 審核通過才能使用
buttonType="short"
paymentRequest={{
  apiVersion: 2,
  apiVersionMinor: 0,
  allowedPaymentMethods: [
    {
      type: 'CARD',
      parameters: {
        allowedAuthMethods: ['PAN_ONLY', 'CRYPTOGRAM_3DS'],
        allowedCardNetworks: ['MASTERCARD', 'VISA'],
      },
      tokenizationSpecification: {
        type: 'PAYMENT_GATEWAY',
        parameters: {
          gateway: 'cybersource',
          gatewayMerchantId: 'letgo_account', // cybersource 後台商戶號 ( 非 android 商戶號 )
        },
      },
    },
  ],
  merchantInfo: {
    merchantId: 'ABB121232', // google pay developer merchantId
    merchantName: 'LetGo',
  },
  transactionInfo: {
    totalPriceStatus: 'FINAL',
    totalPriceLabel: 'Total',
    totalPrice: numberFormat(degitalPayPrice, 2),
    currencyCode: 'USD',
    countryCode: 'US',
  },
}}
onLoadPaymentData={googlePayProcessResult}
/>
The Google Pay Merchant ID (merchantInfo.merchantId) is very well hidden. Don't get it wrong; I wasted a lot of time because I entered it incorrectly.
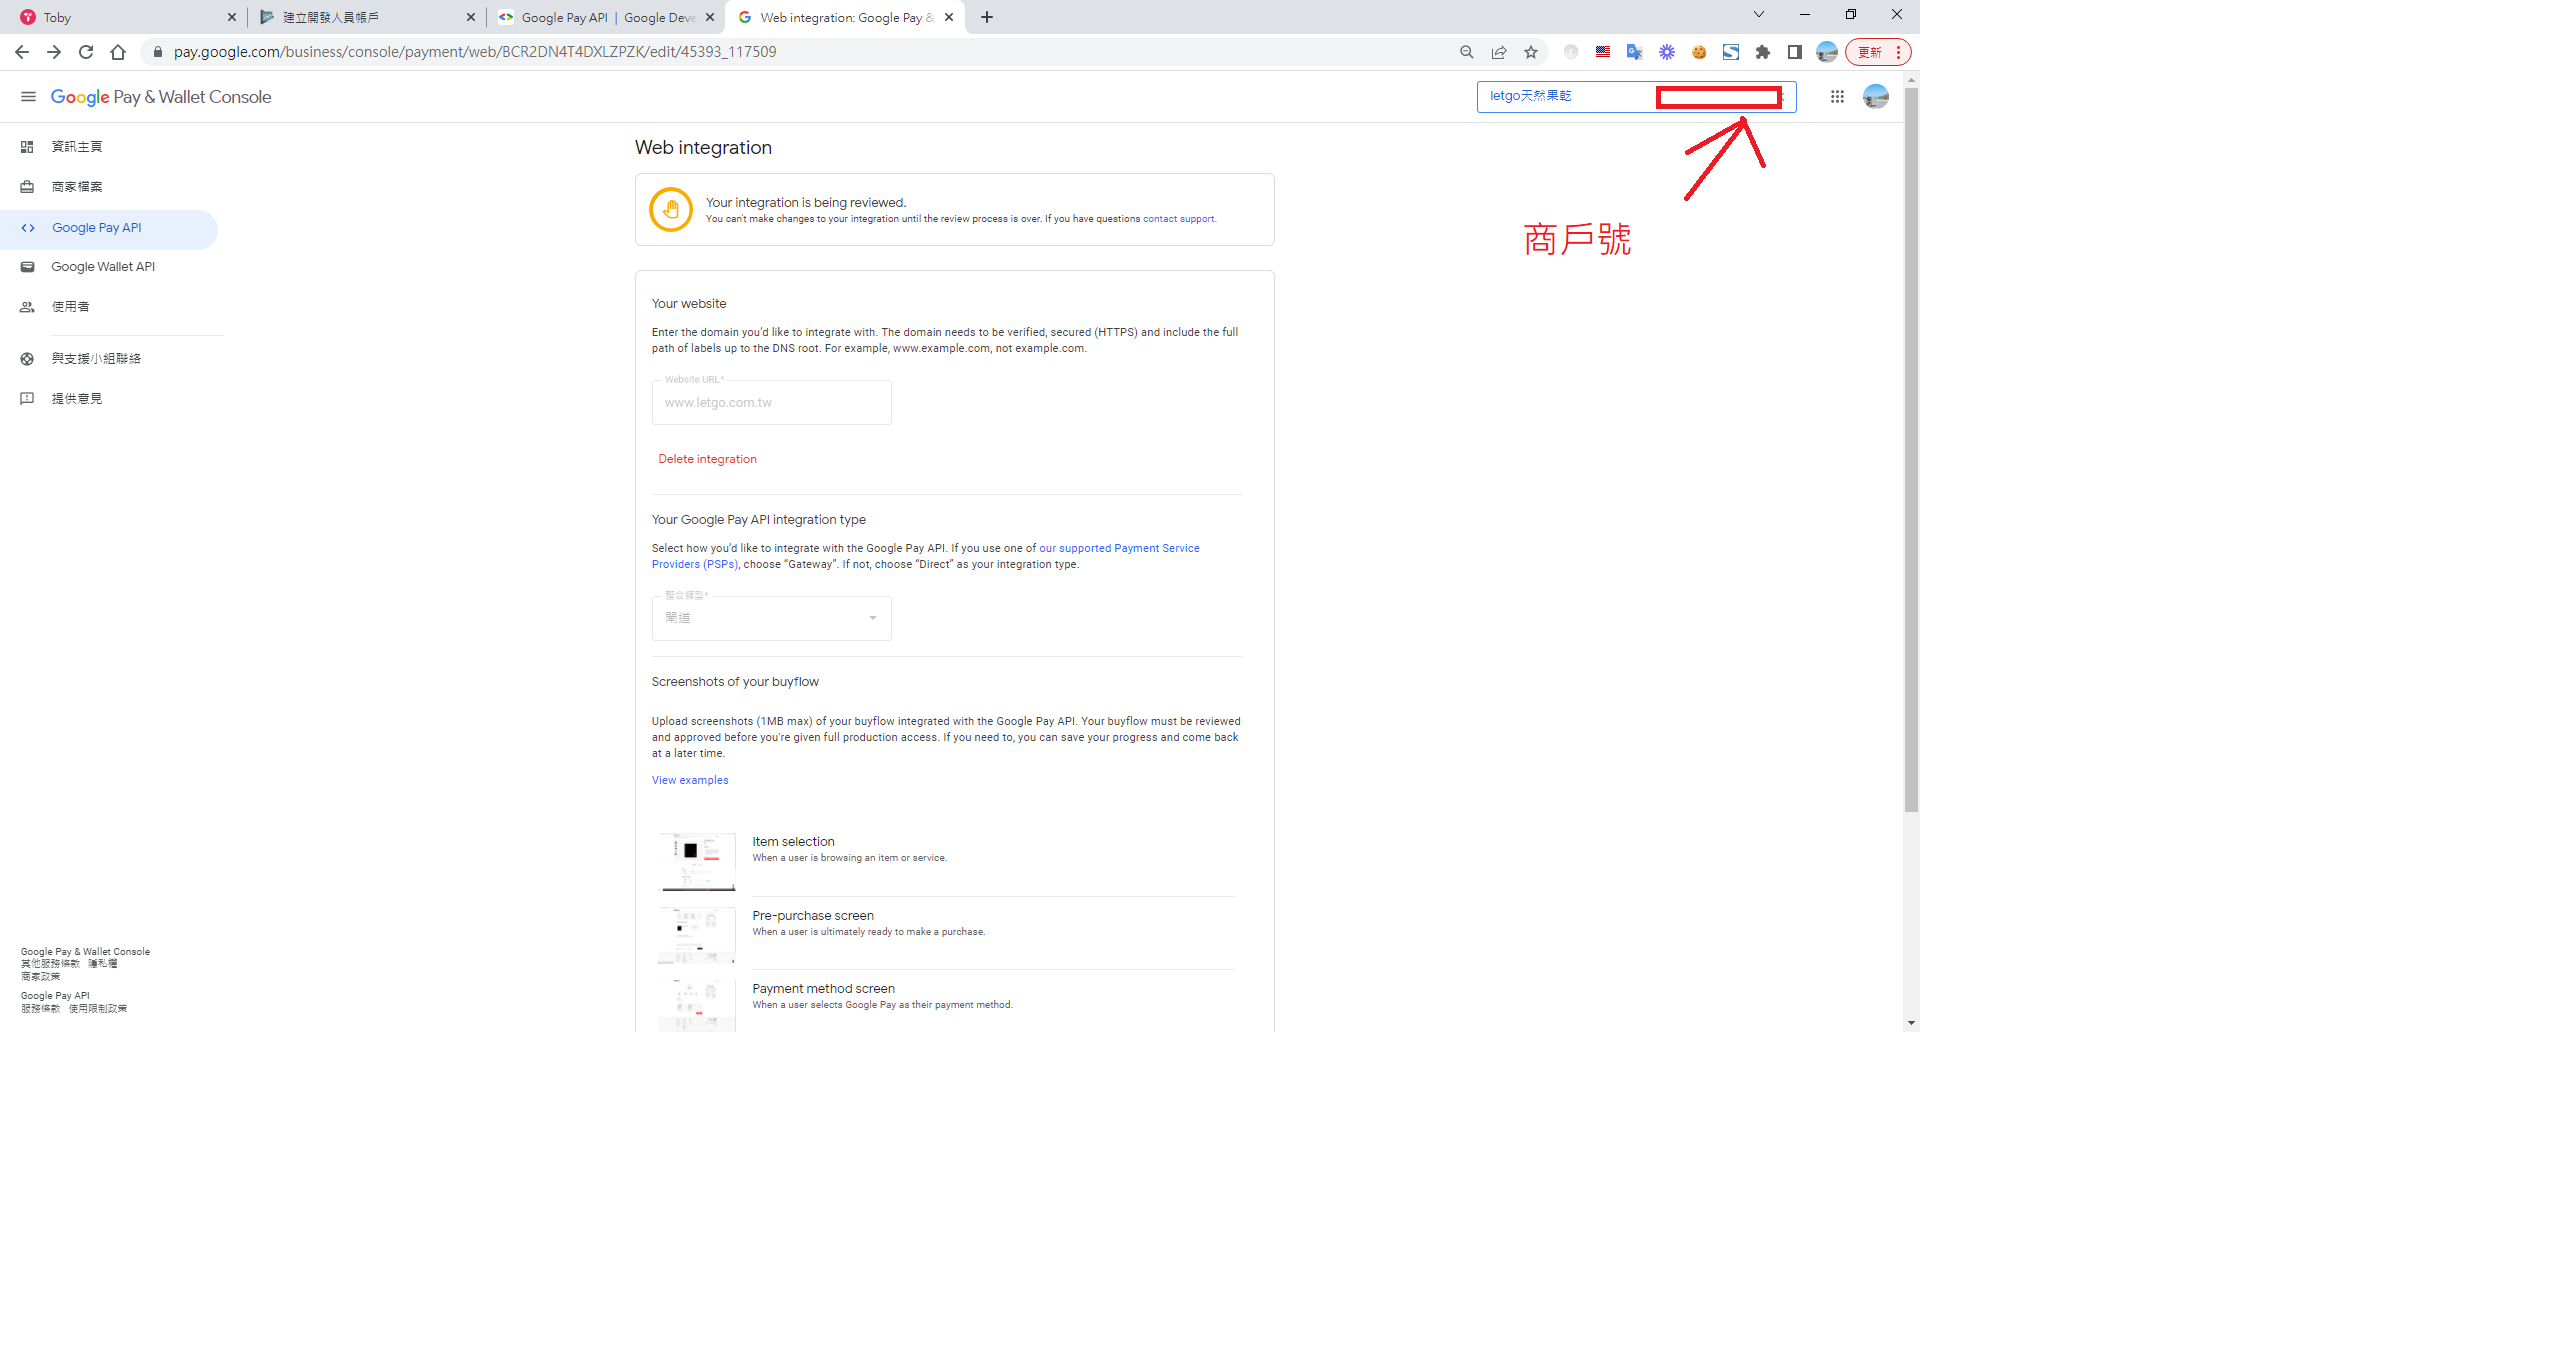
Payment Gateway Merchant ID (gatewayMerchantId)

Once the entire page implementation is complete and approved, you can start accepting payments. (It's quite efficient; you should receive an email within one to two days).
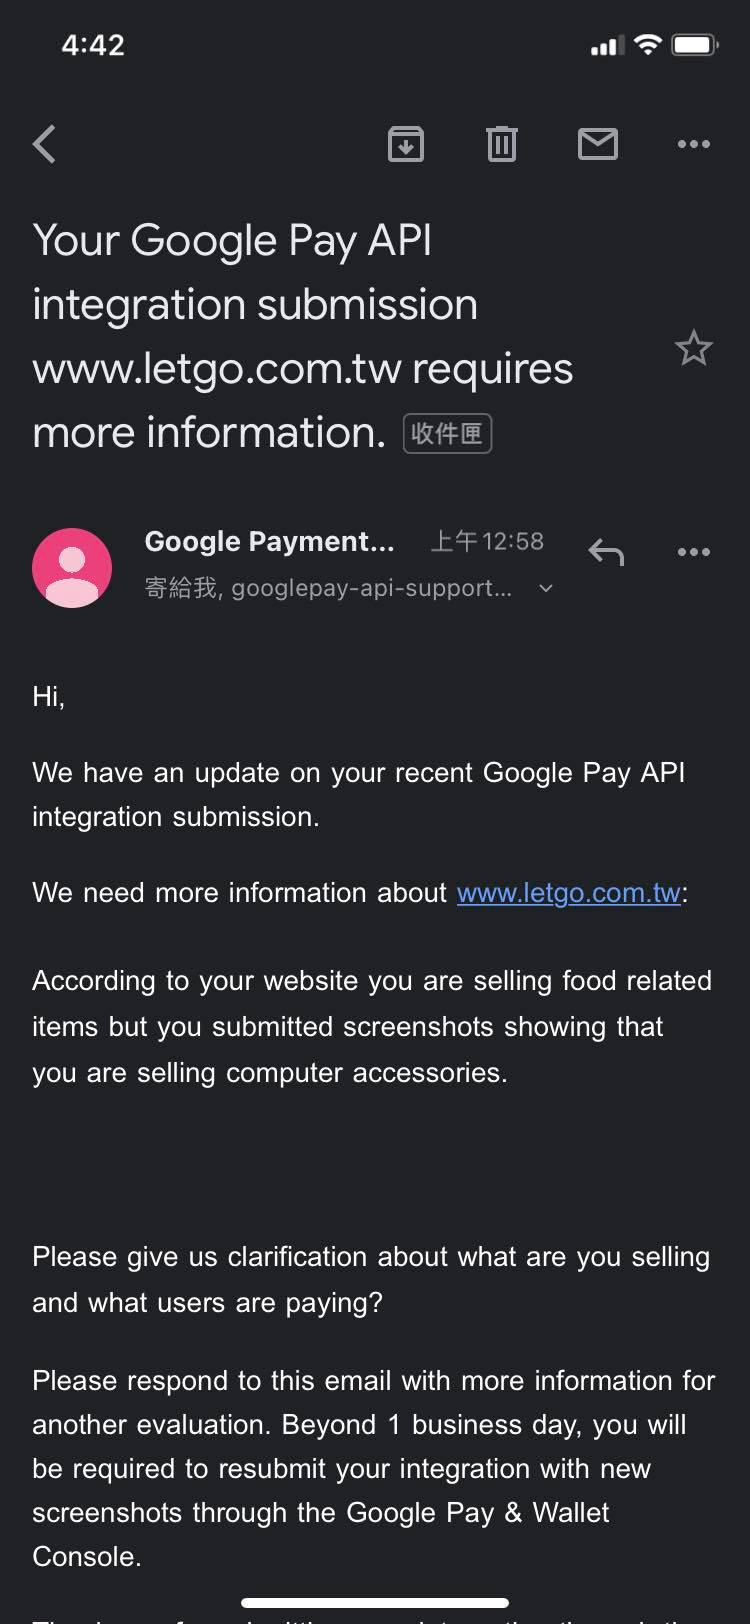
Finally, implement the backend transaction API. Pass the Google Pay Token from the frontend to the Cybersource REST API to process the transaction.
References
Fast checkout on the web with Google Pay Integrating Google Pay on the Web Radial Payments & Fraud Documentation - Google Pay Web Integration How to Integrate GooglePay in React


Comments