
目的
在開發各種前端框架時,總會有些靜態檔案, 過去手動複製檔案到CDN太花時間了,所以花了些時間在Jenkins 寫個腳本,在建置過程中,將靜態檔案自動複製到CDN,並順便清除Cloudflare cache。
首先,在建立 "Live - Copy Next JS public folder to CDN assets" Jenkins Job 的過程中,勾選 This project is parameterized,加入 String Parameter,在樣在執行 Jenkins 時可以帶入選擇性參數
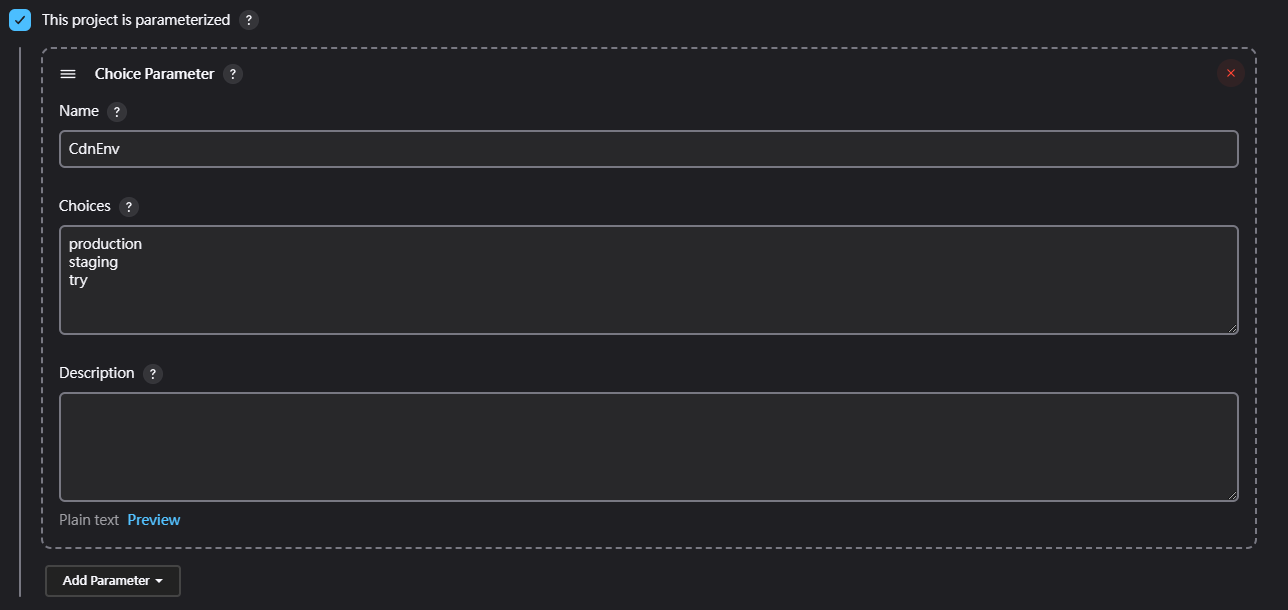
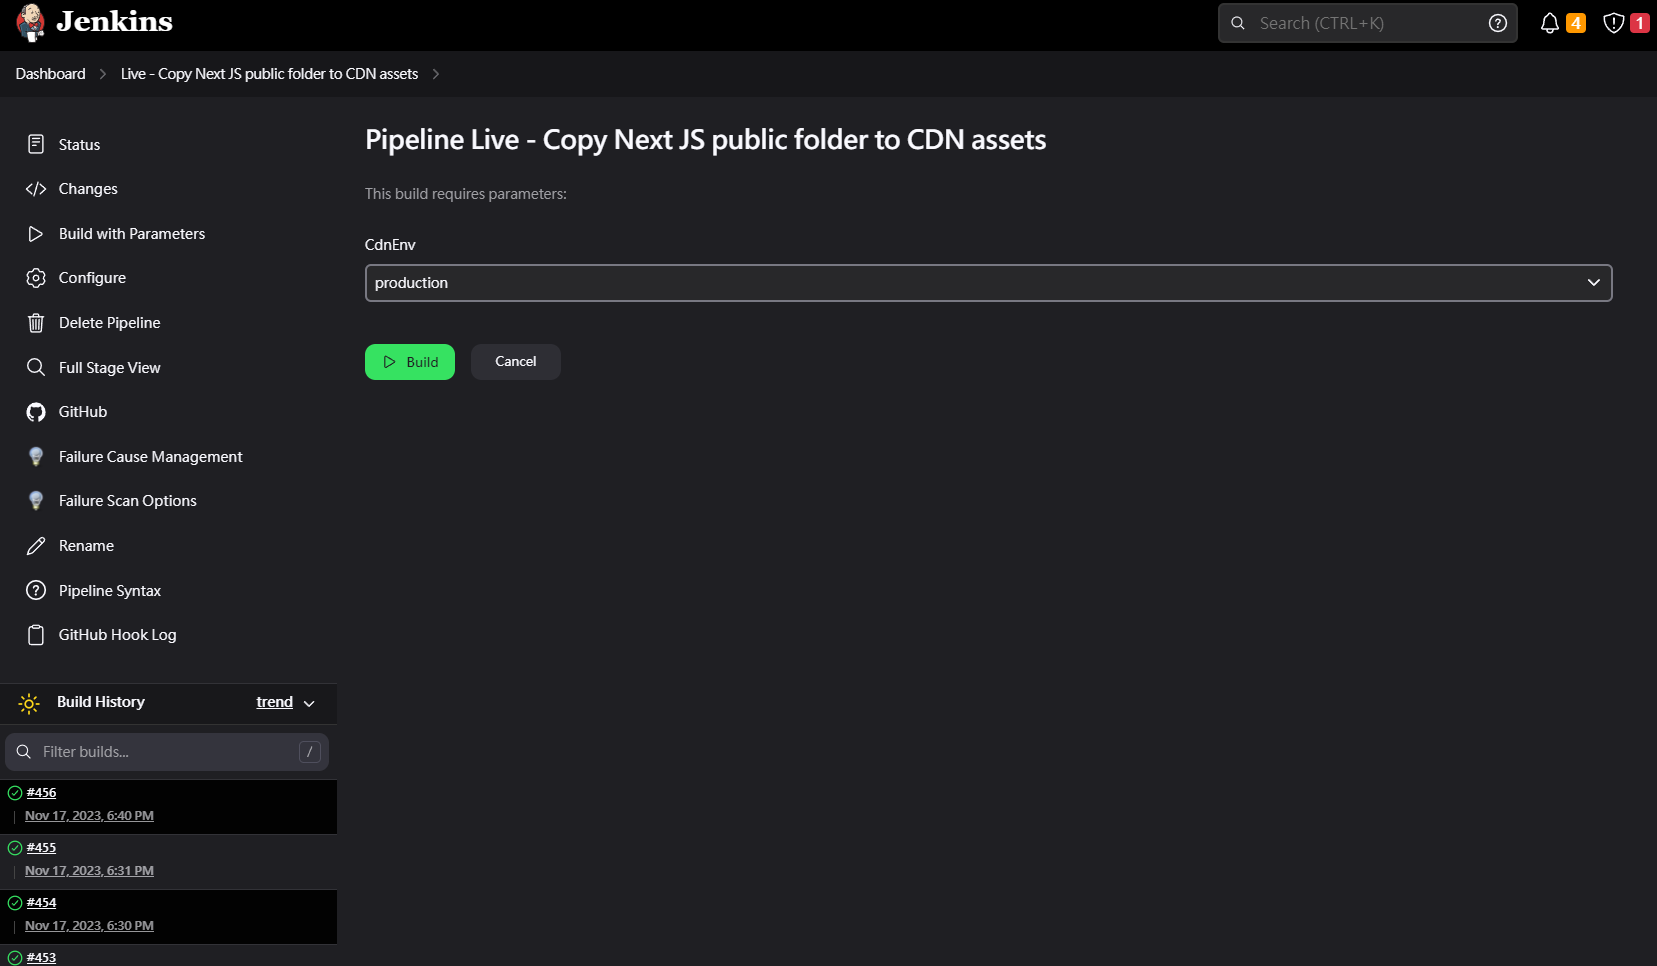
接著撰寫 pipeline,專案資料夾下的public 檔案,複製檔案到 Content server
properties([pipelineTriggers([githubPush()])])

pipeline {
    agent any

    tools {nodejs "Node Core"}

    options {
        buildDiscarder logRotator(artifactDaysToKeepStr: '', artifactNumToKeepStr: '20', daysToKeepStr: '', numToKeepStr: '20')

        disableConcurrentBuilds()
    }

    stages {
        stage("GitHub Pull") {
            steps {
                script {


                def branchName = CdnEnv
                if (CdnEnv == "staging") {
                    branchName = "staging-master"
                } else if (CdnEnv == "production") {
                    branchName = "master"
                }

                echo "CdnEnv value: ${env.CdnEnv}"
                echo "branchName value: ${branchName}"

                git branch: branchName, url: "https://[email protected]/iBuypowerUS/iBuypower.NextJS.git"
                }

            }
        }

    stage("Copy assets to content server ") {
    steps {
            	powershell(script: """
              	robocopy \"${WORKSPACE}\\public\" \"\\\\192.168.0.20\\Content\\\\${CdnEnv}\\assets\" /E /MIR /MT:100 \r\n

              	""", returnStatus: true)
        }
    }

    }
}
接著,在建立 "Live - Clear Cloudflare cache" Jenkins Job 的過程中,勾選 This project is parameterized,加入 String Parameter,在樣在執行 Jenkins 時可以帶入選擇性參數
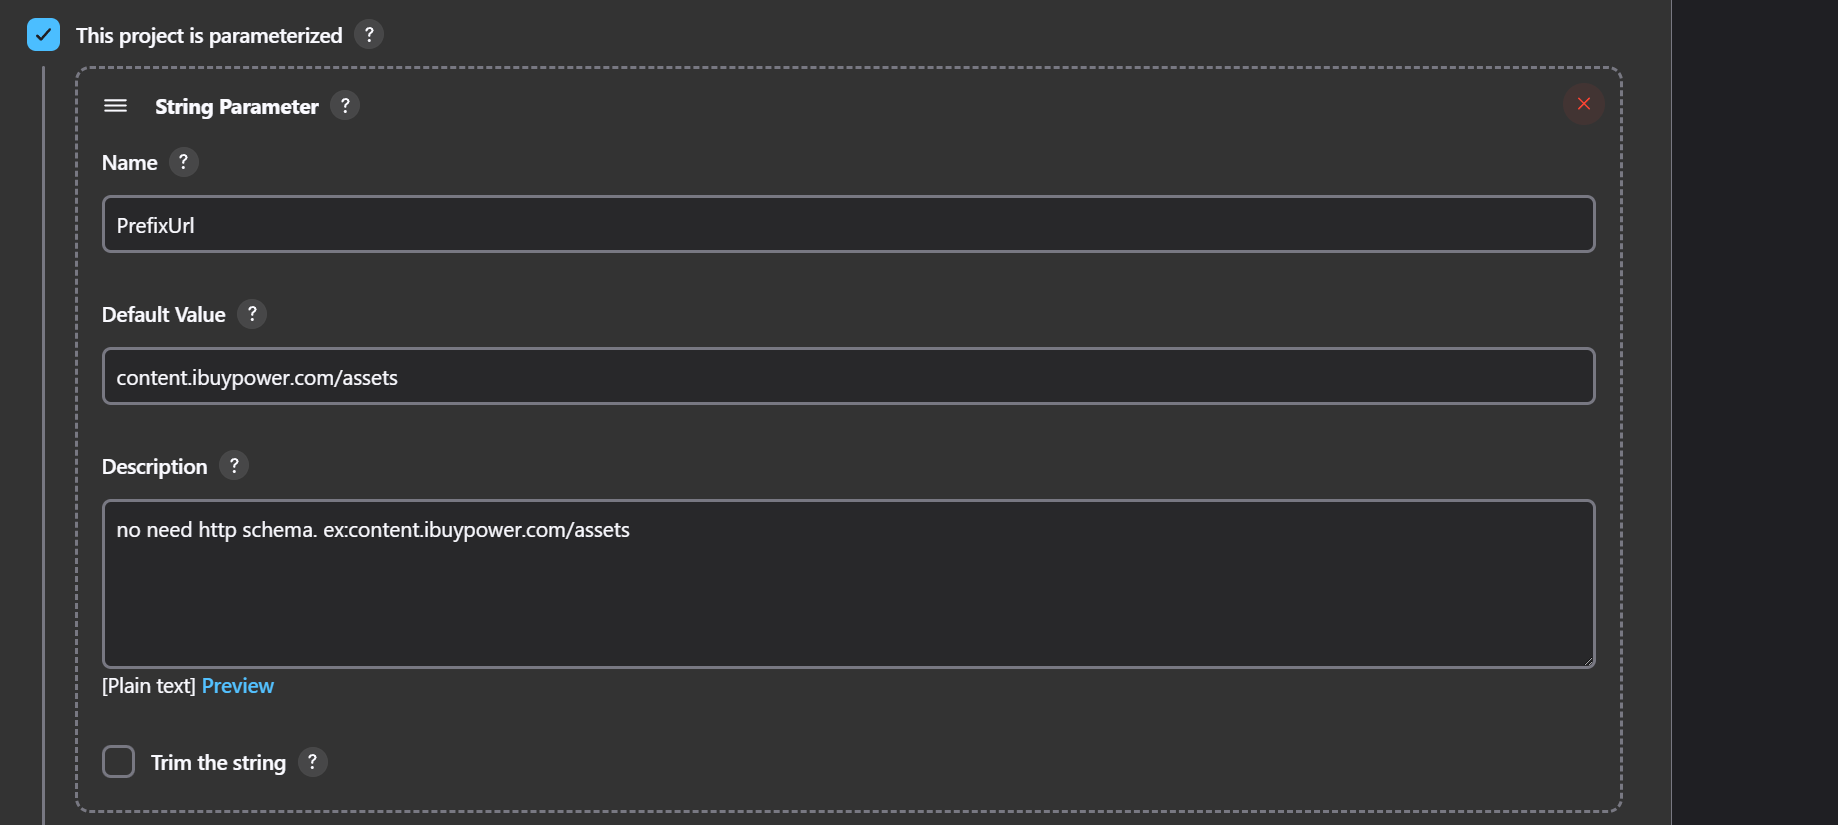
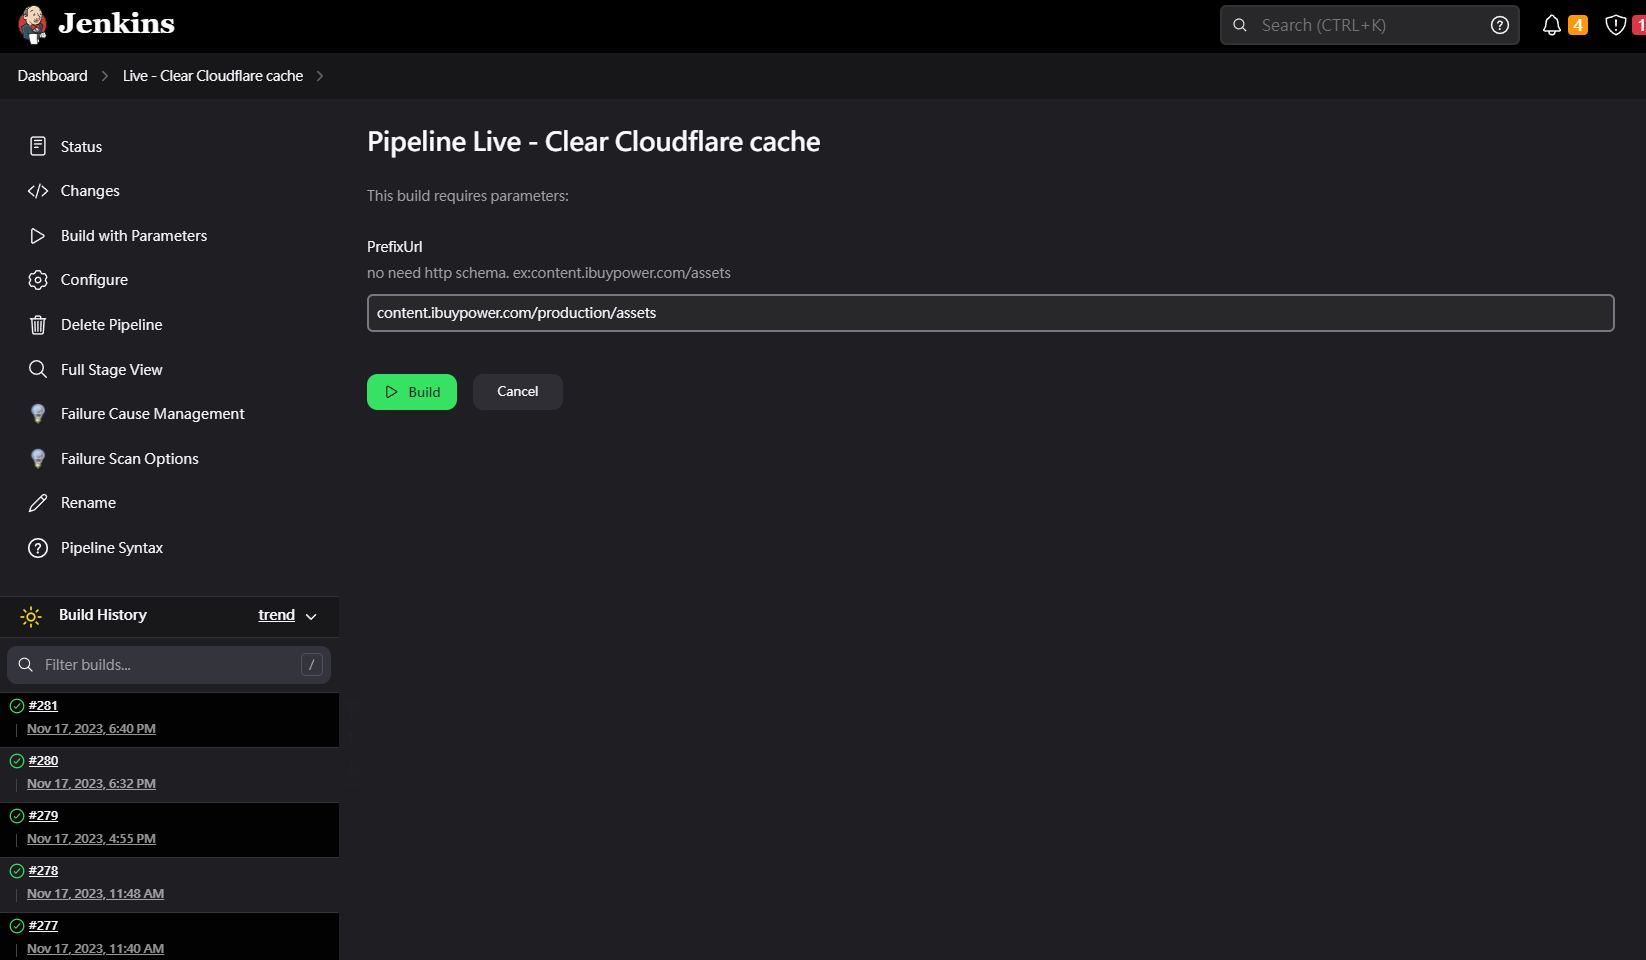
撰寫 Clear Cloudflare cache 的cache 的 pipeline
pipeline {
    agent any

    environment {
        CLOUDFLARE_EMAIL = '[email protected]'
        CLOUDFLARE_API_KEY = 'xxxxxxx'
        CLOUDFLARE_ZONE_ID = 'xxxxxxxxxxxxxxxxxxxxxxxxx'
    }

    stages {
        stage('Purge Cloudflare Cache') {
            steps {
                script {
                    // PowerShell script to purge Cloudflare cache
                    powershell """
                        \$headers = @{
                            "X-Auth-Email" = "${env.CLOUDFLARE_EMAIL}"
                            "X-Auth-Key" = "${env.CLOUDFLARE_API_KEY}"
                            "Content-Type" = "application/json"
                        }

                        \$body = @{
                            prefixes = @("${PrefixUrl}")
                        } | ConvertTo-Json

                        \$response = Invoke-RestMethod -Uri "https://api.cloudflare.com/client/v4/zones/${env.CLOUDFLARE_ZONE_ID}/purge_cache" -Method POST -Headers \$headers -Body \$body

                        Write-Host prefix: \"${PrefixUrl}\" - response: \$response
                    """
                }
            }
        }
    }
}
最後,別的任務就可以,觸發這個Job
	stages {
	    stage('Copy Next JS public folder to CDN assets') {
            steps {
                script {
                    build job:  'Live - Copy Next JS public folder to CDN assets', parameters: [string(name: 'CdnEnv', value: "$cdnEnv")]
                }
            }
        }

		stage('Clear Cloudflare cache') {
            steps {
                script {
                build job: 'Live - Clear Cloudflare cache' , parameters: [string(name: 'PrefixUrl', value: "content.ibuypower.com/$cdnEnv/assets")]
                }
            }
        }

		// Original process... ...

	}
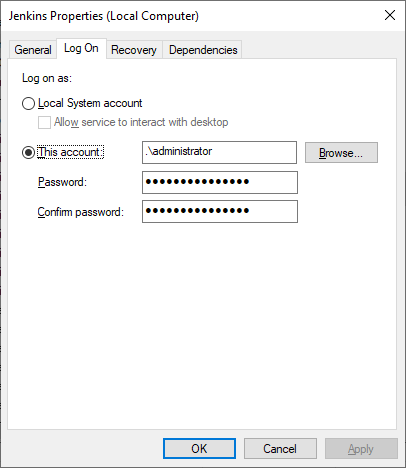
P.S. 如果是 Windows 權限不足
Jenkins在windows的安裝後,使用命令或者某些插件的時候容易出現權限錯誤的情況,此時因為使用的是jenkins賬戶,不是administrator管理員權限的賬戶,我們可以按Ctrl+windows鍵,輸入services.msc 在服務中右鍵選中並點擊jenkins服務,查看屬性對話框,切換登錄標簽,選中此賬戶登錄,里邊填寫administrator或者有權限的賬戶,密碼就是登錄密碼,此時重啟jenkins服務即可


留言